
Measuring Your Space
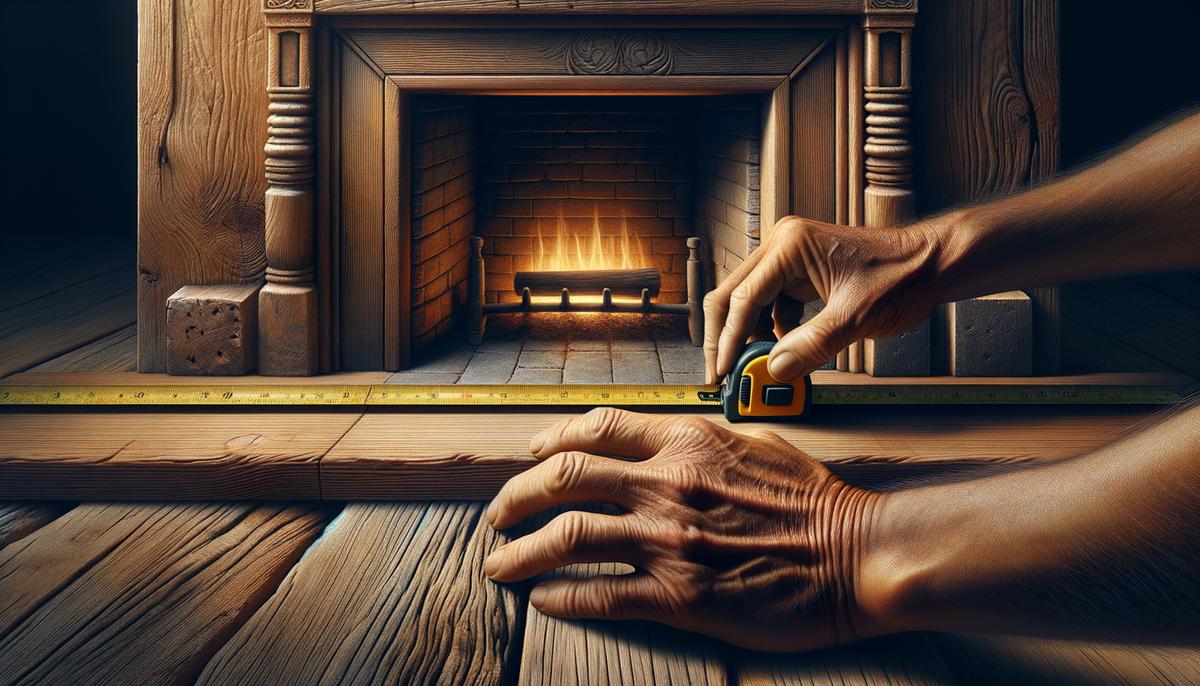
Measuring your space for a wood fireplace mantel is crucial. Grab your tape measure and start with the width. Measure the distance across the top of your fireplace opening and jot down this number.
Next, consider how far out you want your mantel to extend. A common depth is about 8 inches, but this can vary. Take into account the size of the room to ensure the mantel doesn't appear too bulky or flimsy.
For height, measure from the floor to where you want the bottom of the mantel shelf to sit, commonly 4 to 5 feet. Personal preference and room specifics can influence this. Factor in the total height of your mantel by measuring from the desired shelf height to the ceiling or the bottom of any trim molding.
Accuracy is key to avoid a mantel that juts out too much or looks lost. Double-check your measurements to save time and effort later.
Selecting and Preparing Your Wood
When selecting wood for your mantel, consider the desired look. Reclaimed wood offers a rustic, eco-friendly option, while oak and pine provide versatility for staining or painting.
At the lumber yard or store, inspect each board for warping and imperfections. Look down the length to check for straightness and feel for rough spots or splinters. Small knots can add character, but large ones can weaken the structure.
After finding the perfect boards, cut them to size using a circular saw or miter saw. Double-check your measurements to ensure accuracy. If uncomfortable making the cuts yourself, most stores offer this service.
Sand the wood, starting with a rough grit to smooth out imperfections and progressing to finer grits. This step is crucial for even stain penetration or smooth paint application.
By choosing the right wood and preparing it carefully, you set a solid foundation for your mantel project.

Cutting and Assembling the Mantel
With your wood selected and prepared, it's time to cut the pieces to size based on your measurements. Use a pencil to mark your lines and ensure precise, straight cuts with a circular saw or miter saw.
Lay out the boards for a dry fit to see how everything comes together and make any necessary adjustments. Apply wood glue to the edges where the boards meet and align them carefully. Pre-drill holes and drive wood screws to join the pieces firmly.
Clamp each joint securely and allow the glue to dry thoroughly. Once dry, remove the clamps and give the assembled mantel a final sanding to smooth out any rough edges or uneven spots.
For an added touch, consider attaching trim or corbels using wood glue and screws. These elements provide additional support and enhance the overall aesthetic.
Step back and admire your handiwork. You've turned a pile of wood into a functional and stylish mantel.

Finishing the Wood
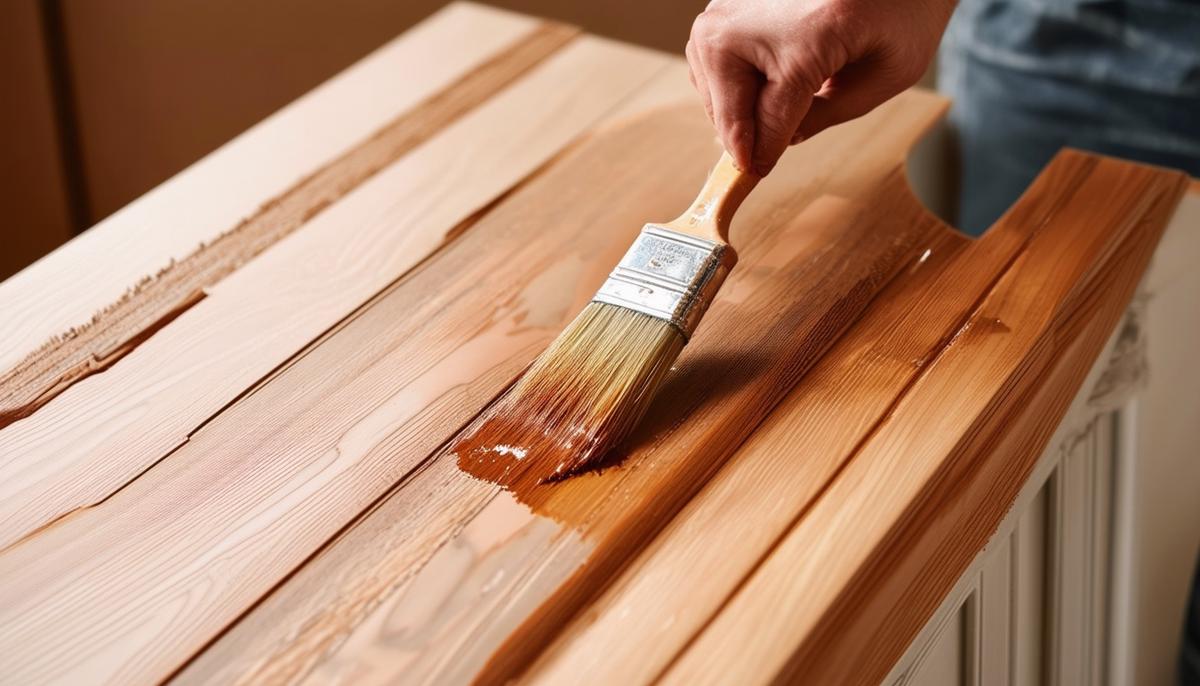
After assembling your mantel, focus on the finish to transform it into a beautiful focal point. Start by sanding with fine-grit sandpaper to smooth out any remaining imperfections, paying attention to edges and corners. Wipe down the mantel to remove dust for better finish adhesion.
For a natural look that showcases the wood grain, opt for a stain. Apply it evenly with a clean cloth or brush, following the grain direction. Let it sit for 5 to 15 minutes, then wipe off the excess.
If you prefer a painted finish, choose a high-quality wood paint and apply thin, even coats using a brush or roller designed for smooth finishes. Use a primer for better adhesion and a more even surface.
Allow each coat to dry thoroughly before applying the next, following the manufacturer's instructions. Lightly sand between coats with very fine-grit sandpaper to remove any imperfections.
For stained mantels, apply a topcoat of polyurethane for protection and sheen. Choose between matte, satin, or gloss finishes based on your preference.
Your careful finish enhances the mantel's beauty and durability, making it a stunning addition to your space.
Installing Brackets and Mounting the Mantel
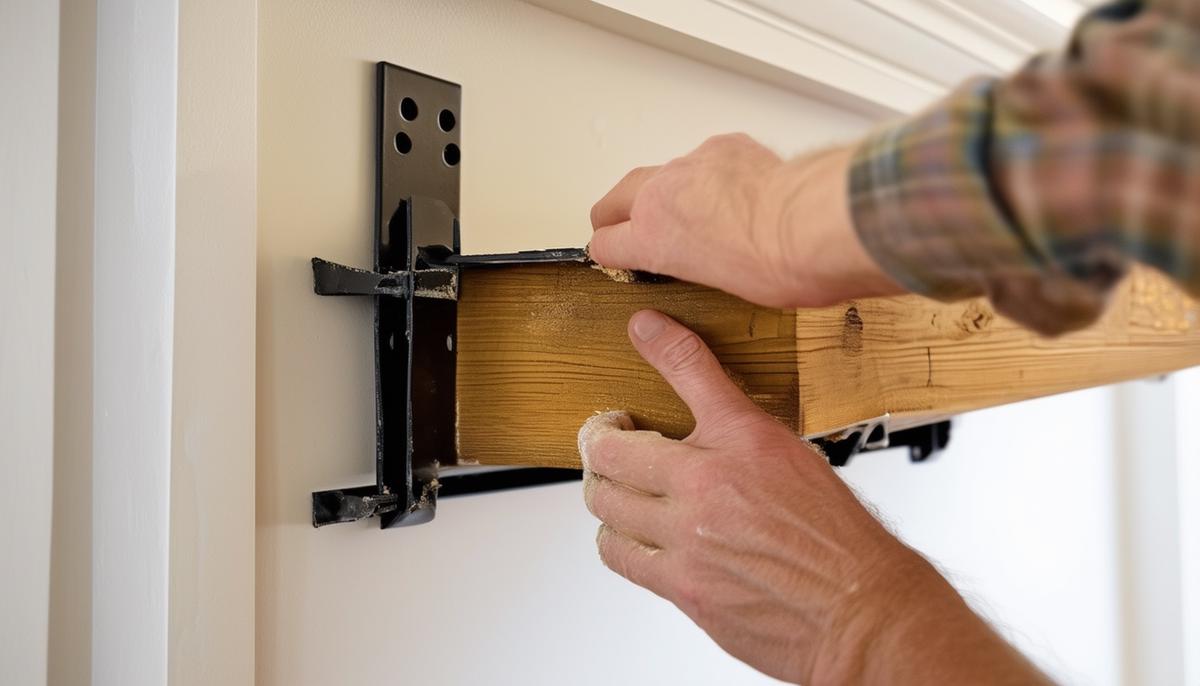
To install your mantel, start by securing heavy-duty brackets to the wall. Locate the studs using a stud finder and mark their locations. Position the brackets for optimal support, typically one on each end and one in the center.
Use a level to ensure the brackets are straight and mark the screw holes. Pre-drill the holes into the studs for easier and more precise screw placement. Drive heavy-duty screws into the wall to secure the brackets.
With the brackets in place, mount the mantel. This may require an extra set of hands. Carefully lift the mantel and position it over the brackets, ensuring it's balanced and aligned properly.
Secure the mantel by drilling pilot holes through it and into the brackets to prevent wood splitting. Drive screws through the pilot holes to fasten the mantel to the brackets. Double-check that everything is level and make any necessary adjustments.
Step back and inspect your work. Your mantel should be sturdy, level, and ready for decorative touches.
Congratulations on installing your mantel! Take a moment to appreciate your hard work and enjoy this new feature in your space.
Adding Decorative Elements
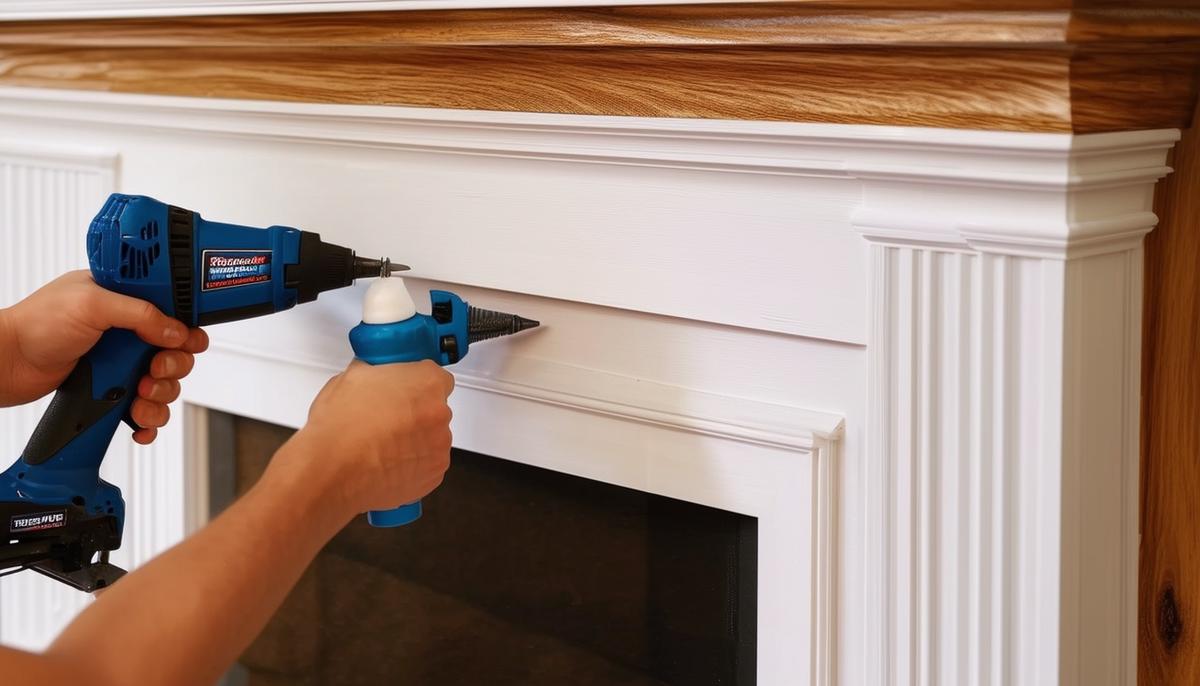
Adding decorative elements like trim, molding, or corbels can elevate your mantel from a simple shelf to a stunning centerpiece. Select elements that complement your overall design. Crown molding or baseboard trim works well for a classic look, while simpler pieces suit a modern aesthetic.
Measure the lengths required for your chosen pieces and make a cutting list. Use a miter saw to cut the trim to size, ensuring crisp 45-degree angles on corner pieces. Check each piece for a snug fit against the mantel.
Apply wood glue sparingly along the back of the trim pieces and position them against the mantel, aligning them with the edges. Use finish nails to secure the trim, spacing them every few inches and focusing on corners and ends. A nail gun can expedite this process. Use wood filler to hide any nail holes for a seamless look.
Corbels can offer both aesthetic and structural benefits, particularly for deeper mantels. Align them properly and secure them using wood glue and screws, ensuring they are centered and level.
After attaching all decorative elements, give your mantel a final sanding to smooth out any rough spots or glue residue. Step back and admire your enhanced mantel, ready to showcase with decorations that highlight your hard work.
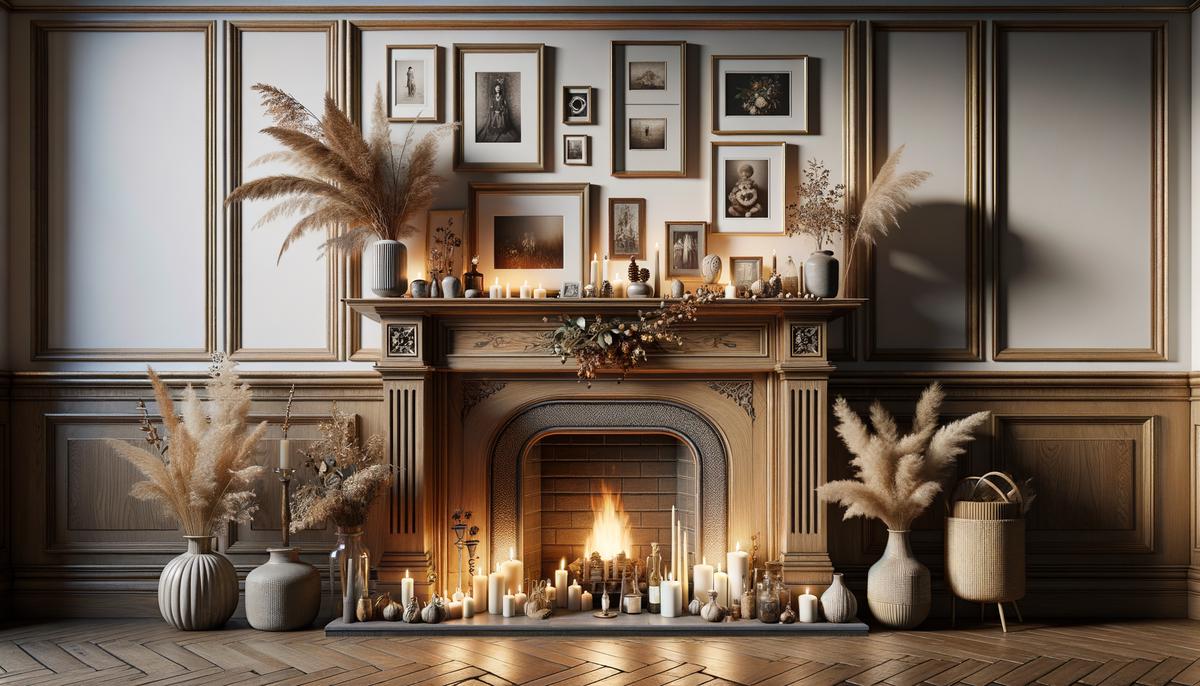
Decorating the Mantel
Start with a clean slate by dusting your mantel. Consider the overall theme of your room and choose decorations that complement the existing palette and style.
Photos and artwork in elegant frames can add a personal touch. Vary the frame styles to match your room's aesthetic, from sleek and modern to rustic and weathered. Position these items at varying heights for visual interest.
Vases and floral arrangements bring life and color to your mantel. Choose seasonal flowers or greenery to keep it fresh and vibrant throughout the year.
Candles add ambiance to your mantel. Use a variety of sizes and styles, such as tall candlesticks mixed with short votives. Place them in groups of odd numbers for a more organic and visually appealing look.
Seasonal decorations can transform your mantel to reflect the time of year:
- Festive holiday garlands and stockings
- Spring-themed Easter eggs
- Autumn pumpkins and gourds
Create symmetry by balancing larger items on either end of the mantel, such as matching candlesticks or planters, to frame the space and give it a well-composed look.
Feel free to change up the decorations according to different holidays, seasons, or whenever you want to refresh the look of your room.
Remember, less can be more. A few well-chosen pieces will create a sophisticated look without overwhelming the space. Step back and adjust your arrangement until you find the perfect balance.
With careful measuring, quality wood selection, and attention to detail, you've set the stage for a beautiful mantel that showcases your craftsmanship and personal style. Enjoy your new centerpiece and let it be a point of pride every time you enter the room.