
Revamping your kitchen cabinets can breathe new life into your space without the hefty price tag of a full remodel. By following a systematic approach, you can achieve professional results that make your kitchen look brand new.
Preparation
Start by emptying your cabinets and drawers, taking this opportunity to declutter. Remove all cabinet doors, drawers, and hardware. Thoroughly clean all surfaces with a degreasing solution and allow them to dry completely.
Next, lightly sand all exposed surfaces with medium-grit sandpaper, then wipe down with a tack cloth to remove dust.
- Cut 1/4-inch plywood pieces to fit the exposed ends of your cabinets.
- Apply carpenter's glue, press them into place, and secure with 1-inch finish nails.
- Fill nail holes with wood filler, allow to dry, and sand smooth.
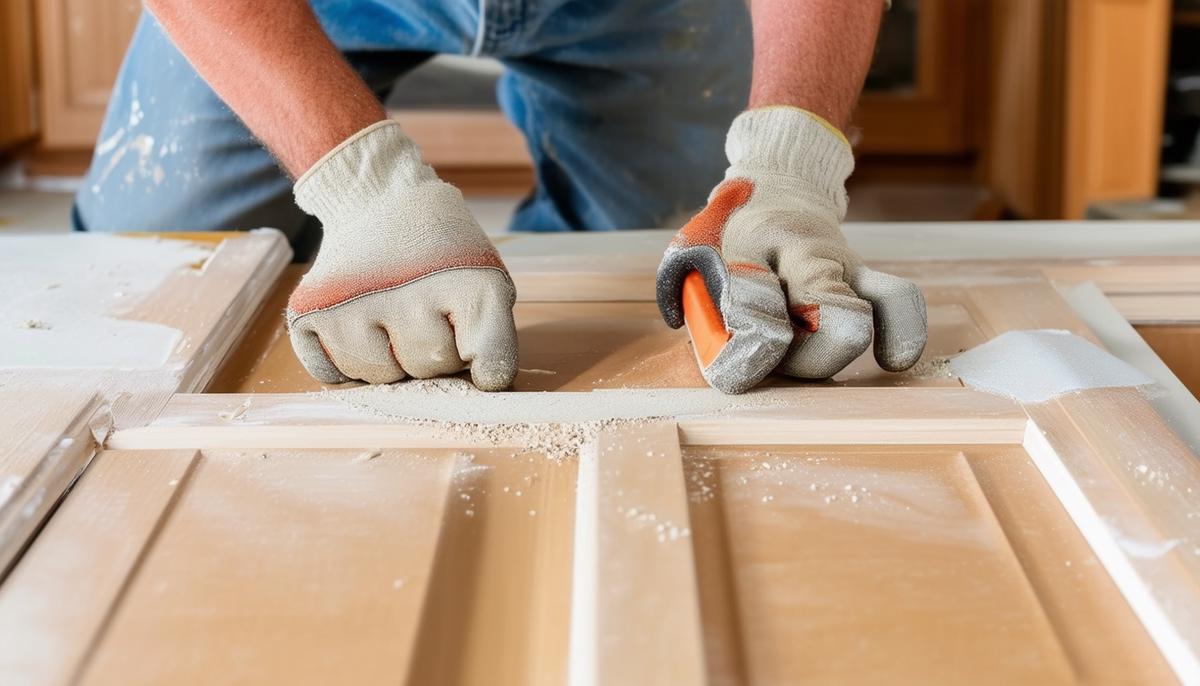
Measure the rails and stiles of the cabinets for accurate veneer cutting. Cut veneer strips slightly larger than needed, ensuring the wood grain runs lengthwise.
Apply veneer to the stiles first, then the rails, ensuring overlap at joints. Use a small wood block to press firmly and avoid air bubbles. Trim excess with a utility knife and straight edge.
Finally, clean and lightly sand cabinet doors and drawer fronts. Stain to match the new veneer and let dry. Apply three thin coats of water-based polyurethane, sanding lightly between coats.
Plywood Application
Begin by measuring and cutting 1/4-inch plywood panels to fit the exposed cabinet ends. Use a circular or table saw for precise cuts.
- Apply carpenter's glue along the edges and center of each plywood piece.
- Press firmly into place on the cabinet ends, ensuring perfect alignment.
- Secure panels with 1-inch finish nails spaced 6-8 inches apart around the edges.
- Fill nail holes with wood filler and let dry completely.
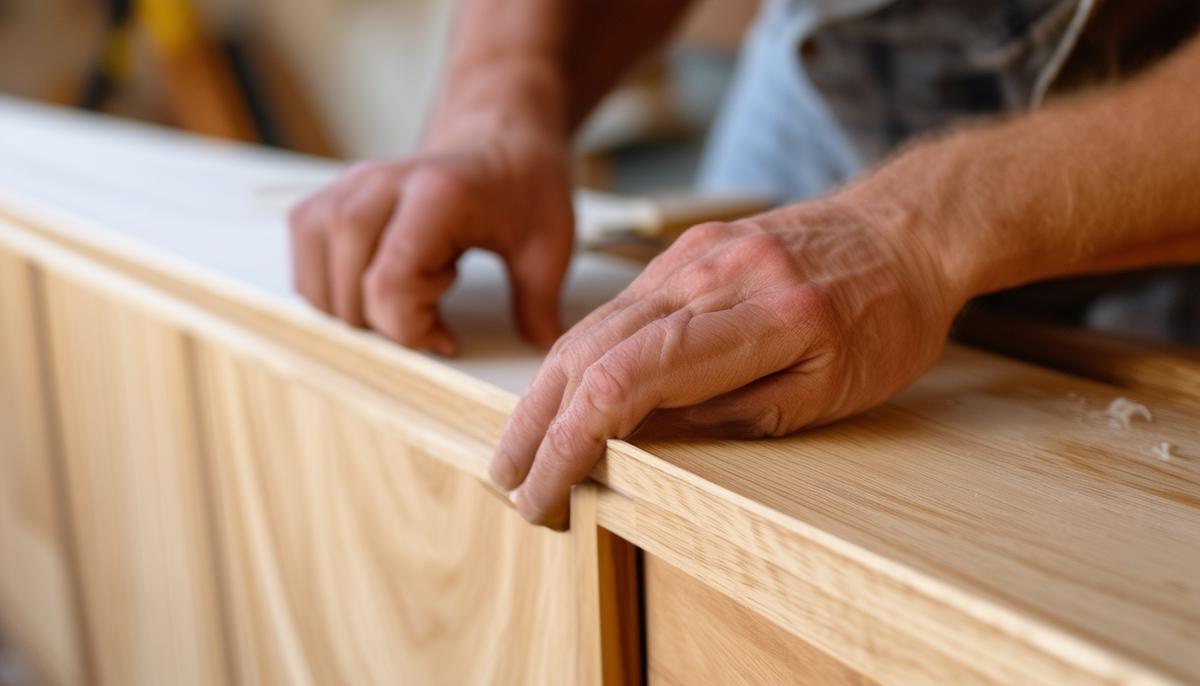
Once dry, sand the entire surface with medium-grit sandpaper for a smooth, uniform appearance. Wipe down with a tack cloth to remove dust.

Veneer Application
Cut veneer strips slightly larger than the measured rails and stiles, aligning the grain lengthwise. This step is crucial for achieving a professional look.
Applying to Stiles:
- Peel back a small corner of the backing and press into place at the top.
- Continue peeling and pressing downward, using a wood block to smooth out air bubbles.
- Trim excess veneer along all corners with a utility knife and straight edge.
Applying to Rails:
- Overlap the veneer pieces over the applied stiles.
- Use a carpenter's square to line up joints.
- Carefully slice through both overlapping pieces, then peel away the excess for a tight, invisible seam.
Remember: Take your time with this step to ensure proper alignment and avoid air bubbles.
Reassembly
Now that your cabinets have been beautifully refaced, it's time to put everything back together:
- Attach drawer fronts to boxes, using playing cards as spacers for even gaps. Apply Flex Glue and press firmly.
- Install drawer pulls, pre-drilling holes if necessary to prevent wood splitting.
- Reinstall drawer slides or replace if needed. Ensure drawers operate smoothly.
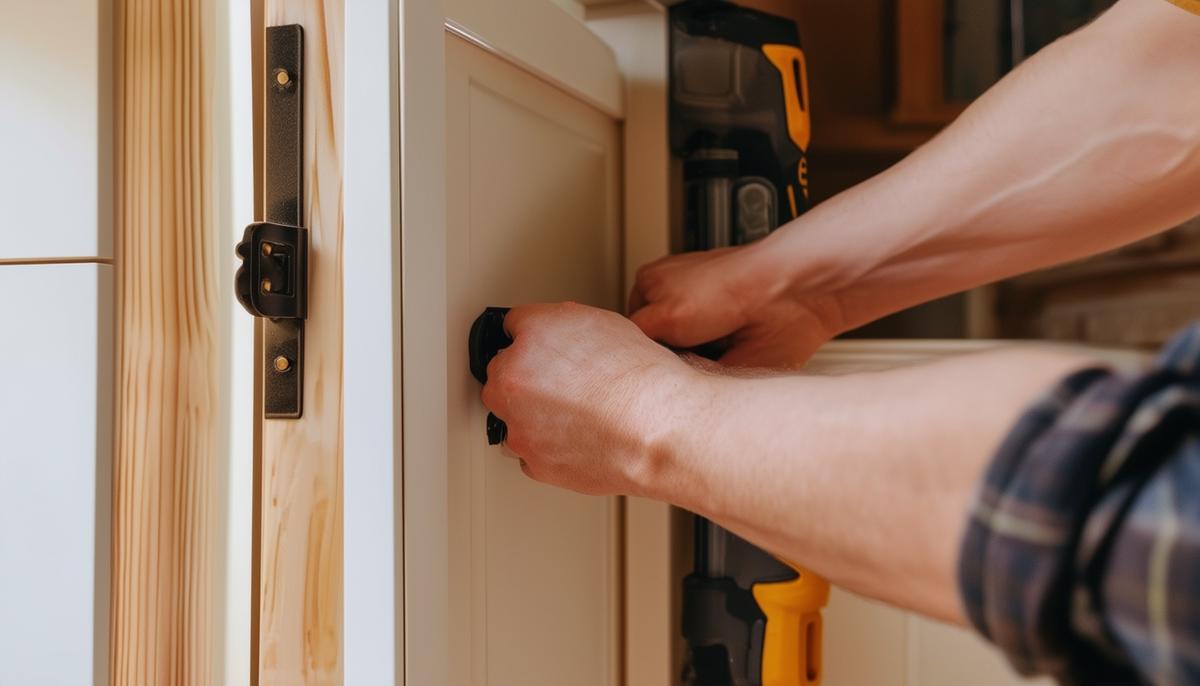
- Position cabinet doors with consistent grain direction.
- Attach hinges one hinge-length from the top and bottom of each door. Drill pilot holes and secure with wood screws.
- Align doors with cabinet openings, checking for uniform spacing. Secure hinges to the cabinet frame.
Step back and admire your work. Your cabinets now look brand new, reflecting your craftsmanship and care.
By paying attention to detail and taking your time, you've refreshed your kitchen cost-effectively. Your cabinets now reflect quality workmanship and breathe new life into your space. This DIY approach can save homeowners up to 50% compared to professional refacing services1, while still achieving stunning results.
- Perritt G. Kitchen Remodeling For Dummies. Wiley Publishing; 2003.