
Planning and Preparation
Choosing the Perfect Spot for a Gazebo
When selecting a location for your gazebo, consider both aesthetics and practicality. Find a level area or prepare to level it. Be mindful of utility lines—call 811 before digging. Avoid overhead lines and trim nearby trees to prevent future interference. Check septic system maps to avoid placing the gazebo over the tank or drain field. For electricity, ensure a clear path between the power source and the gazebo for wiring.
Local Codes and Permits
Different areas have specific rules for gazebo size, location, and materials. Some require permits. Check with your local authorities and homeowners association (HOA) for guidelines. Even if permits aren't needed, local codes often suggest footing depth. In colder climates, footings should be below the frost line to prevent shifting with freeze-thaw cycles.
Choosing the Right Design and Materials
Select materials that withstand the elements and require minimal maintenance. Cedar and redwood are excellent wood choices, naturally resistant to decay and insects. Metal or vinyl options can be great for low upkeep. Decide on the shape—traditional octagonal or modern rectangular designs. Your gazebo should complement your home's style. Browse free plans online to find a design that fits your space and needs.

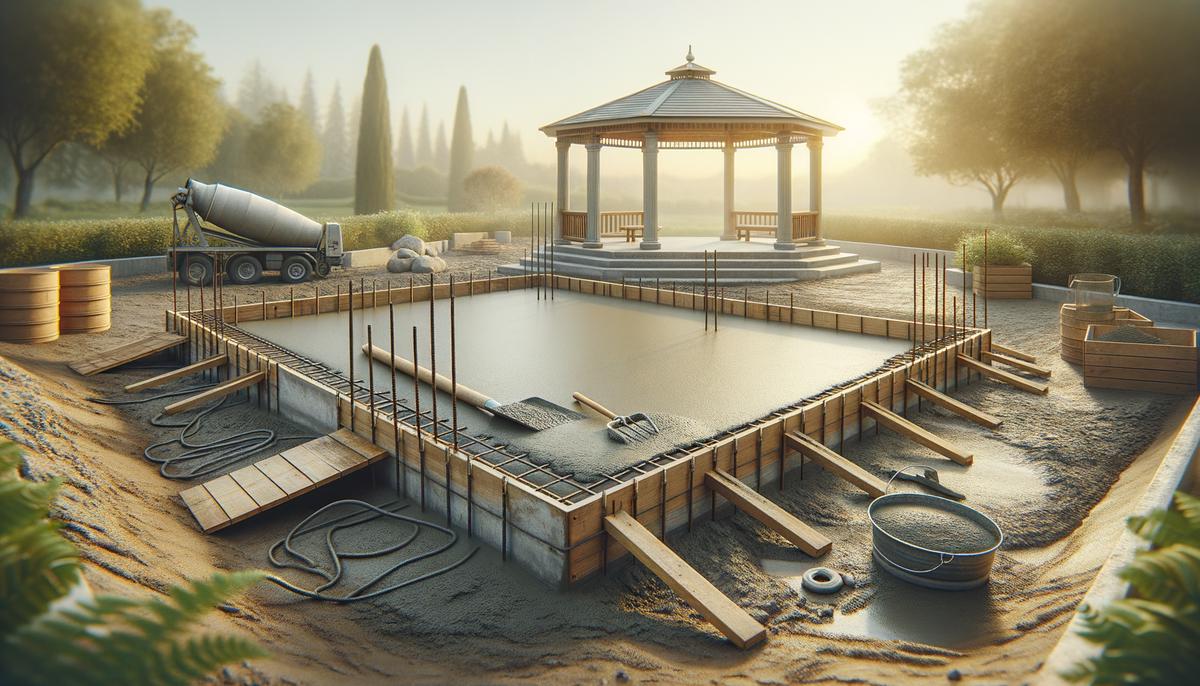
Building the Base
A solid and level base is crucial for your gazebo's stability and longevity. Choose between a concrete slab or wooden foundation.
Concrete Slab Foundation
- Mark the perimeter
- Dig to the required depth
- Add a gravel layer for drainage
- Lay a metal rebar grid for strength
- Pour concrete and smooth it
- Allow at least a week for curing
Wooden Foundation
- Use pressure-treated lumber
- Build the outer frame, ensuring it's square and level
- Dig holes for the gazebo posts using a post-hole digger
- Place posts in holes, using quick-setting concrete to fill them two-thirds full
- Check that posts are level and plumb while concrete sets
- Fill the remaining space with dirt
Regardless of foundation type, ensure the base is level before proceeding. This foundational work sets the stage for everything that follows.
Framing and Roof Installation
Begin by positioning and securing the corner posts. Ensure they are plumb and equidistant. Use clamps or temporary bracing to hold them while the concrete sets.
Attach bracing beams perpendicular to the posts and securely bolt them. Position them around 2 inches from the top and bottom, depending on plans for windows or other features.
Install top beams to connect the corner posts' tops, forming the upper framework for your roof. Use 4×4 beams and create half-lap splice joints at the ends for a snug fit. Glue them together and bolt them to the posts. Ensure everything is level.
Roof Construction
- Choose your roof type—hip, peak, or slope
- Cut roof beams to length and secure them in place
- Add collar ties or knee braces for extra stability, especially in windy areas
- Install rafters, spacing them evenly and attaching securely at both the ridge and top beams
- Add fascia boards to the edges for a neat finish
Cover the roof with your chosen material, starting from the bottom and working up. Overlap each layer for effective water drainage and follow manufacturer's installation guidelines.

Finishing Touches
Painting and Staining
Paint or stain your gazebo to enhance appearance and protect from the elements. Choose high-quality products designed for outdoor use. For a natural look, consider a translucent or semi-transparent stain. For a bold aesthetic, choose a solid color. Ensure the wood is clean and dry before applying.
Decorative Elements
- Hanging flower pots
- Window boxes
- Trellises
- Lattice panels between posts
- Gingerbread trim or ornate scrollwork
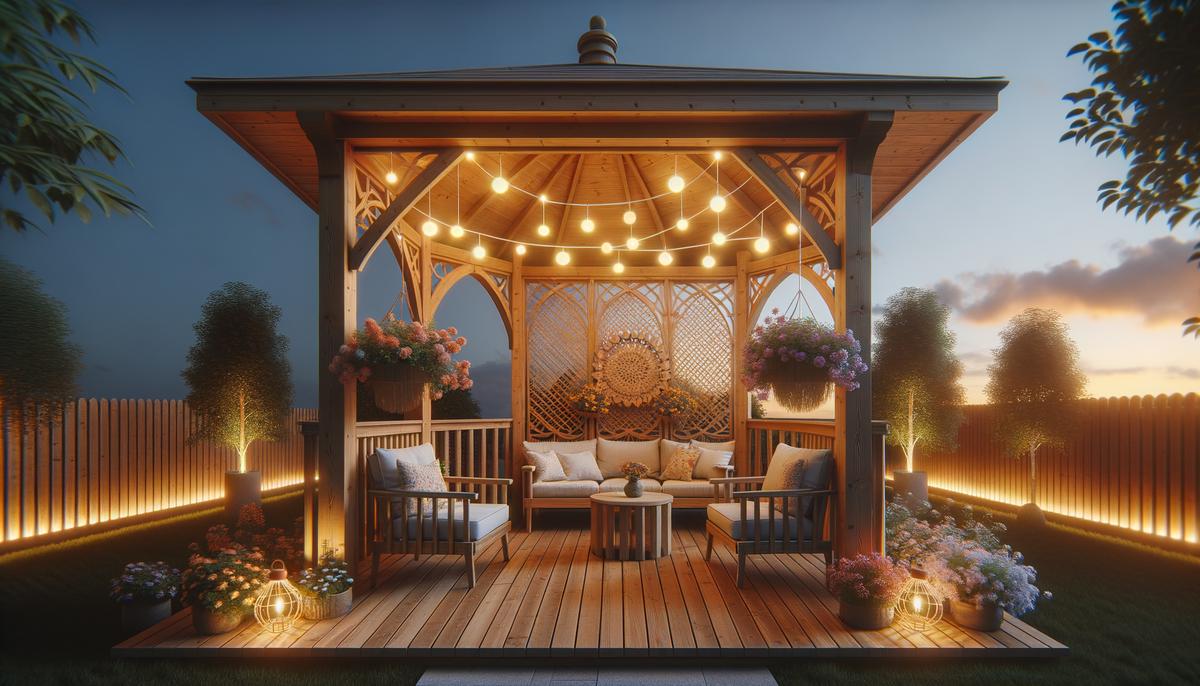
Lighting Options
Install lighting to transform your gazebo at night. String lights, solar-powered lanterns, or a central pendant light can create ambiance. For functionality, add motion-sensor or pathway lights.
Furniture and Comfort
Choose comfortable, weather-resistant furniture like cushioned chairs, benches, or a swing. An outdoor rug defines the space, while a small table or bar is perfect for entertaining.
Functional Additions
- Curtain rods for outdoor curtains
- Serving ledge
- Storage bench
- Weatherproof Bluetooth speaker system
- Small ceiling fan
These finishing touches will transform your gazebo into a personalized outdoor retreat that reflects your style and meets your needs.
- Smith J. The Complete Guide to Gazebo Construction. Home Builder's Press; 2019.
- Johnson A, Williams R. Outdoor Living Spaces: Design and Construction. Architectural Digest; 2020.
- Brown T. Weatherproofing Techniques for Outdoor Structures. Journal of Home Improvement. 2018;45(3):112-118.