Essential Woodworking Tools
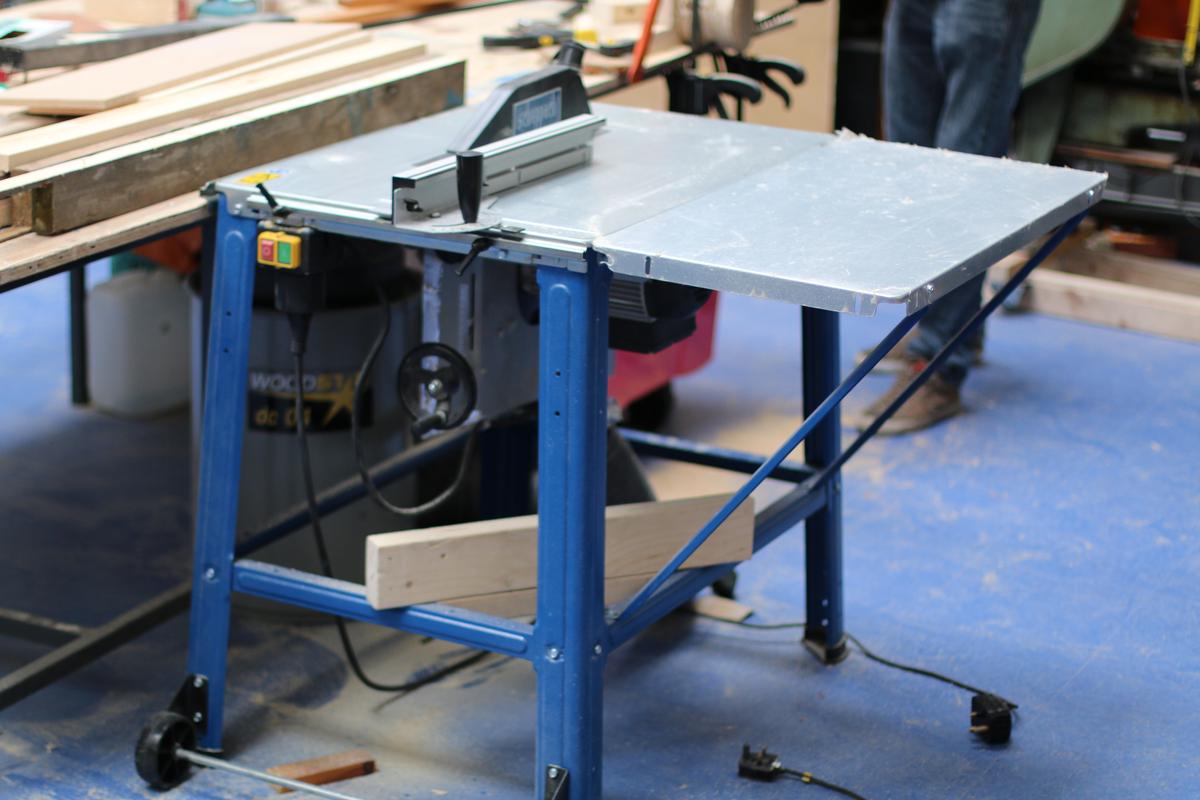
Your foundational buddy is the table saw, revered for its precision and versatility. It's perfect for cutting, cross-cutting, ripping, and more. But be wary of kickback – always maintain control of your work to avoid potential hazards.
The chop saw, or sliding compound miter saw, is ideal for rough cutting lumber before fine-tuning on the table saw. It excels at making angled cuts with ease, though it's not built for precision work.
Hand saws are portable options when you're off the grid.
- Western saws are robust for pushing through wood
- Japanese saws are designed for precision and detailed work, pulling through wood with finesse
Portable circular saws offer flexibility and speed for relatively accurate cuts. But respect the blade and keep your eye on the line – these tools pack power.
Safety gear is a must. Any saw can flick sawdust or blast noise, so wear safety glasses, earplugs, and a respirator to protect your eyes, ears, and lungs.
Each tool serves a unique purpose. Knowing when to employ each one can save you time, effort, and help your project shine.
Milling and Preparing Lumber
Milling is the first step in transforming rough lumber into workable pieces. Start at the jointer to flatten one face of your board. Pay attention to grain direction to avoid tear-out.
Next, the planer smooths the opposite face, making the board uniform in thickness. Remove small amounts of material with each pass to avoid overloading the machine.
Finally, use the table saw to rip the edges parallel. Measure carefully, set your fence, and guide the board through smoothly, using push sticks to maintain control.
Once milled, you've got perfectly prepped lumber, primed for joinery. This up-front work ensures precise fitting pieces in your project.
Everything runs smoother when you take the time to set up your tools properly. Sharp blades and aligned fences make for better cuts and safer work. If something seems off, troubleshoot before continuing. Safety first, precision second.
Sawing Techniques
The chop saw is brilliant for initial rough cuts when breaking down large planks into manageable pieces. But it's not designed for precision.
The table saw is your precision sword for straight, clean edges and accurate dimensions when ripping long planks or making crosscuts. Use it carefully, keeping your wood flat against the fence and using push sticks to guide the material and avoid kickback.
The bandsaw excels in making rough, unique or curved cuts, like cutting chair leg outlines or intricate designs. It's also well-suited for resawing boards into thinner pieces.
For ultra-fine, delicate work like cutting intricate patterns or fine curves, the scroll saw is unbeatable. Take it slow and think of it as a graceful, methodical dance.
Hand saws like Western and Japanese saws are useful tools.
- Western saws are sturdy workhorses for pushing through wood
- Japanese saws are designed for finesse and refined, detailed cuts by pulling the blade
The portable circular saw offers power and portability for making relatively accurate cuts on-site when you need flexibility.
Safety first – wear proper protection, maintain a clutter-free workspace, and respect these powerful tools.
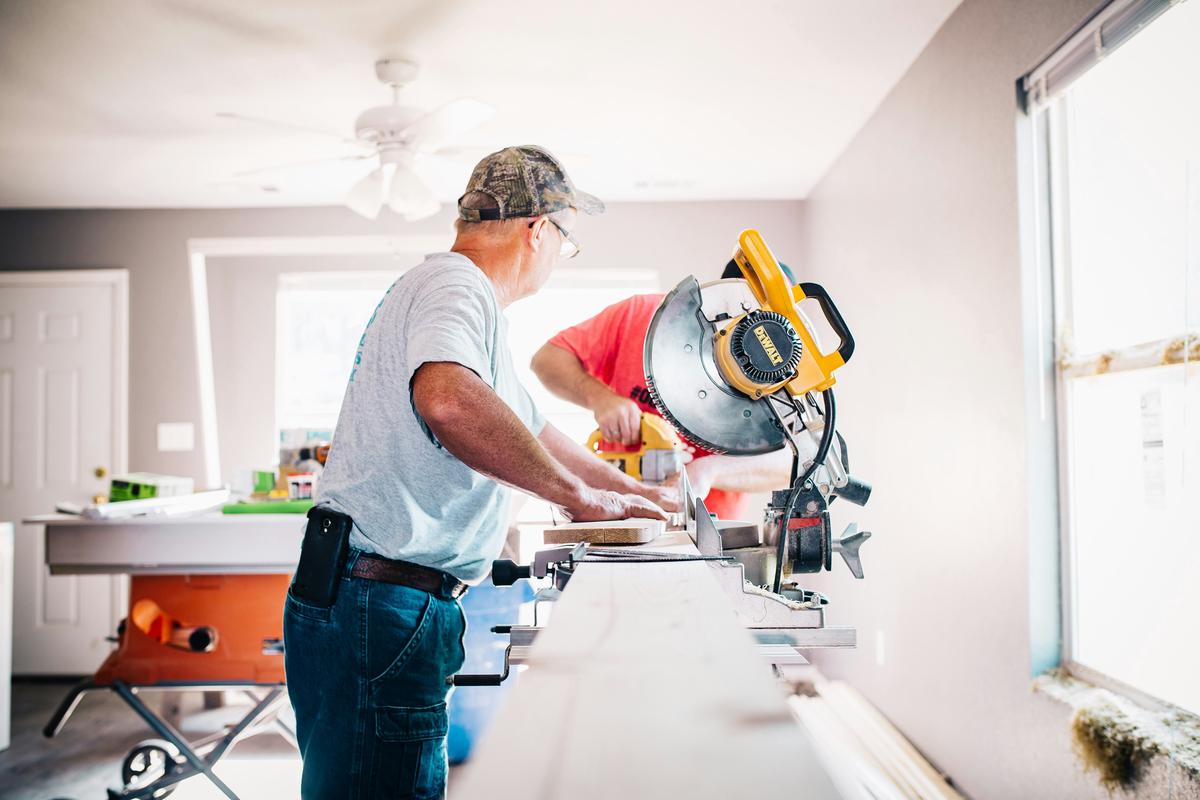
Photo by anniegray on Unsplash
Drilling and Boring
Drilling and boring require selecting the right drill bit for the task.
- Twist bits are versatile for everyday needs
- Forstner bits create clean, flat-bottomed holes ideal for dowels or recesses
- Spade bits are best for quickly boring large holes
Operating your drill at the correct speed is crucial. Small bits thrive on high RPMs, while larger bits need to go slow and steady to avoid overheating and dulling.
When drilling deep holes, periodically pull the bit out to clear debris and allow cooling to ensure a cleaner cut and extend bit life.
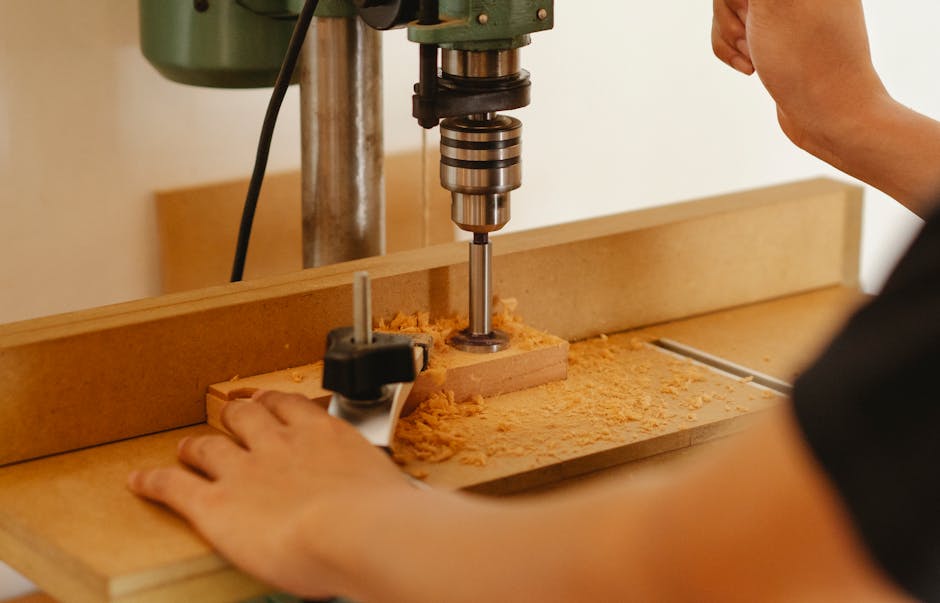
A drill press offers near-perfect precision for perpendicular holes when exact alignment is crucial. Set your depth stop and secure your workpiece with clamps.
Handheld drills provide flexibility and convenience for quick jobs or tight spaces where a drill press can't reach.
Start with a smaller pilot hole when drilling large diameters to guide the bigger bit and prevent wandering. If resistance occurs, slow down, back the bit out, and check for buildup.
Keep your drill bits organized, well-maintained, and replace dull ones. Sharp bits make clean holes and reduce drill strain.
Proper drilling and boring ensure everything aligns as it should in your project, whether assembling furniture, mounting hardware, or creating intricate joinery.
Routing and Shaping
Routers are game-changers for precision shaping. Handheld routers offer mobility and versatility for tasks like edge treatments, while table-mounted routers provide steadier, controlled cuts for consistency and repetitive tasks like dados or rabbets.
Choose the correct router bit for your desired outcome – straight bits for simple grooves or specialized bits like dovetail or chamfer bits for joinery and decorative edges.
Never rush with routers. Slow, controlled passes yield the best results while minimizing tear-out or burning. Wear proper protection from noise and flying debris.
Hand tools like rasps and files are indispensable for fine-tuning and shaping areas routers can't reach. A 4-way rasp is versatile, with coarse and fine textures for quickly removing material and smoothing.
Secure your work with clamps for controlled, even strokes when hand shaping. Different wood species have distinct grains and hardness levels that require varying efforts.
After shaping, don't skip sanding. Start coarse to knock off rough spots, then progress to finer grits for a smooth finish, using blocks or flexible sandpaper as needed.
Shaping wood requires patience, taking your time, and practice to achieve precision and craftsmanship in every project.

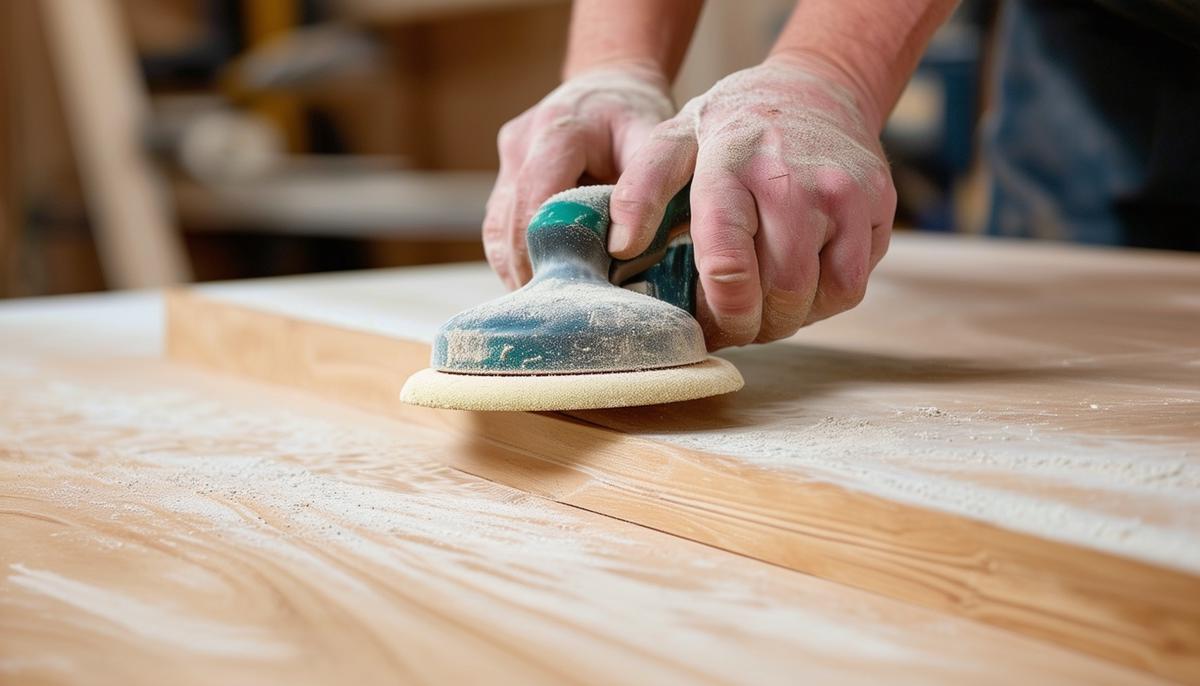
Sanding and Finishing
Sanding and finishing are crucial processes that transform a rough, machined piece of wood into a sleek, polished creation that's both visually appealing and durable. Let's start with sanding, which preps your wood for the finish.
Whether sanding by hand or using powered sanders, the goal is to remove any rough spots and achieve a smooth, even surface. Start with a coarse grit paper, usually around 100-120, to tackle initial roughness and planer marks. Always sand in the direction of the grain to avoid unsightly scratches running perpendicular to the wood's patterns.
After the coarse grit, move to a medium grit around 150-180. This will refine the surface and remove deeper scratches left by the coarser paper. Continue this progression patiently; rushing can leave visible scratches when applying the finish.
The final sanding stage involves using fine grit paper, typically between 220-320. This level of sanding is all about finesse, ensuring the wood is utterly smooth to the touch. Consider using a sanding block or foam-backed sandpaper for even pressure on flat surfaces, and flexible sandpaper for curves and edges.
Once your piece is baby-smooth, it's time for the finish, which serves both protective and aesthetic purposes. There are two primary categories: penetrating and surface finishes.
Penetrating finishes like oils soak into the wood and harden from within, accentuating the grain's depth and richness for a natural, warm look. Tung oil and Danish oil are popular choices, easy to apply with a cloth and without creating a surface film.
Surface finishes like varnishes, lacquers, and polyurethane form a protective layer on top of the wood, offering robust protection against moisture, heat, and daily wear. These finishes are ideal for surfaces that see a lot of use. They typically require several coats, each lightly sanded between applications for a smooth, even finish.
Apply the finish to all parts of your project, even the hidden ones, to prevent uneven expansion or contraction that can lead to warping or cracking over time.
Applying the finish requires patience and smooth technique. For oils and penetrating finishes, use a clean, lint-free cloth. For surface finishes, use a high-quality brush or sprayer, applying in thin, even coats.
Sanding and finishing are essential steps that make your project truly stand out. Smooth, evenly sanded wood takes finish beautifully, enhancing the grain and color with vital protection.