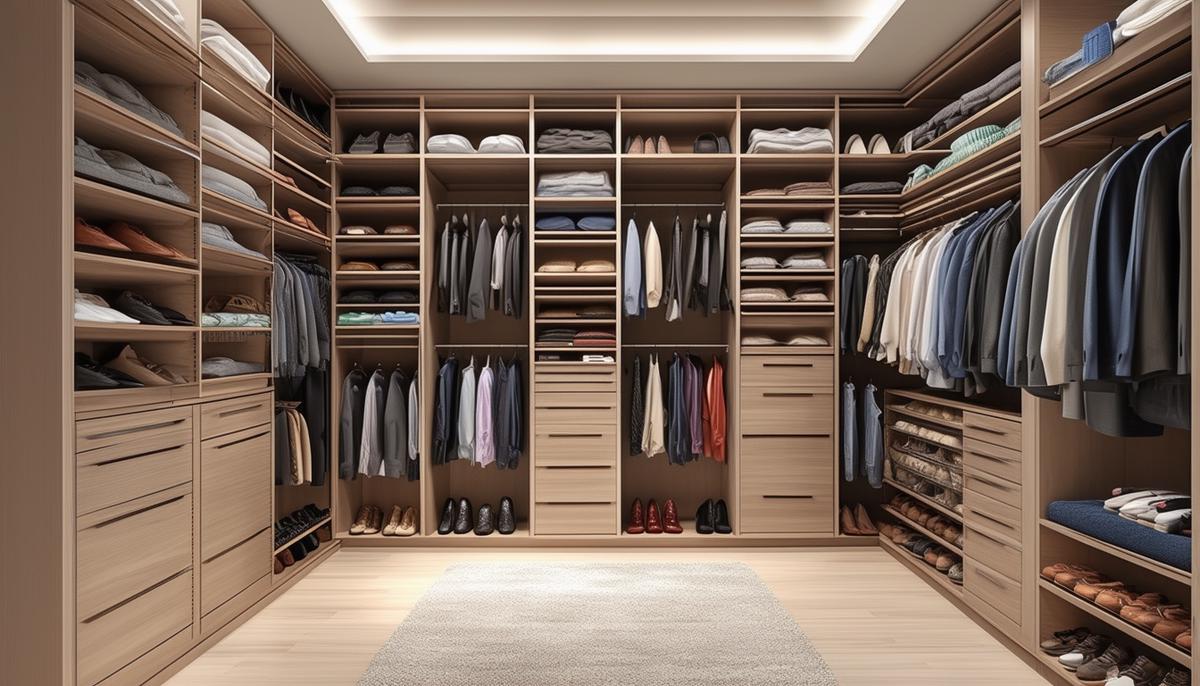
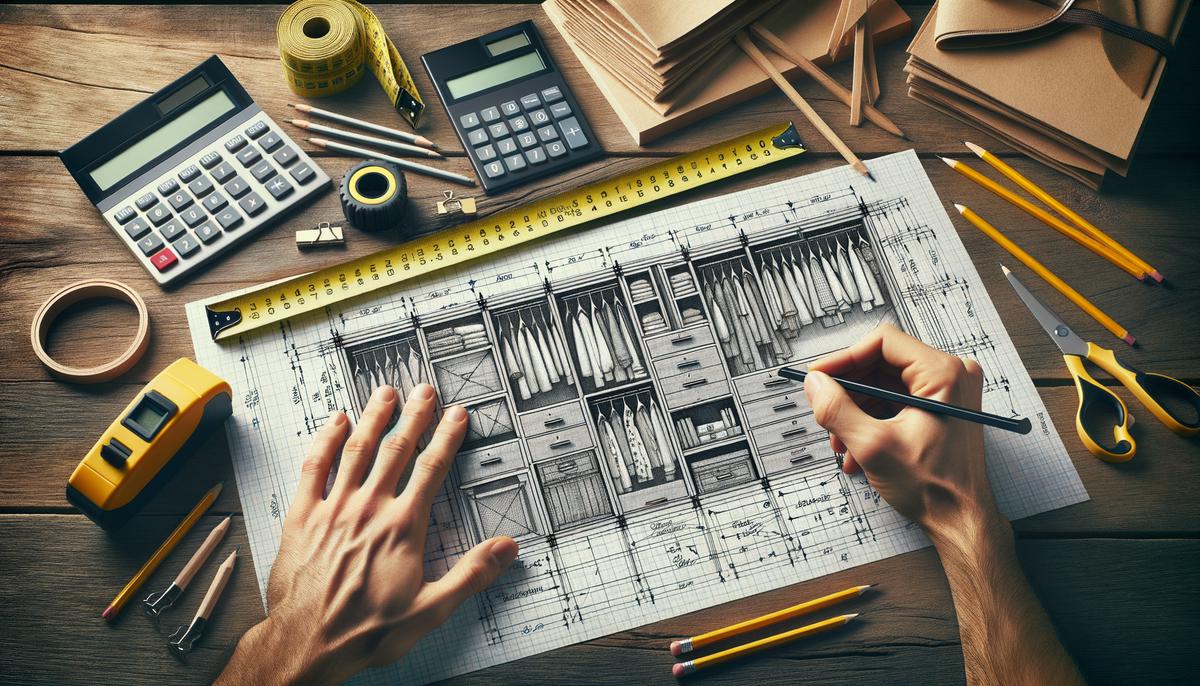
Planning and Design
Start by taking exact measurements of your closet. Use a tape measure to record the height, width, and depth in multiple spots. Evaluate your belongings, counting shoes, measuring dresses, and noting bulky items like winter coats.
Create a layout for the project. Place frequently worn items at eye-level. Store less-used items up high and hide less attractive ones down low. Sketch your plan for a helpful visual reference.
Choose materials that fit your budget and goals. Plywood, particularly Baltic birch, is strong and reliable. MDF is cheaper but can warp with heavy loads.
- Gather tools:
- Circular saw for cuts
- Stud finder to secure everything properly
- Power drill for convenience
- Level to ensure correct alignment
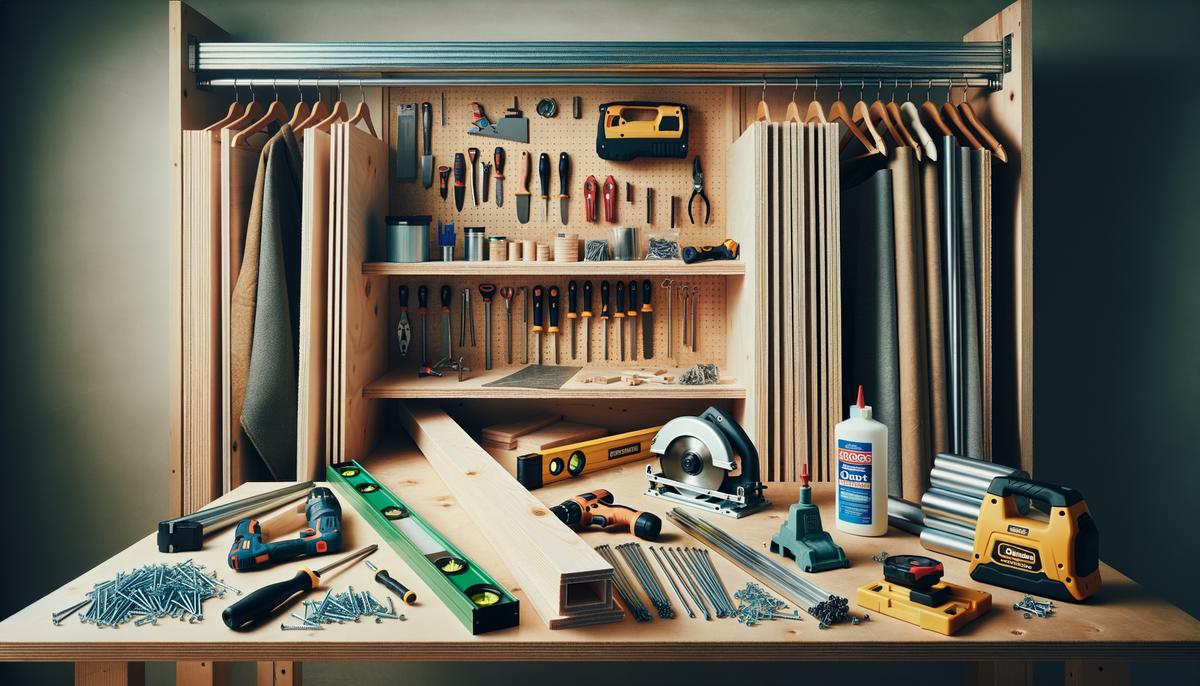
Materials and Tools
Key materials include plywood, wood glue, wood screws, closet rods, and finish trim. Baltic birch plywood is excellent for most DIY closet projects. MDF is an alternative for tighter budgets but is more susceptible to warping. Use 4'x8' plywood sheets, with 3/4" thickness for strength and stability.
Stock up on reliable wood glue like Titebond III. Get a variety of wood screws, with 1" screws handling most tasks. Invest in sturdy closet rods that can support multiple hangers without bending.
Essential tools:
- Table saw
- Circular saw
- Power drill/driver
- Clamps
- Random orbit sander
- Stud finder
- Level
Organizing everything beforehand will save you trouble later and allow you to start your project confidently.
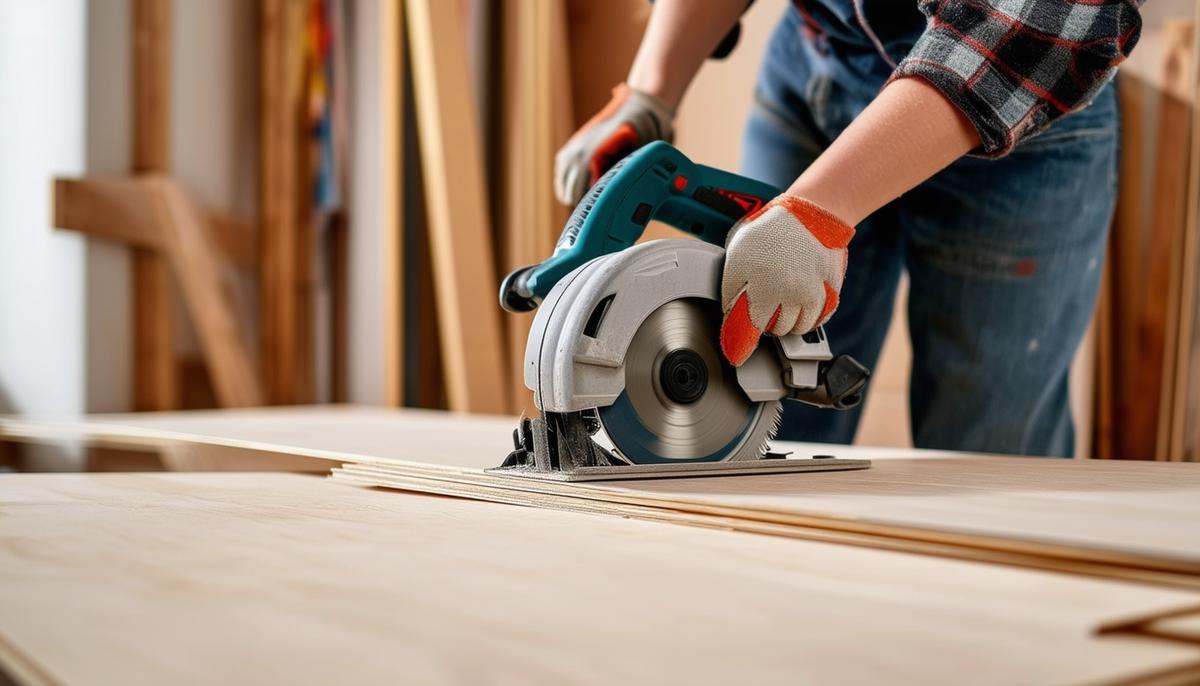
Cutting and Preparing Wood
Start by ripping your plywood to the correct width using a table saw. Set and lock your saw guide accurately before proceeding. When handling large sheets, ask for assistance to maintain control and precision.
Use a circular saw for crosscutting the plywood to desired lengths. Clamp a straight-edge guide for true cuts. Applying masking tape along cut lines helps prevent tear-out and results in cleaner finishes.
"Measure twice, cut once" – Old carpenter's adage
Always double-check measurements before cutting to prevent material waste and time spent re-cutting. Mark plywood edges with pencil as a visual reminder throughout the process.
For shelving or divider slots (dados), use a router with a guide. Ensure consistent dados by securely clamping the guide. If you lack a dado router bit of the correct size, use a guide and spacer technique to achieve the exact cut width needed.
Handle cut pieces carefully to maintain material integrity. Stack them neatly, avoiding undue pressure on edges to prevent chipping or warping.
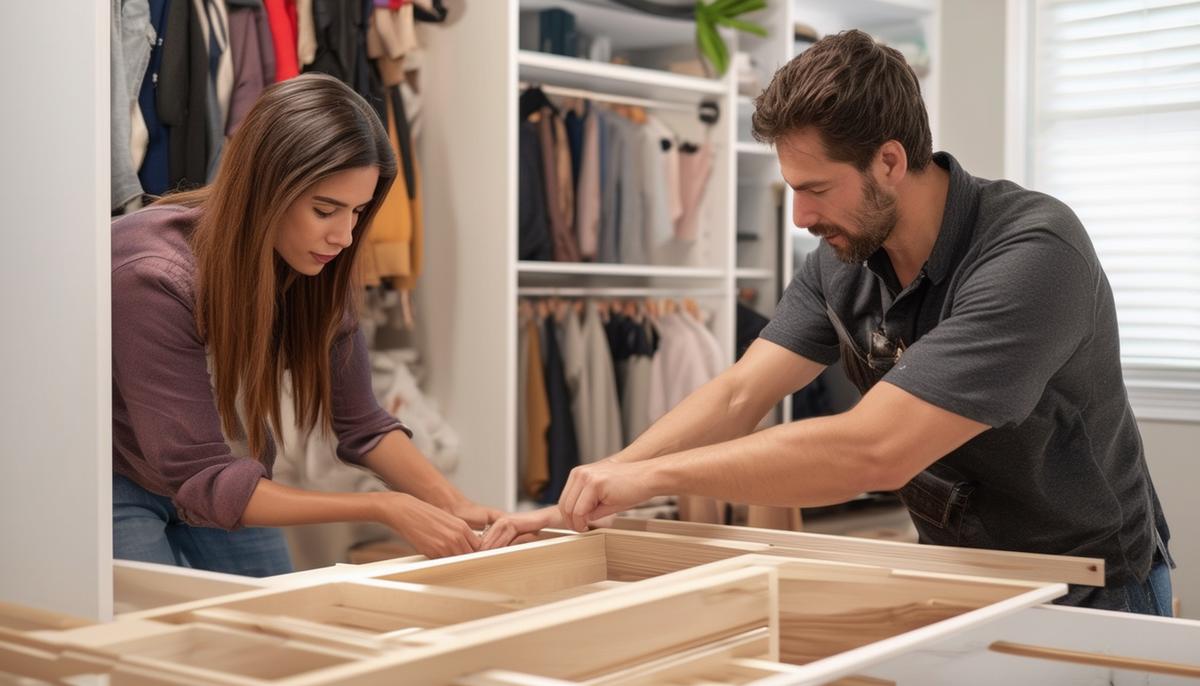
Assembly of the Closet Organizer
- Arrange all your cut plywood pieces and review your design sketch.
- Lay pieces in the order you plan to assemble them to visualize the process.
- Apply wood glue to joints where shelves meet dividers.
- Use clamps to hold pieces firmly in place.
- Align everything carefully before tightening clamps.
Once clamped, use your drill and prepared screws. Drive screws slowly to avoid splitting wood. Pre-drilling screw holes prevents splitting and eases screw insertion. Check for square and alignment frequently.
After securing each piece, remove clamps and lightly sand any glue residue and rough spots. Wipe surfaces to remove dust.
Work systematically as you continue. Add the next set of shelves and dividers by repeating the gluing, clamping, pre-drilling, and screwing process. Keep checking for squareness.
Install vertical dividers and horizontal shelves. If your design includes a central tower, mount it securely next. Use corner brackets for additional support if necessary.
Ensure all pieces are flush and level. Allow glue to dry fully as specified by the manufacturer—typically around 24 hours.
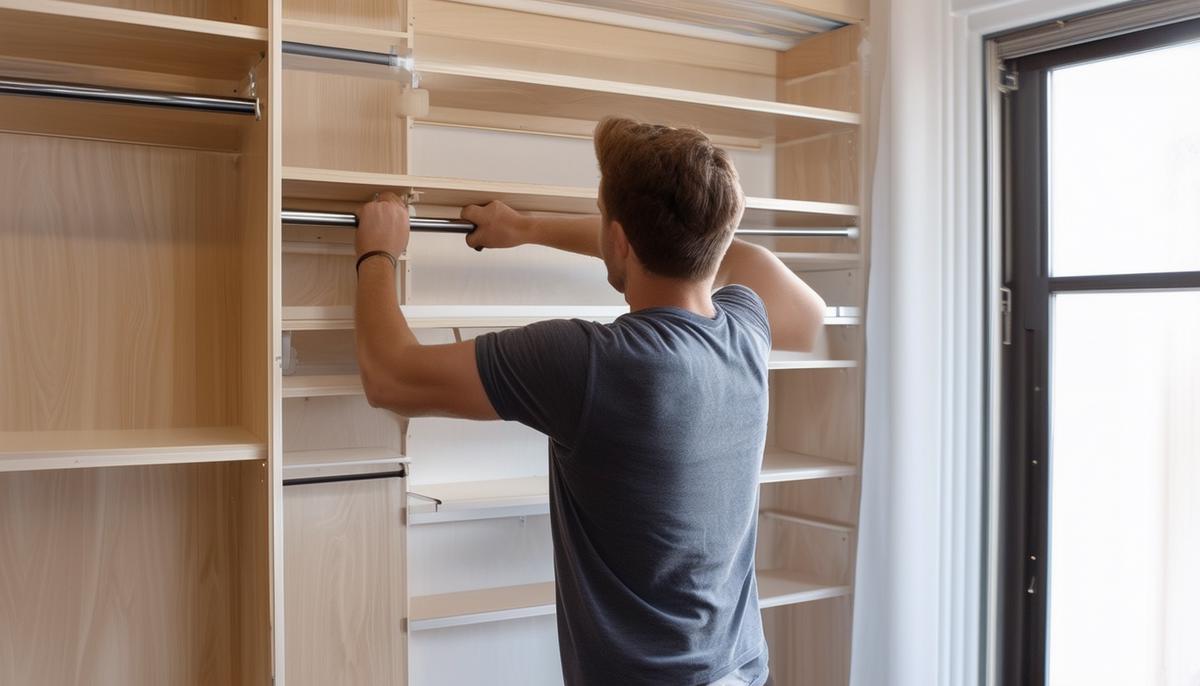
Adding Shelving and Rods
Use a stud finder to locate wall studs for mounting supports. Mark their positions with a pencil. Attach shelf supports to studs using 3" wood screws. Use a level to keep everything straight.
For lower shelves, attach supports eight inches from the floor. Space additional supports based on your storage needs. A standard spacing of 12-16 inches works for most shelving.
| Item | Height from Floor |
|---|---|
| Shirts and Blouses Rod | 40 inches |
| Dresses and Coats Rod | 60-66 inches |
Install closet rods at the heights indicated above. Use double rods when possible to maximize hanging space. Securely fasten rod flanges to studs using 1.5" screws.
For adjustable shelves, drill holes at regular intervals along vertical dividers' insides. A shelf pin jig ensures evenly spaced and aligned holes. Insert shelf pins at desired heights.
Consider adding features like drawers or cubbies based on your needs. Pre-built drawer units can be slid between shelves or dividers. Secure these with screws to prevent wobbling.
To finish, apply trim to shelf front edges. Fill visible screw holes with wood filler, sand smooth, and apply your finish—paint or stain. A clear polyurethane coat adds durability.
Finishing Touches and Installation
With the main structure of your custom closet organizer complete, let's focus on the final steps to elevate its appearance and functionality.
Refining the Edges
- Apply edge banding or trim to plywood edges
- Measure and cut trim pieces to fit
- Glue in place, using clamps or tape to hold while drying
Concealing Screw Holes
- Use wood plugs for a professional finish
- Cut plugs from the same wood type
- Glue into holes and trim flush once dry
- Sand for a seamless blend
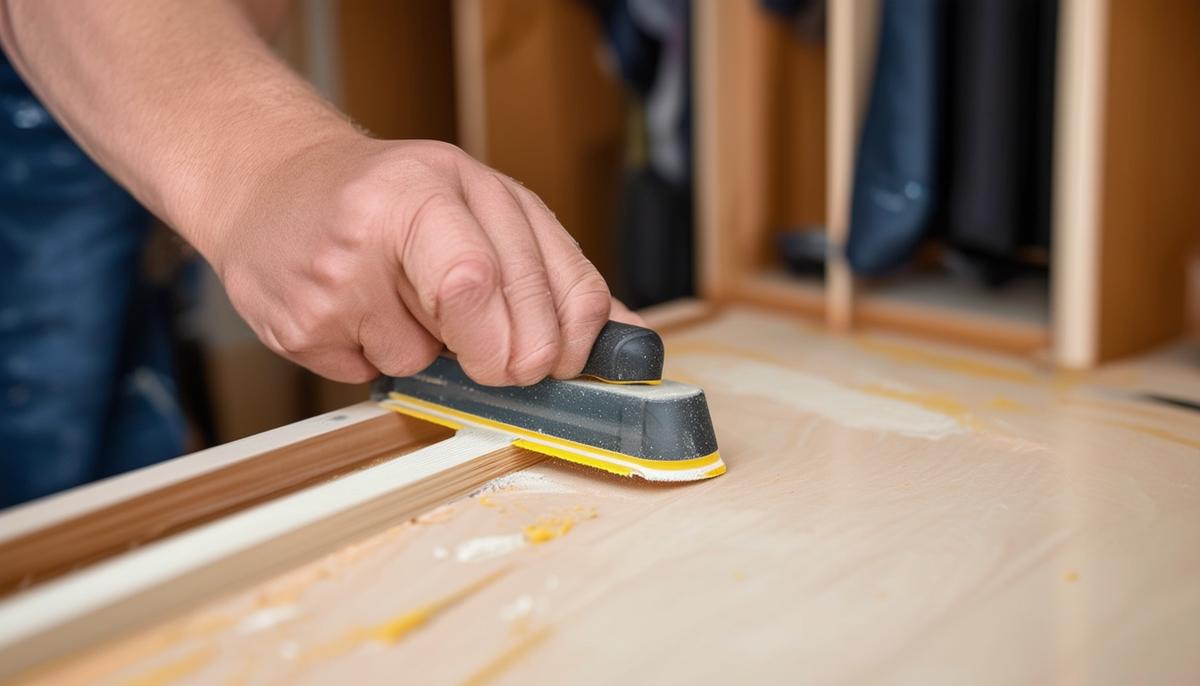
Sanding Process
Sand the entire unit, progressing from medium-grit (150-grit) to finer grits (220-grit). Utilize a random orbit sander for efficiency, but hand-sand hard-to-reach areas for thorough coverage.
Finishing
Apply a water-based polyurethane finish to protect and enhance the wood's natural beauty. Use thin, even coats, following the wood grain. Allow each coat to dry fully before lightly sanding and applying the next. Pro tip: Two to three coats usually suffice for optimal protection.
Installation
Secure the organizer to the wall to prevent tipping:
- Locate wall studs
- Drill pilot holes through back braces
- Anchor the unit with 3-inch screws
- Use at least two screws per stud along vertical supports for even load distribution
Important: Double-check that everything is level and straight, making minor adjustments as needed.
Arrange your essentials in a logical order, making items easy to find and store. This method provides a custom look without the high cost of professional services. Enjoy your functional, stylish closet organizer!
"For every minute spent organizing, an hour is earned." – Benjamin Franklin
Remember, a well-organized closet can reduce stress and save time in your daily routine1. With your new custom closet organizer, you'll experience the benefits of improved organization and maximized storage space.