
Butt joints are a fundamental aspect of woodworking, accessible to both seasoned carpenters and weekend DIY enthusiasts. Understanding how to create and reinforce these joints can significantly improve the strength and durability of your projects.
Understanding Butt Joints
A butt joint connects two wood pieces at 90 degrees, forming a corner. You simply place the end of one board against the face of another. This basic joint needs reinforcement for added strength.
Making a Butt Joint
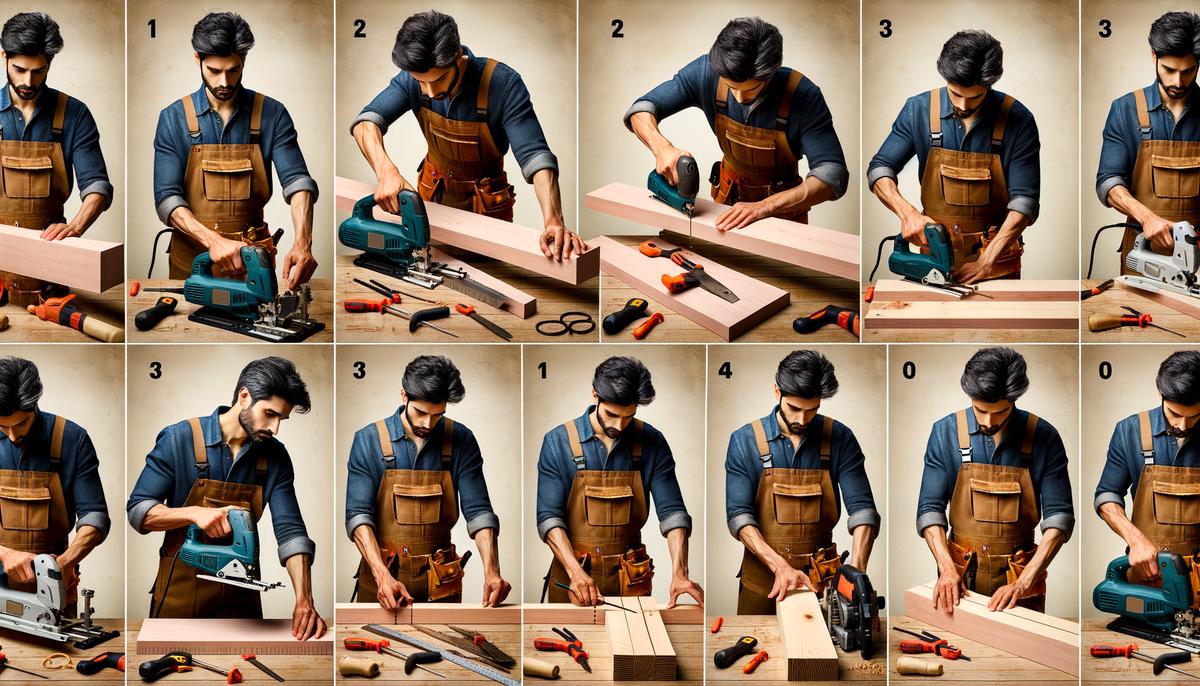
Start with two pieces of wood and basic tools: a tape measure, pencil, saw, wood glue, drill, and screws or nails. Here's the process:
- Measure and Mark: Use a tape measure to mark where cuts are needed. Double-check measurements.
- Cut the Wood: Make precise cuts, using a miter saw set to 90 degrees for square cuts if available.
- Dry Fitting: Place the end of one cut board against the face of the other. Mark reference points for alignment.
- Drill: Pre-drill holes through the face of one board into the other with a drill bit slightly smaller than your screws.
- Apply Glue: Apply wood glue generously on the end grain.
- Assemble: Press the glued end firmly to the face of the second board, aligning the reference marks.
- Fasten: Secure the joint by driving in nails or screws through the pre-drilled holes. Remove excess glue with a damp cloth.
Reinforcing Butt Joints
Butt joints by themselves are relatively weak. Here are methods to strengthen them:
- Nails or Screws: Secure the joint while the glue dries.
- Glue Blocks and Braces: Apply glue to small wood blocks and press them into the inside corners of the joint for added sturdiness.
- Pocket Screws: Drill angled holes and drive screws into them, merging your wood pieces strongly.
- Dowels: These cylindrical pieces of hardwood fit into pre-drilled holes in your joint, boosting strength.
- Biscuits: Wooden "biscuits" inserted into slots cut in the joint pieces swell with glue, anchoring the joint solidly.
- Splines: Insert thin wood strips into slots cut into the butt joint, adding resilience.
- Butterfly Keys: These hour-glass shaped keys are both functional and decorative. Inlay them into the joint surface to keep parts from pulling apart.
Squaring Walls Before Standing Them
- Ensure bottom and top plates are of equal length.
- Place the bottom of your wall where it needs to stand. Nail it in place.
- Measure diagonally from the bottom to the top plate both ways. Adjust until measurements match.
- Toenail the top plate to prevent shifting when applying sheathing.
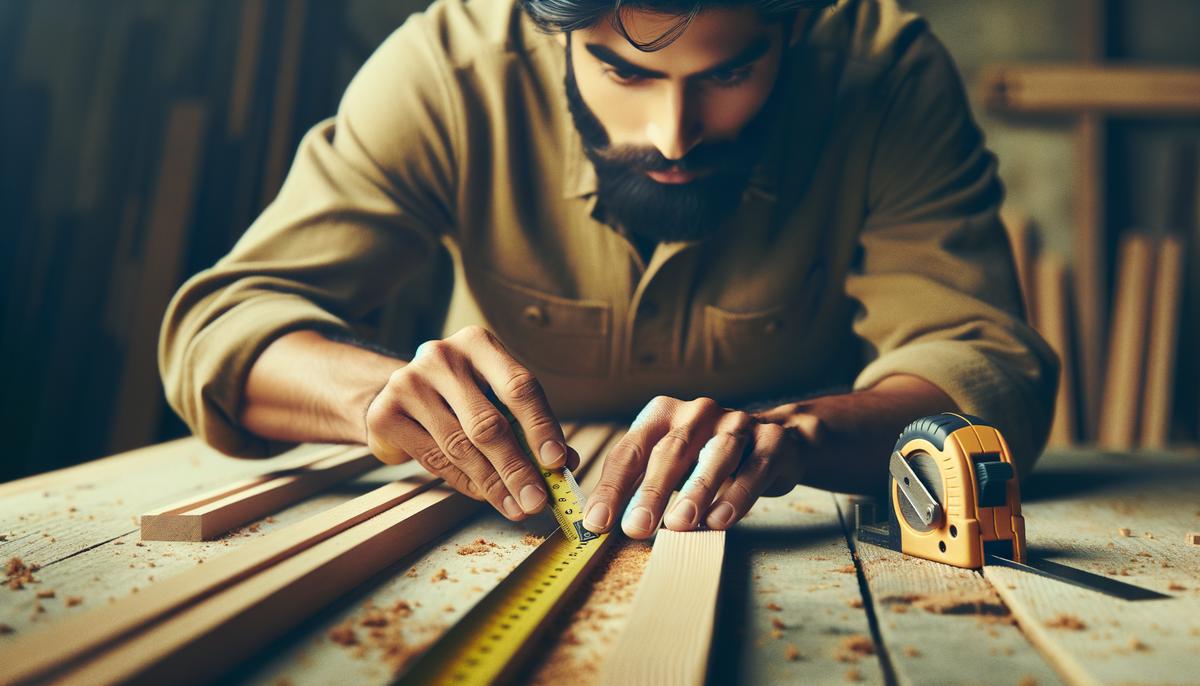
Measuring and Cutting Wood
Accurate measurement and cutting are essential for solid butt joints. Here's how to get your measurements and cuts right:
- Use a tape measure to measure the length you need twice.
- Mark your measurement with a pencil. Align your speed square with the mark and draw a straight line as your cutting guide.
- Set your saw to 90 degrees. The squareness of your cut is crucial for a strong butt joint.
- Cut on the waste side of the marked line to ensure your marked measurement is the true edge of your piece.
- Maintain a steady hand and let the saw do most of the work. Forced cuts often result in uneven edges.
- After cutting, check both the end of the board and your cut line with a try square to ensure a perfect 90-degree angle.
Taking the time to measure and cut accurately ensures strong joints and makes your projects look professional.
Reinforcing Butt Joints
Here are detailed methods to reinforce butt joints:
- Nails and screws: After gluing your joint, drive a few nails or screws into the wood to hold everything tight while the glue sets. Best for utility pieces where diagonal pressure is minimal.
- Glue blocks and braces: Cut small blocks or strips of wood and glue them into the corners. For extra durability, drill a couple of screws through the blocks into both parts of the joint.
- Pocket screws: Use a special jig to drill steeply angled holes into one piece of wood. These hidden screws pull the joints together snugly without needing glue. Good for frames and cabinets.
- Dowels: Drill corresponding holes in both joint pieces and insert dowels along with your glue. Accuracy in drilling is key for proper alignment.
- Biscuits: Use a plate joiner to cut matching slots in both pieces of wood. Insert football-shaped biscuits into these slots with plenty of glue.
- Splines: Insert thin strips of wood into slots cut on the joint's surface. You can cut these slots using a table saw or router.
- Butterfly keys: Inlay these hourglass-shaped keys into the joint surface so that each side of the key anchors a different piece of wood. They prevent the joint from pulling apart and add visual interest.
With these reinforcement techniques, your butt joints will be stronger, more durable, and capable of withstanding daily wear and tear.
Step-by-Step Guide to Assembly
- Measure and Cut:
- Use a tape measure and pencil to mark your wood.
- Use a speed square for a straight edge cutting guide.
- Cut with your saw set to 90 degrees, just on the waste side of your line.
- Drill Pilot Holes:
- Align your cut pieces, placing the end grain of one against the face of the other.
- Mark screw locations and drill pilot holes slightly smaller than your screws.
- Space holes evenly, a couple of inches in from each end, and one or two in the middle.
- Apply Wood Glue:
- Apply a generous bead of glue on the end grain of one piece.
- Spread it evenly for maximum coverage.
- Align the Boards:
- Press the glued end firmly against the face of the other piece.
- Use your marks for precise alignment.
- Secure the Joint:
- Drive screws into your pre-drilled pilot holes.
- For additional reinforcement, consider pocket screws or dowels.
- Clean Up:
- Wipe away any excess glue with a damp cloth before it hardens.
Let the joint dry properly before testing it. This approach ensures a strong, professional-looking butt joint.
Reinforcing butt joints transforms them from basic connections into sturdy structures capable of withstanding daily wear and tear. By applying careful techniques, you ensure that your woodworking projects not only look professional but also stand the test of time. Remember, the strength of your project is only as good as its weakest joint!
- Feirer JL. Wood Technology and Processes. McGraw-Hill Education; 2005.
- Spence WP, Култ ЕВ. Construction Materials, Methods and Techniques. Cengage Learning; 2016.
- Jackson A, Day D. Collins Complete Woodworker's Manual. HarperCollins UK; 2005.