
Design Planning
Before building, visualize and plan the design of your built-ins. Sketch out what you have in mind, or use SketchUp for a 3-D model. This step ensures you nail the exact dimensions. Decide on your end goal first: a library feel with tons of shelves, or hidden storage for items you don't want seen? Keep that primary purpose in mind while drafting your design.
Measure, measure, and then measure again. You want these cabinets fitting like a glove, hugging your walls like they were born there. Think about obstacles like doorbells, crown molding, and light switches—you've got to work around them. For instance, to avoid removing existing crown molding, you might decide to make your cabinets 84" tall instead of floor to ceiling.
Decide whether to use stock cabinets or go truly DIY. Unfinished stock cabinets can be a game-changer, saving time and money while letting you focus on the finishing touches. Skip chunky drawers; upper cabinets about 12 inches deep do the trick better. Elevate them a bit using 1x4 or 2x4 boards to give room for baseboards.
For countertops, painted butcher block is budget-friendly and flexible. For shelving, 1x12 boards or plywood cut to size will work. Don't forget trim like crown molding and baseboards for a finished, custom look. Consider painting colors that match your room but stick out just enough to show off your hard work.
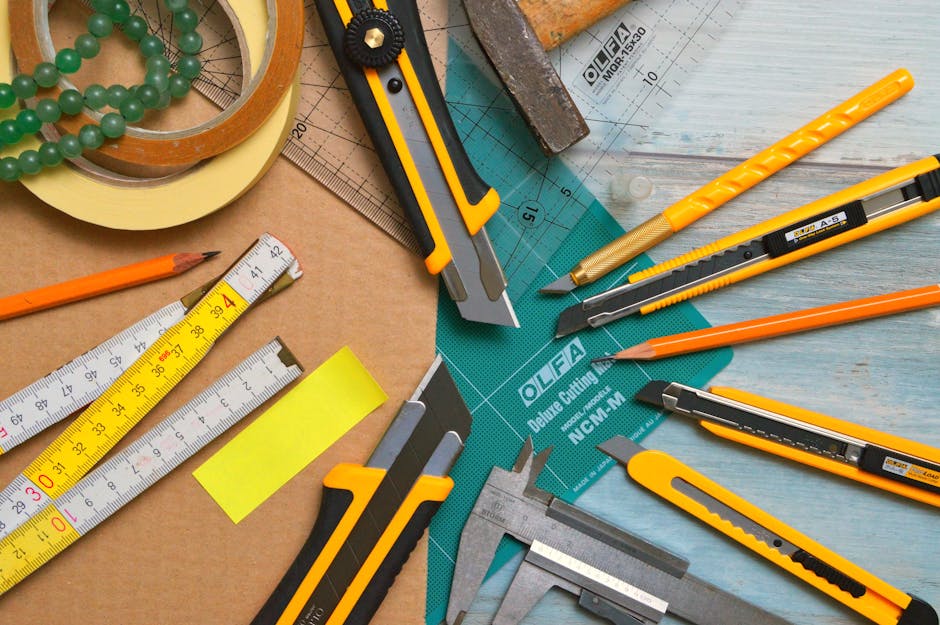
Selecting and Preparing Materials
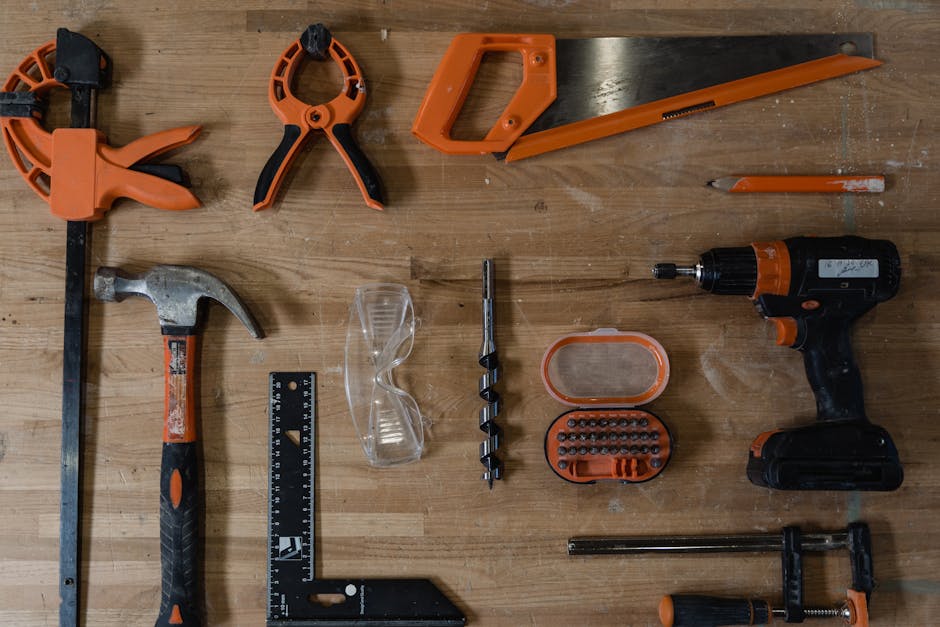
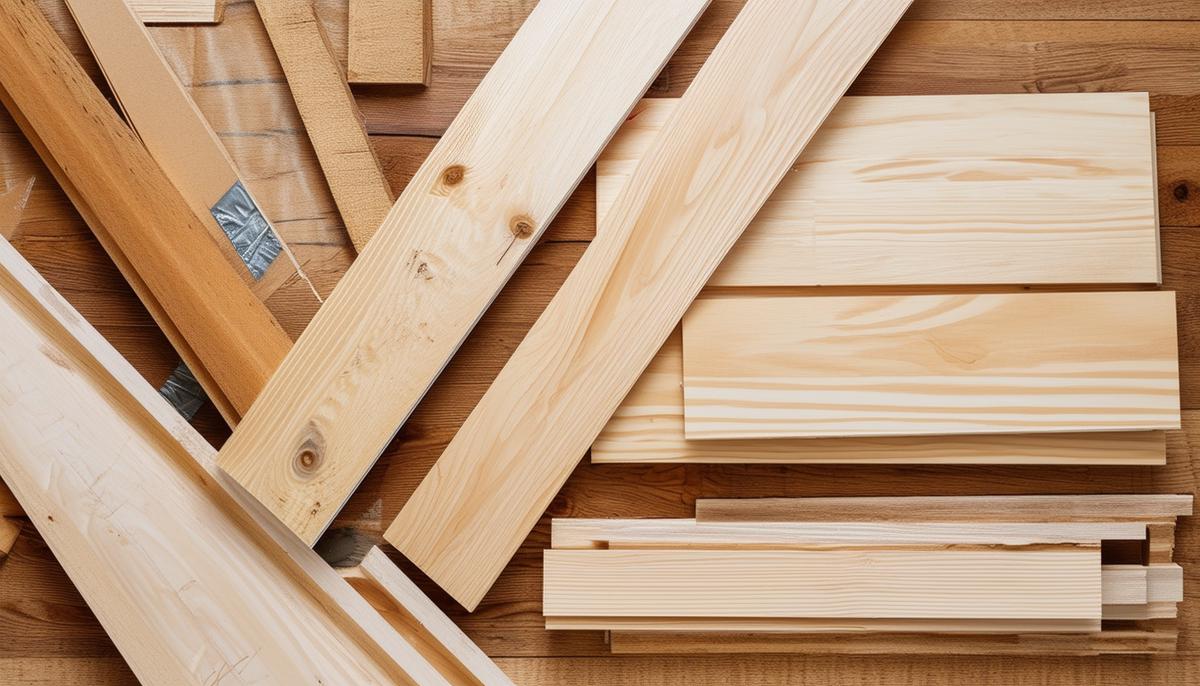
Use quality plywood for durable shelves. Plywood outperforms MDF under heavy loads, so stick with cabinet-grade 3/4-inch plywood for most applications. If you aim for a quicker timeline, consider pre-built base cabinets from stores like Lowe's or Home Depot, but don't compromise on quality.
Wood glue is essential, forming a bond tougher than nails. Apply a generous amount along joints before securing with cabinet screws, specifically designed to handle the weight and stress of cabinetry. Use brad nails and a nail gun for attaching trim pieces precisely.
Primo pine trim boards—1x2 for standard edges and 1x4 for a chunkier look—add that finishing touch. Add crown molding for a professional finish. Nail and glue trim securely for a long-lasting result.
Plan ahead for any electrical needs like outlets, lighting, or power. Integrate these requirements early to make life easier, potentially hiring an electrician for safe, correct wiring. Plan for specific needs like a printer or charging station.
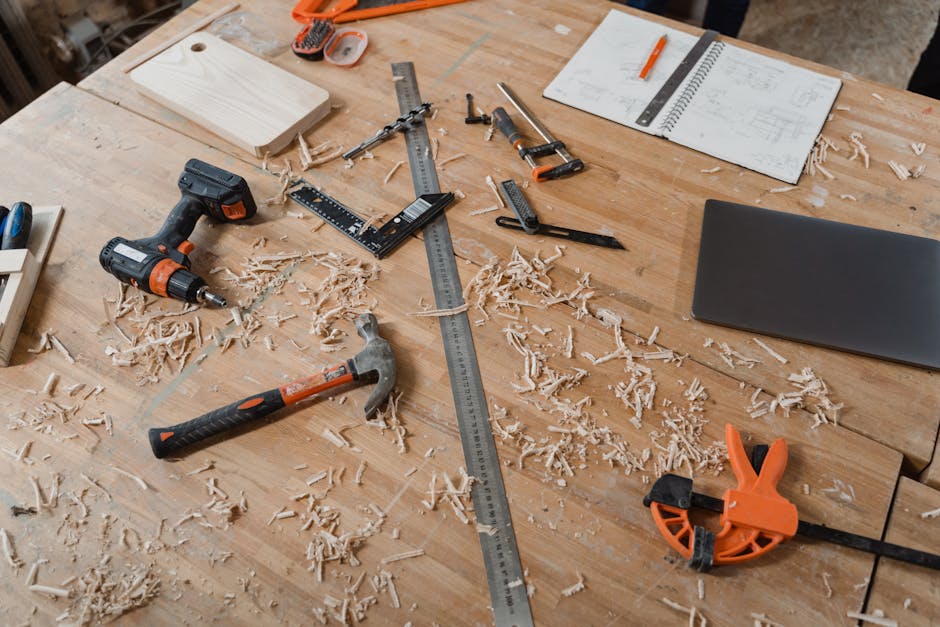
Building and Installing Base Units
Locate the high point of your floor to guide the leveling process. Lay a long level and move it around to identify any dips or bumps, marking the high point. Use shims to level the base cabinets, sliding them under low spots until level. Temporarily fasten cabinets to the wall through the back panel while checking alignment.
Drill cabinets into wall studs using sturdy cabinet screws, ensuring a solid installation. Use a stud finder to mark locations. Connect cabinets side by side, drilling pilot holes between frames and securing with screws and wood glue.
For countertops, dry fit first to ensure a perfect fit, then attach using screws from inside the cabinets where adhesive is applied. Trim with baseboards along bottom edges and a toe kick in front for a finished look. Nail these pieces securely and caulk gaps.
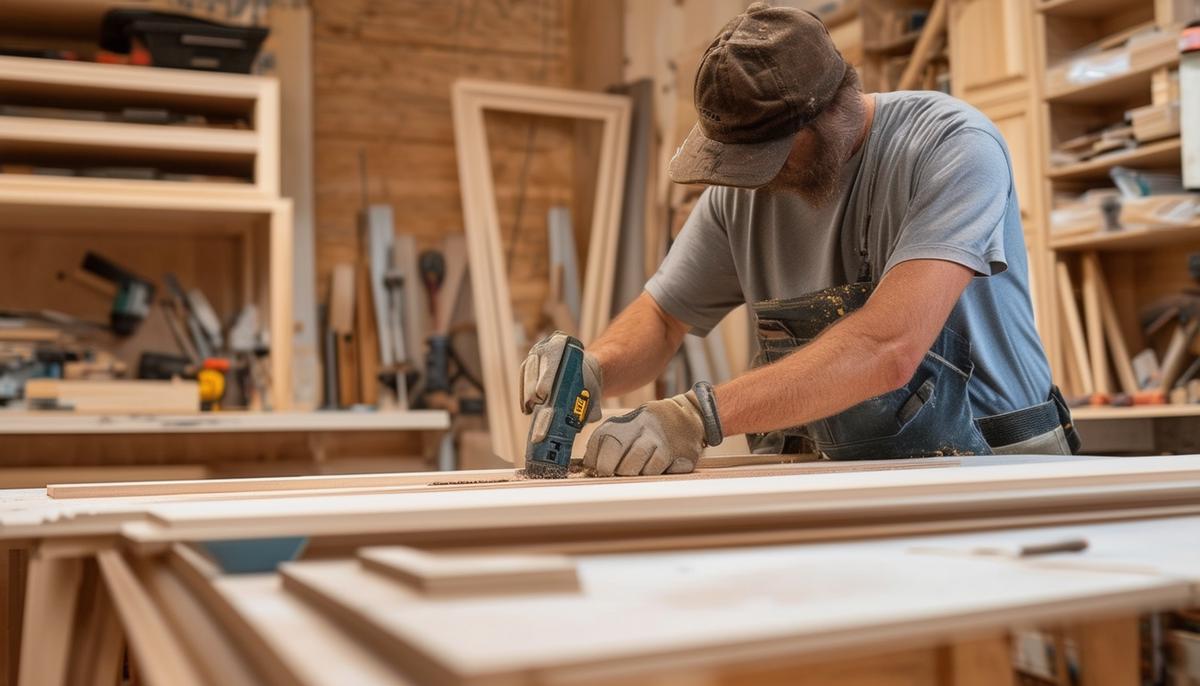
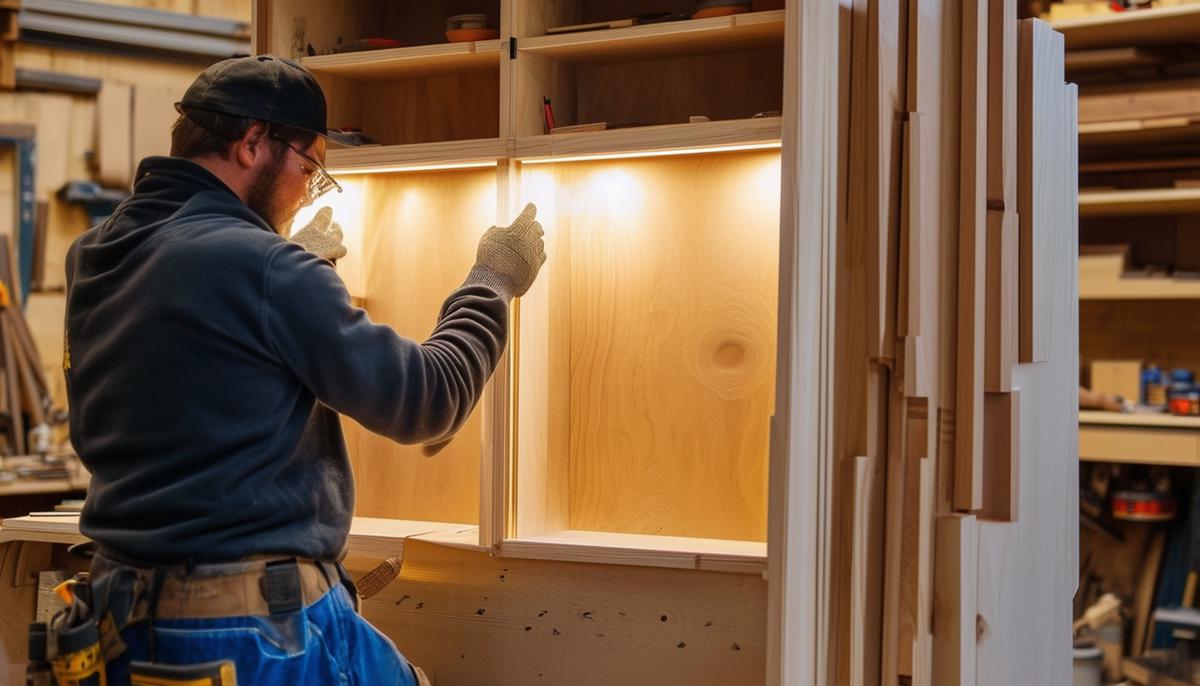
Customizing and Installing Upper Units
Construct side panels using cabinet-grade 3/4-inch plywood, marking shelf spacing around 12-15 inches. Cut plywood to size, joining panels with wood glue and cabinet screws. Use a Kreg Jig for pocket holes where shelves attach for a clean look.
Attach beadboard to the rear using wood glue and brad nails for structural support and a finished appearance. Install shelf towers atop base cabinets, aligning perfectly and securing with cabinet screws into sturdy material. Use wood glue at connections.
Match molding to your room's style, installing crown molding at the top to align with existing crown. Trim the base to match room baseboards for a cohesive built-in look. A compound miter saw helps cut precise molding angles.
Caulk seams and gaps, fill nail holes, and sand the entire surface before painting for a professional finish. Use a high-quality primer and consider an eggshell or satin paint finish.
If adding lighting like LED strips or sconces, plan and install these as you're finishing up to highlight your craftsmanship.
Finishing Touches and Painting
Now that the construction phase is complete, it's time to focus on those crucial finishing touches. This involves filling any nail holes with wood filler, using a putty knife to apply it and ensuring it's leveled off to the surface. Once dry, lightly sand it for a smooth finish.
Next, address the seams and gaps with caulk. Run a thin bead of caulk along any seams where different pieces of wood meet. This step helps seal gaps, preventing dirt and grime from accumulating over time. Once applied, smooth the caulk for a clean line and allow it to dry completely.
Sanding is essential for a flawless finish. Give all surfaces a good once-over with fine-grit sandpaper, around 220 grit, to ensure any rough spots or uneven edges are smoothed out. Wipe down the surfaces with a tack cloth to remove any dust or debris left behind.
Opt for high-quality, durable paint like Sherwin-Williams Emerald Urethane Trim Enamel, which provides a smooth, hard finish that can withstand everyday wear and tear. Consider a satin or semi-gloss finish for a sophisticated look that's also easy to clean.
Priming is vital, especially if you're painting over dark wood or using a light topcoat. A high-quality, stain-blocking primer helps ensure that your finish coat goes on evenly and adheres well.
If you have access to a paint sprayer, utilize it for an even, professional finish. If not, high-quality brushes and rollers can still deliver excellent results—just take your time with even, smooth strokes.
Plan for those final touches that can make a significant difference, like installing hardware such as handles or knobs. Brass or brushed nickel finishes often add a nice touch of elegance.
Lighting and Hardware Installation
Adding picture frame lights to your built-ins can transform them into a sophisticated masterpiece. The warm glow will highlight your displayed items, making them the focal point of the room.
Properly measure for the electrical box locations where your lights will be installed. The placement is crucial; you want to ensure the lights are centered and uniformly aligned. If your lights are hardwired, consult an electrician to handle the preliminary wiring work.
Once the electrical work is prepped, install the electrical boxes securely attached to the wall studs for stability. Pull the wires through the boxes before securing them in place, and connect your picture frame lights to the wiring following the manufacturer's instructions.
Select hardware that complements your design theme. Measure and mark the exact spots where the hardware will be installed for precision and consistency across all doors and drawers.
For added functionality, consider integrating power outlets within the cabinets. This is particularly useful for hidden items like printers or as a charging station for devices. Plan ahead during construction to run electrical wiring to these spots.
By focusing on careful planning, quality materials, and precise execution, you can transform an empty wall into a functional and stylish centerpiece that enhances the overall aesthetic of your home.