
Tools and Essential Materials
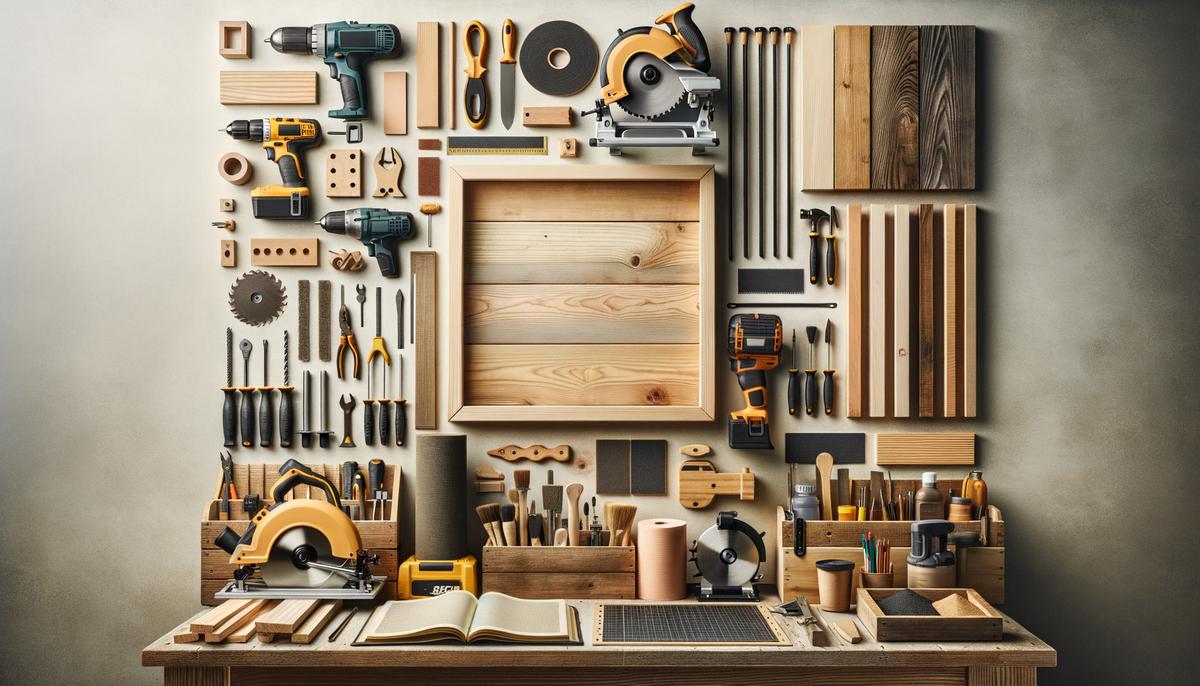
Before diving into the project, it's crucial to gather all the essential tools and materials you'll need. Having everything at hand will make the process smoother and ensure you achieve a polished, professional outcome.
Let's start with the tools:
- A miter saw is indispensable for making precise, angled cuts in your lumber.
- If you have access to a table saw or a track saw, these will help you achieve long, straight cuts in larger pieces of wood or plywood.
- A brad nailer is handy for fastening the boards together quickly and securely.
- A reliable drill is another must-have for making pilot holes and driving screws efficiently.
You'll also need a sander and different grits of sandpaper (80, 120, and 220) to smooth down your wood and prepare it for finishing. A tape measure and pencil are essential for accurate measurements and marking cut lines. Keep a square handy to ensure your corners are perfectly aligned.
Now, let's talk about materials:
- Various sizes of 1x lumber, such as 1x4x8, 1x12x6, and 1x6x6 boards, as well as three 1x2x8 furring strips.
- For the main panel, high-quality 1/4" sanded plywood will provide a smooth, stable surface.
- Don't forget the moulding (such as inside corner and flat moulding) to add those finishing touches around the edges.
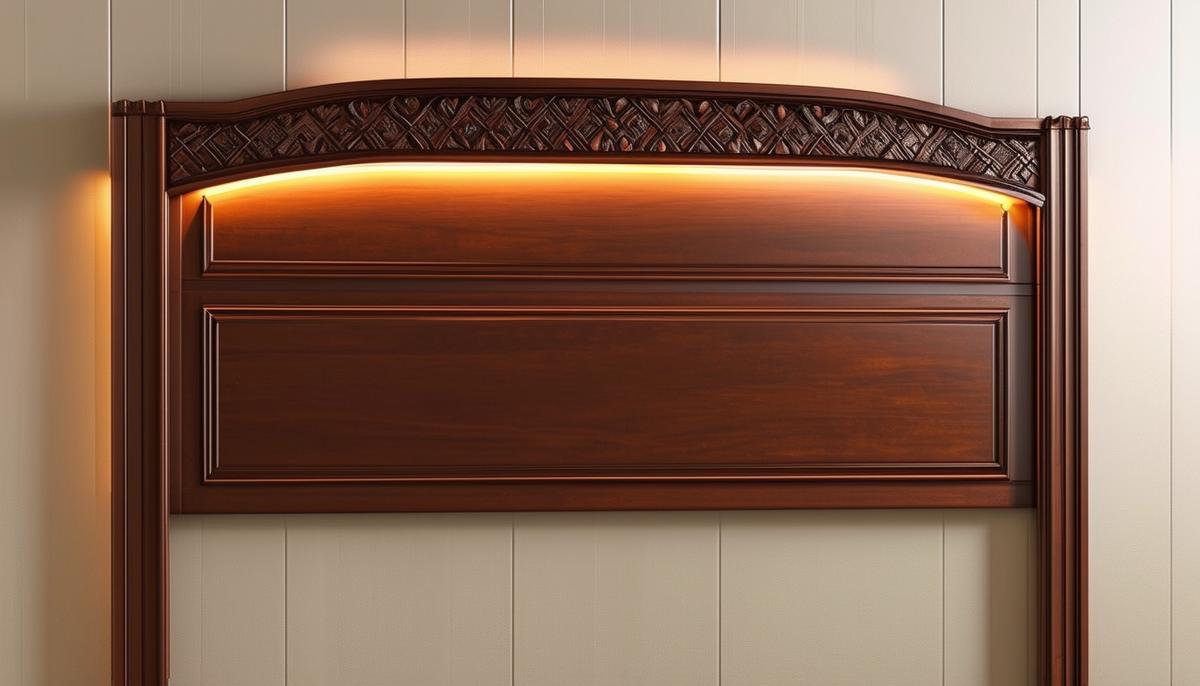
LED light strips are optional but highly recommended if you want to add a modern flair to your headboard. They'll give a subtle, ambient glow behind the panels, creating a cozy and stylish atmosphere in your bedroom.
For fastening, have a variety of nails and screws on hand:
- 1" and 1-1/4" brad nails
- 2" nails
- 1-1/4" #6 screws
- 2-1/2" screws for heavier-duty fastening
- Wall anchors for securely mounting your headboard to the wall
Wood filler will help you hide any imperfections, nail holes, and gaps. Finish the project with paint or stain to match your room's decor. Paintable caulk can be used to fill any gaps between the panels and the frame, giving it a seamless look.
Finally, glue is critical for securing your joints and ensuring the structural integrity of your headboard. Use a high-quality wood glue for the best results.
Having accurate measurements and using quality materials will ensure that your headboard looks great and stands the test of time. With these tools and materials ready to go, you're well-prepared to create a custom wooden headboard that adds a personal touch to your bedroom.
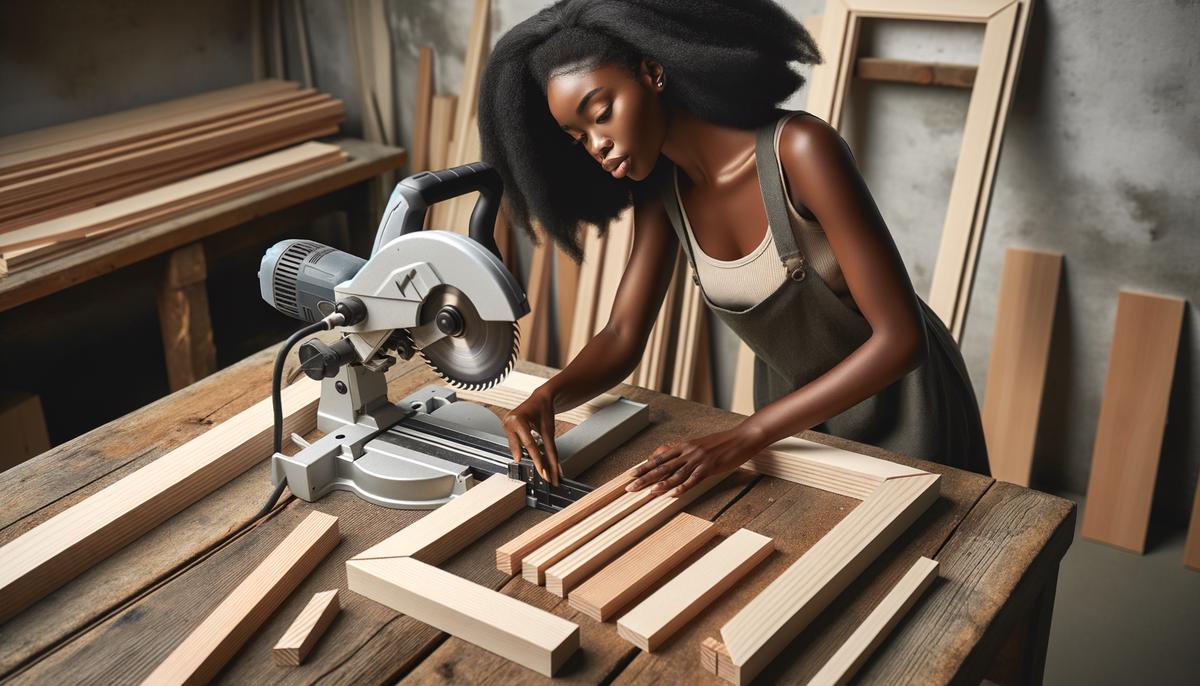
Cutting and Assembling the Frame
Begin by cutting the plywood and outer wood frame parts to the desired measurements. Smooth plywood, free of knotholes or blemishes, will ensure a visually appealing and functional headboard. Measure and cut a piece of plywood to 60×18 inches using a track saw or table saw. Accuracy in this step will make assembling the rest of the headboard much easier.
Next, let's cut the outer wood frame components. Using 1x4x8 boards, cut two pieces to 61 1/2 inches and another two pieces to 19 1/2 inches. Each cut should have a 45-degree bevel at the ends to ensure a snug, seamless fit. This angle will help the pieces come together without any gaps, creating a strong and visually appealing frame.
Arrange the cut pieces into a rectangular frame on a flat work surface. This initial layout will help you confirm that all the pieces fit together correctly. Apply wood glue to the edges where the pieces meet. While the glue is still wet, use a brad nailer to drive 2" nails through the corners to secure the joints. The combination of glue and nails will give the frame both flexibility in assembly and lasting strength.
Check for square alignment during this step. Use a carpenter's square to ensure that each corner forms a perfect 90-degree angle. This step is crucial because even a slight misalignment can throw off the entire project, making it difficult to attach other parts later.
Once your frame is assembled and the glue has dried, it's time to add the internal supports. Using your 1×2 wood, cut two pieces to 60 inches and two pieces to 16 1/2 inches. These will be fastened along the inside edges of the frame. These internal supports will maintain the structural integrity of your headboard, preventing warping or shifting over time.
Apply wood glue to the edges of these support pieces and position them inside the frame. Use 1" brad nails to secure each support piece to the frame. The supports should be flush with the back edge of the frame, creating a level surface for attaching the back panel and the raised panels later.
With the internal supports securely in place, your frame's backbone is now established. This solid foundation will support the stressful moments of installation and daily use while keeping the headboard looking pristine.
Adding and Finishing Details
Now that we've got the main structure of your headboard assembled, it's time to add those final touches that elevate it from a DIY project to a standout piece of furniture. First, we'll focus on adding moulding and finishing the wood with your chosen paint or stain.
Begin by measuring and cutting your moulding to fit around the inside of the frame. You'll need to make precise cuts to ensure a snug, professional finish. A miter saw is ideal for this task, allowing you to cut accurate 45-degree angles. Apply wood glue to the back of each moulding piece and press them firmly in place around the frame's edges. Using your brad nailer, fasten the moulding securely with 1" brad nails. This adds a refined touch and hides any slight imperfections at the frame joints.
With the moulding in place, it's time to prep the wood surface for finishing. Fill any visible nail holes and gaps with wood putty. Allow the putty to dry thoroughly before proceeding with sanding. Begin with 80-grit sandpaper to knock down rough spots, then move to 120-grit for a smoother surface, and finally, use 220-grit sandpaper for an ultra-smooth finish. Sanding is crucial as it prepares the surface for paint or stain, ensuring a uniform and polished end result.
Once your headboard is perfectly smooth, clean off any sanding dust and apply your chosen finish. If you're going for a painted look, apply a coat of primer first, followed by two to three coats of paint. For a stained finish, apply a wood conditioner, then brush on your stain of choice. Wipe off excess stain according to the manufacturer's instructions, and finish with a clear coat to protect the wood and add sheen.
If you opted for LED lights to add a modern touch, now's the time to install them. Thread the LED light tape through the holes you drilled earlier around the support pieces for the floating panels. Secure the lights in place according to the manufacturer's guidelines, using connectors as needed. This feature enhances the aesthetic appeal and adds a cozy, ambient glow to your room.
Finally, to mount your completed headboard securely to the wall, use the French cleat system we prepared earlier. Locate the studs in your wall and attach the wall strip of the cleat so it's perfectly level. It's essential to secure the cleat into studs, as this provides the necessary support for the headboard. Align the cleat on the headboard with the one on the wall, and interlock them to hang the headboard securely. This mounting method ensures stability and allows for easy removal if needed.
You've transformed a collection of wood and hardware into a compelling, custom headboard that brings both style and function to your bedroom. Enjoy the personalized touch it adds and take pride in a job well done.
- Woodworking Techniques: The Essential Reference Guide. Fine Woodworking. 2012.
- The Complete Manual of Woodworking. Jackson A, Day D, Jennings S. 1996.