
Creating a wooden chair from scratch requires attention to detail at every stage. Whether you're working with hardwoods like oak or softer woods like pine, the process combines art and science to build a piece that's functional and aesthetically pleasing.
Selecting and Preparing Materials
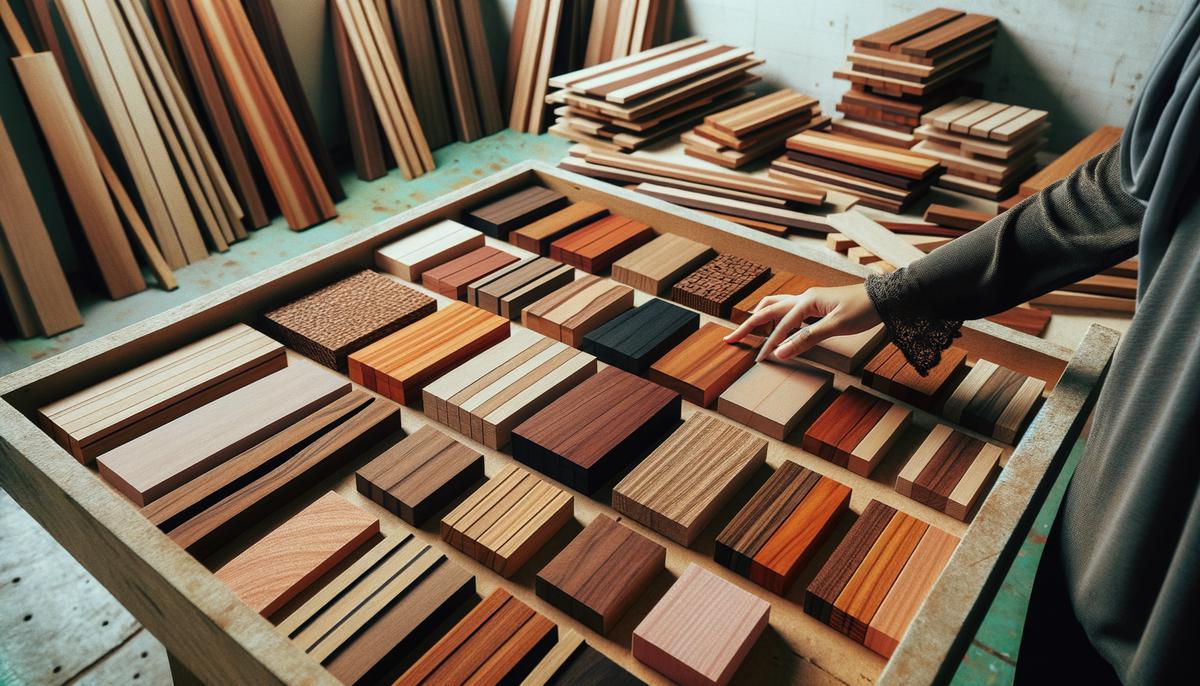
When selecting wood for your chair, consider durability and appearance. Oak, cherry, and maple are popular choices for their strength and looks. Pine is softer, but it's light and easy to work with. For outdoor chairs, cedar and teak resist weather well.
Once you've chosen the wood type, prepare your materials. Start by cutting your wooden planks to the required lengths. Here's a simple cut list for a sturdy dining chair:
- Seat back: 2 feet
- Back leg/seat: 3 feet
- Lower seat: 1 foot
- Bottom leg panel: 9 inches
- 1×2 planks: 16 feet, divided into the lengths needed for your specific design
When cutting wood, ensure your saw is sharp. After cutting, sand each piece thoroughly. Use coarse sandpaper first, then switch to finer grits for a nice finish.
Drill pilot holes where you'll insert screws. This prevents the wood from splitting. Use a drill that matches the diameter of your screws.
For gluing, opt for high-quality wood glue. Apply it sparingly and evenly, and clamp the pieces tightly together while the glue sets. Give it 24 hours to ensure it's completely firm.
You'll need various clamps: C-clamps, bar clamps, and quick-release clamps are all useful. Clamping holds everything in place, allowing the glue to set properly and the joints to align perfectly.
Sand again, aiming for a super smooth finish. Use a foam block for curves and a sanding block for flat edges. This contributes to a smoother finish and better absorption of any finishes or stains you plan to apply.
"Measure twice, cut once."This advice saves you from big mistakes later. When your materials are all cut, drilled, sanded, and clamped appropriately, you're ready for assembly.
Before assembly, consider staining your wood. Apply it evenly with a brush, then wipe off the excess with a clean rag. Let it dry completely before moving to the construction phase.
Building the Chair Frame
Gather your prepped materials and ensure your workspace is clean and organized.
Start by laying out the seat back, back leg/seat, and lower seat panel. These components create the basic shape of your chair. Begin by positioning the seat back vertically, then align the back leg/seat at the desired angle. The lower seat panel will connect these two pieces, forming a sturdy triangle.
Use clamps to hold these pieces in place. Drill pilot holes for your screws. Make sure your drill is perpendicular to the surface to avoid misaligned holes.
Apply a thin layer of wood glue to the joints before inserting the screws. Working on one joint at a time, use your drill or screwdriver to drive the screws in firmly.
Attach the bottom leg panel between the legs for added stability. This panel reinforces the structure and helps distribute weight evenly. Clamp it, drill your pilot holes, glue, and screw it into place. Repeat this process for any additional cross braces or support pieces.
During the process, regularly check your measurements. Use a combination square to ensure angles are 90 degrees, and a tape measure to double-check distances.
Once the main frame is assembled, give all the joints one final tightening. Wipe away any excess glue with a damp cloth before it dries. Allow the frame to sit clamped up for at least 24 hours to let the glue fully cure.
After the glue has set, inspect the frame for any wobbles or misalignments. A solid frame should feel like one piece, strong and steady.

Adding Supports and Details
- Seat rests: Align pre-cut 1×2 planks parallel to the lower seat panel, ensuring they match the length and angle of the back leg/seat. Clamp them in place, drill pilot holes, apply wood glue, then screw the seat rests to the lower seat panel.
- Side supports: Add these using 1×2 planks cut to fit between the bottom leg panel and the lower seat panel. Position each one at a slight angle to help distribute weight more evenly.
- Cross braces: Install for additional stability. Measure the distance between the legs at the front and back of the chair, then cut planks to fit. Place each cross brace about midway between the bottom leg panel and the ground.
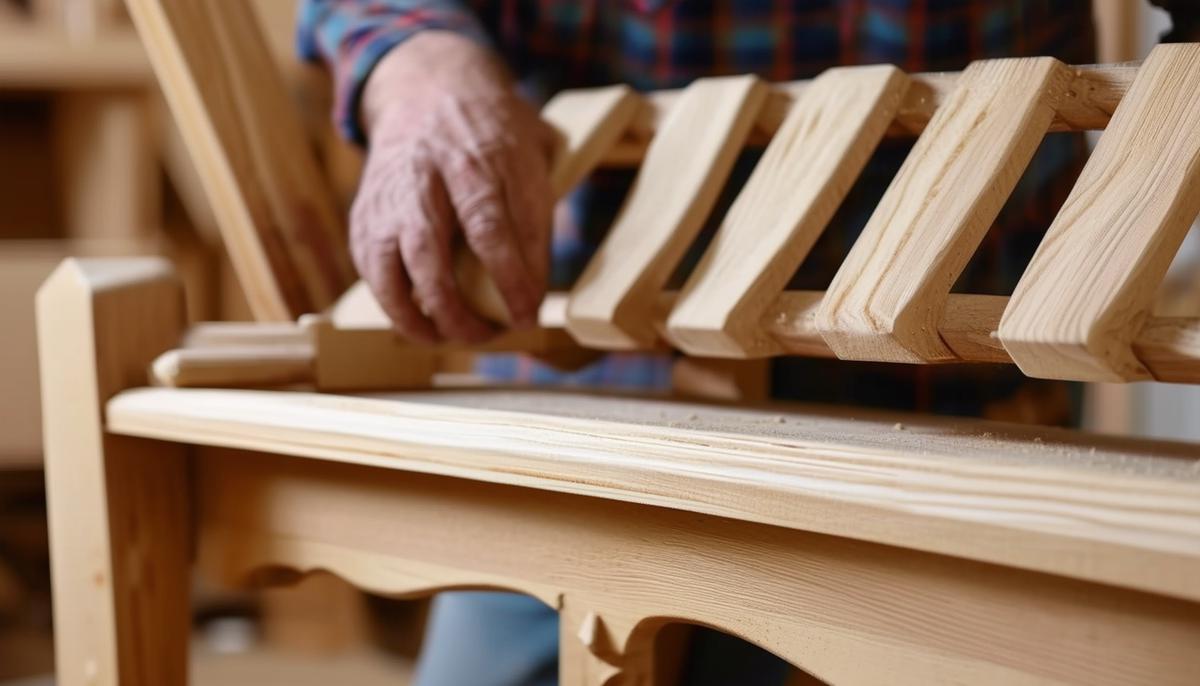
- Decorative details: Consider adding slats to the seat back. Cut thin strips of wood and space them evenly across the seat back. Secure them with glue and small finishing nails.
- Armrests (optional): Cut two planks to a comfortable length and attach them to the side supports, angling slightly upwards.
- Professional touch: Consider adding routered edges to the seat. This small detail can significantly enhance the chair's appearance.
After all supports and details are in place, check for any rough spots or leftover glue. Sand these down carefully for a smooth surface ready for finishing.
Finishing Techniques
Begin with thorough sanding. Start with coarse grit sandpaper (80 grit), then progress to medium (120 grit) and fine (220 grit). Sand in the direction of the grain to avoid scratches.
Clean off dust and debris with a damp cloth or tack cloth.
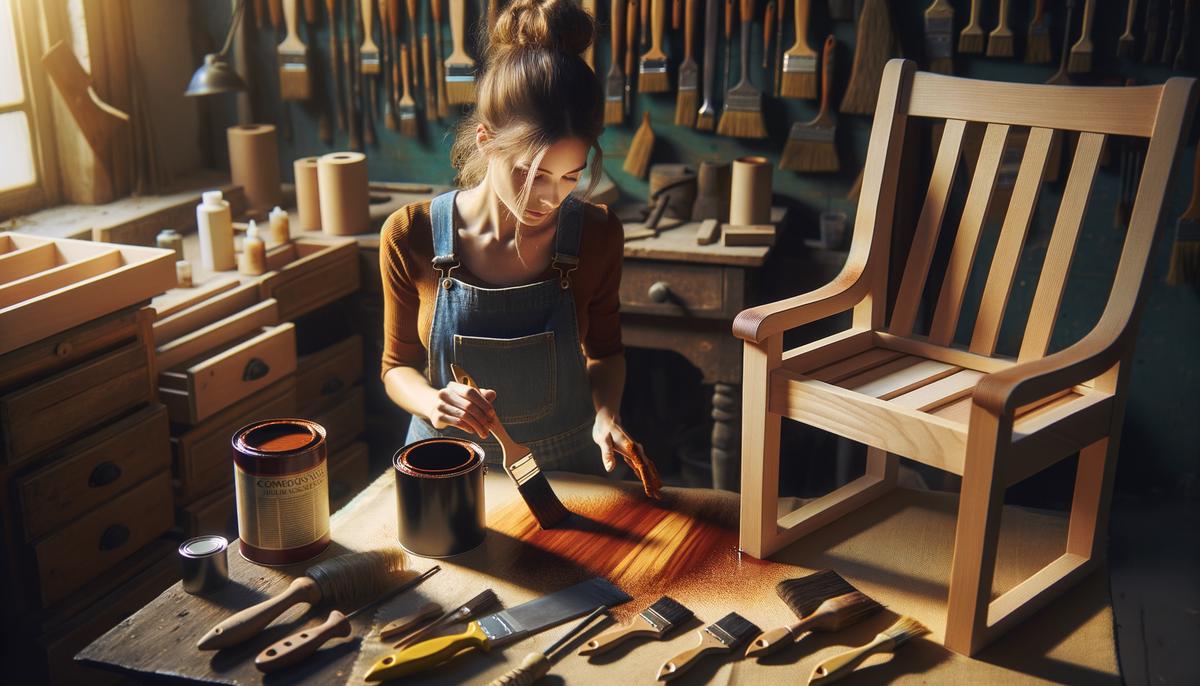
To stain the chair, choose a color that fits your vision. Apply the stain with a clean cloth or brush, going with the grain. Wipe off excess stain after a few minutes. Allow the stain to dry for 24 hours.
To protect the wood, apply a sealer like polyurethane. Use a high-quality brush to apply thin, even coats. Allow each coat to dry thoroughly (about 4 hours) before applying the next. Lightly sand with fine-grit sandpaper between coats. Two or three coats should suffice for a durable, protective layer.
If you prefer painting, start with a good primer. Once dry, lightly sand and clean off the dust. Apply paint in thin, even layers, typically two to three coats. Sand lightly between coats for a smooth finish.
Consider adding a clear topcoat for extra protection and a polished look.
After the final coat has dried, inspect your work. Touch up any spots that need attention and give everything a final buff with very fine grit sandpaper if needed.
You've combined skill and patience to produce a sturdy, stylish wooden chair. The attention given to each step ensures that your chair will be admired for its craftsmanship and durability.
- Hoadley RB. Understanding Wood: A Craftsman's Guide to Wood Technology. Taunton Press; 2000.
- Jackson A, Day D. Wood Finishing Techniques and Advice. Popular Woodworking Books; 2007.
- Flexner B. Understanding Wood Finishing: How to Select and Apply the Right Finish. Fox Chapel Publishing; 2010.