
Choosing a Site and Getting Permits
First, check with your homeowners association and local building department to understand the building regulations that can impact where and how you construct your pergola.
Next, choose the perfect spot in your yard. You'll want a flat, level area. Consider where the sun hits. Do you prefer shade in the afternoon or morning? The sun rises in the east and sets in the west, so keep that in mind.
Be mindful of existing structures. You don't want your pergola to bump into your house or garage. Always leave enough space for the pergola's overhangs, which can extend 18-20 inches beyond the support posts.
Avoid obstacles by contacting your local utility company to mark underground gas, power, and cable lines before digging.
Once you've settled on the spot, measure the area. Mark the corners with spray paint, and ensure it's square by measuring diagonally. If both measurements match, you're good to go. If not, adjust until they do.
Now, obtain the necessary permits. This step is non-negotiable. Head over to your local building department and get the required paperwork. It's vital to adhere to local codes, especially the depth required for setting your posts.
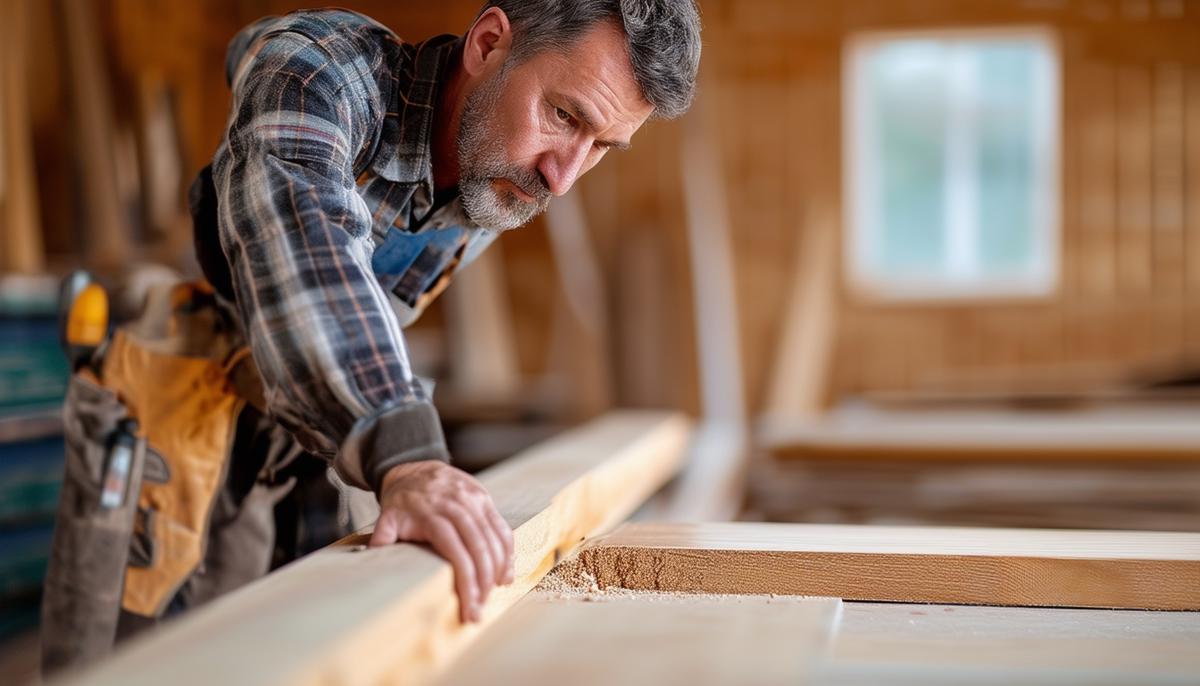
Planning and Designing
The two most popular choices for pergolas are pressure-treated lumber and cedar. Pressure-treated lumber is budget-friendly and treated to resist rot and insects. Cedar is naturally resistant to these critters and the elements, plus it looks great as it ages. Cedar also won't warp or twist as much as treated pine, requiring less maintenance.
Determine the height, width, and length of your pergola. For a classic look, space your posts evenly, about 6-8 feet apart. For an 8×10 pergola, you'll need four posts, two for each long side. Overly long spans without proper support can make the structure less stable.
Use 2x10s for your support beams and 2x6s for rafters for a balanced look and solid structure. Consider notching your beams and rafters where they intersect for added strength and a custom, handcrafted touch.
Adding design elements like angled ends to your beams and rafters can elevate the look of your pergola. Simple 45-degree cuts can make a significant difference, giving it a polished, classic appeal.
Compile a list of materials and tools before starting the project.
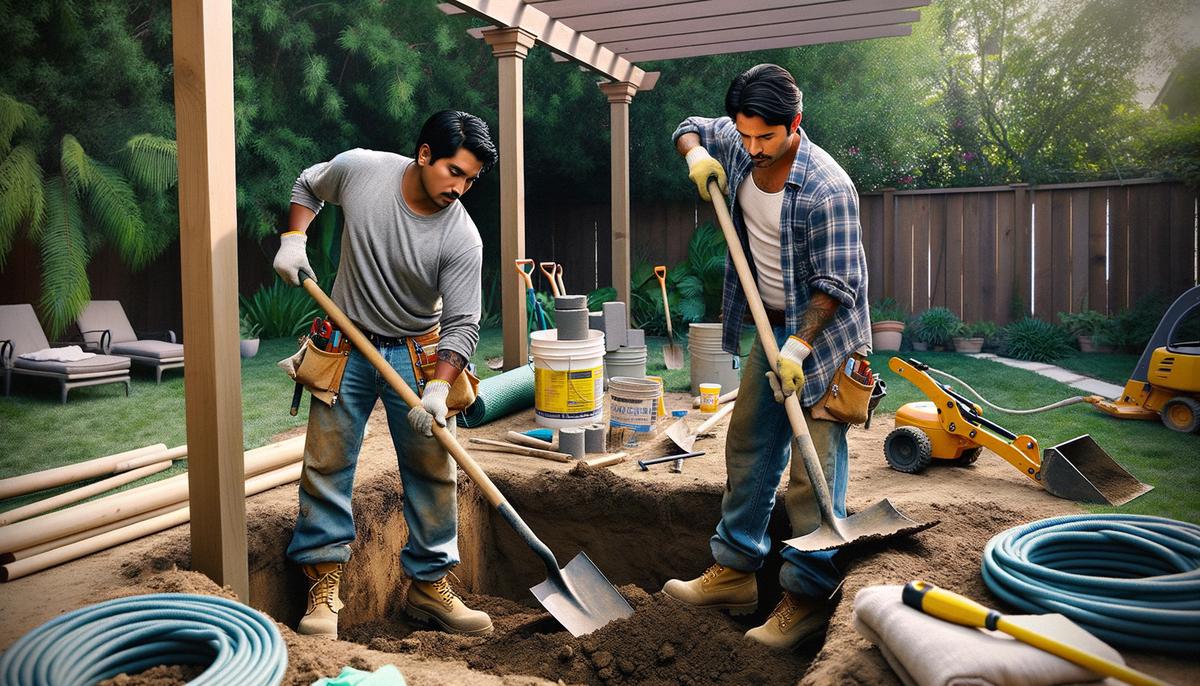
Preparing the Site and Cutting Components
Level and compact the site. Remove any high spots and fill in low ones. A flat site makes constructing your pergola much easier and ensures stability.
Mark out an 8×8 foot frame using stakes and mason's string. Measure diagonally from corner to corner; both measurements should be equal. If they aren't, adjust the stakes until they are. This step is crucial for ensuring your pergola stands square and true.
Cut your wood components according to your plans:
- Measure and cut the posts to the desired pergola height, accounting for the part that will be buried in concrete. Typically, you'll want each post about 8 feet long, ensuring at least 2 feet will be below ground.
- Cut the 2x10s for the beams as per your design. Mark and cut notches at the ends where they will meet the posts for enhanced connection strength and a cleaner look.
- Cut the 2x6s for the rafters based on the width of your pergola, adding extra length for overhang. For added style, cut 45-degree angles or shapes at the ends.
Apply a wood preservative to the cut surfaces of pressure-treated wood to mitigate the risk of decay and extend the life of your pergola.
Organize all your cut components for a smoother assembly process. Double-check all your cuts and lengths against your blueprint.
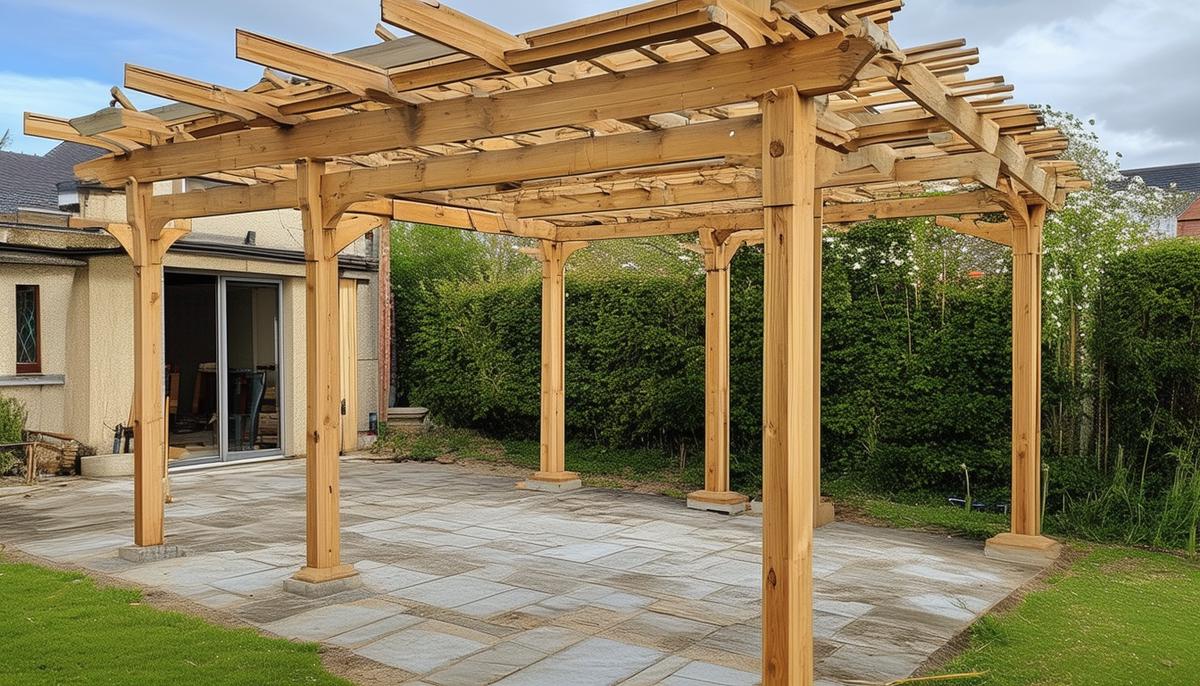
Assembling the Structure
Position the 6×6 posts on the concrete bases using metal post anchors and bolts. Temporarily brace each post with 2x4s nailed at a 45-degree angle to the post and staked to the ground to keep them upright and stable. Use a post level to ensure each post is plumb (vertically straight) and square (aligned perfectly at right angles) to the layout string.
Lift the 2x10x10 boards into position atop the posts for the outer beams. Align the beam's ends with the outside edges of the posts, clamp them in place, and secure them with galvanized lag screws. Repeat this process for the opposite side's outer beam, ensuring both beams are level and parallel.
Install the inner support beams, cutting them to size if necessary. Position each inner beam on edge atop the posts, clamping them together with the outer beams. Pre-drill holes and secure them with lag screws spaced every 18-24 inches.
Add the 2x6x12 rafters, spacing them approximately 16-24 inches apart depending on your design. Clamp the rafters temporarily, and then use two 5-inch galvanized screws at each end to secure them to the beams, countersinking the screws slightly.
Install the 2×4 slats onto the rafters, with 6-8 inch spacing between each slat. Secure each slat with deck screws, driving them into the rafters beneath.
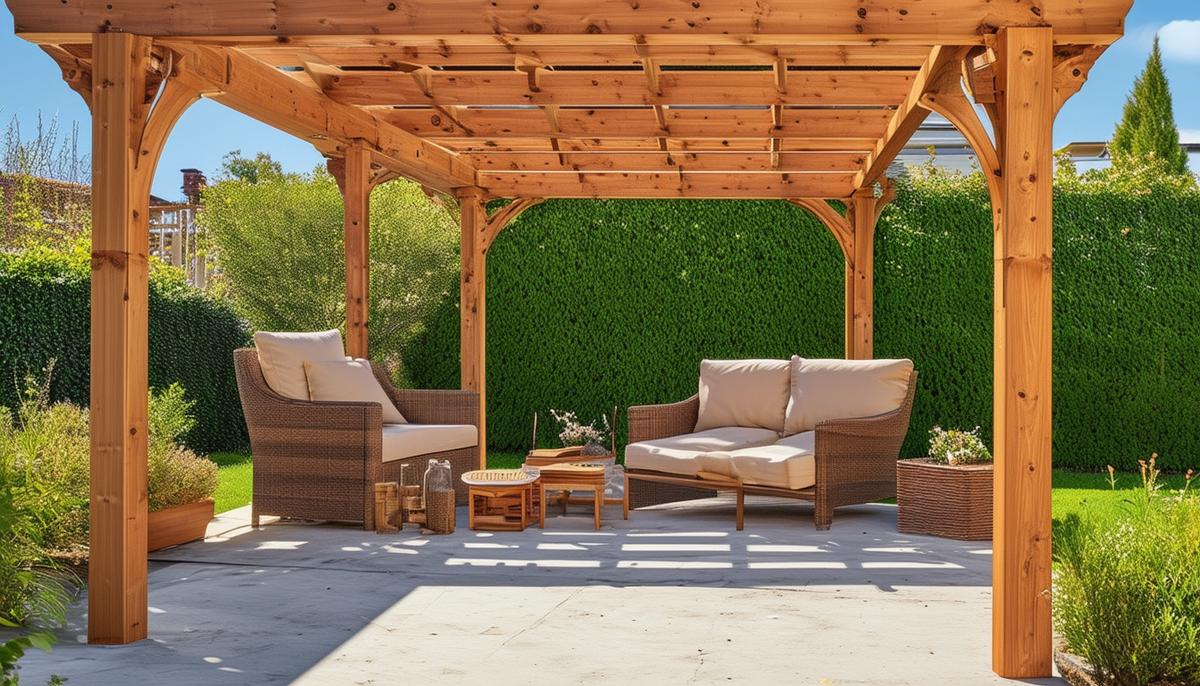
Continuously check to ensure everything is level and true. A final walk through with your level and tape measure will ensure your pergola is squared away and all components are firmly in place.
By following these steps carefully, you'll have a sturdy and attractive pergola that enhances your outdoor living area. Enjoy the satisfaction of creating something beautiful with your own hands.
- American Wood Protection Association (AWPA). Treated Wood Basics. American Wood Council; 2018.
- Simpson Strong-Tie Co. Inc. Outdoor Accents: Design and Construction Guide. Simpson Strong-Tie; 2019.
- Western Wood Products Association. Western Cedars: A Guide to Their Use. WWPA; 2008.