
Choosing Cabinet Dimensions
Measure the space where the cabinets will go. Note the height, width, and depth of the area. Base cabinets are typically 36 inches tall and 24 inches deep, while upper cabinets are usually 12 inches deep.
Decide between face frame cabinets (traditional with a wooden frame around the doors) and faceless cabinets (easier for beginners and more modern). Your choice will impact the construction process.
Panel Cutting Guide:
- Cut 3/4-inch plywood into 23-inch wide strips using a circular or track saw.
- Create 34.5-inch by 24-inch side panels with a band saw, notching in a toe kick with a jigsaw.
- Cut the bottom piece 24 inches deep, adjusting the width as needed.
- Use a table saw to trim four front and back base panels from 1×6 lumber, plus two more for top braces.
- For facing panels, cut dimensional lumber to fit the front of your cabinet using a table saw.
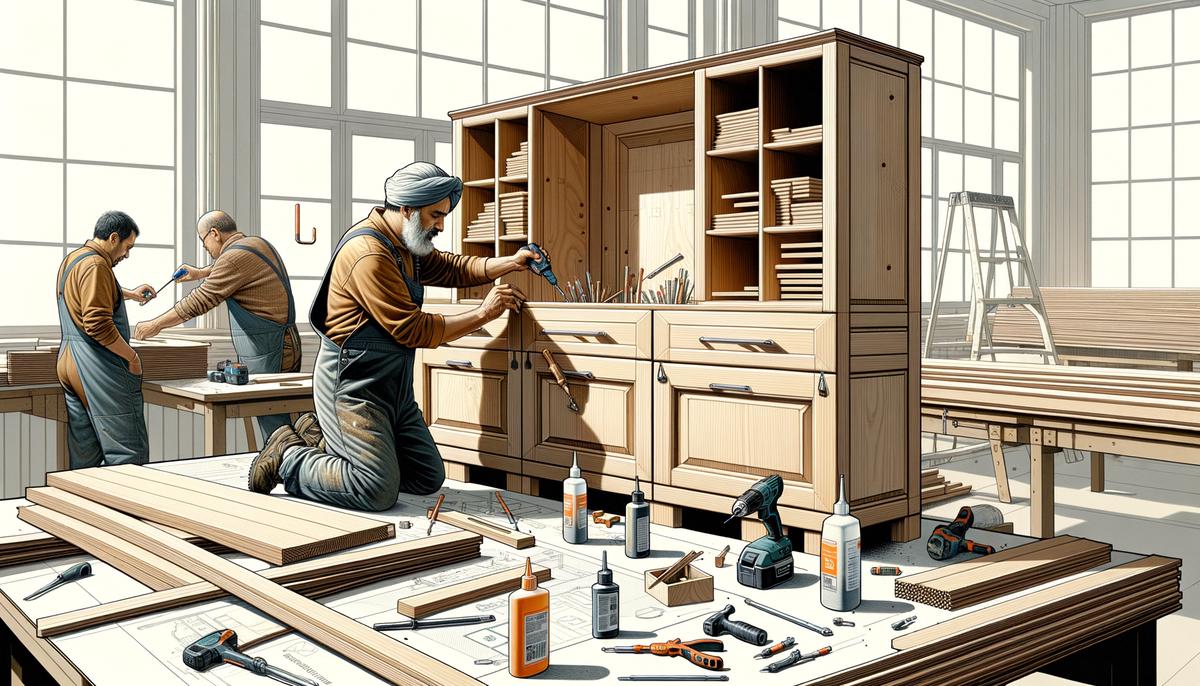
Cutting and Assembling Panels
- Join the base panels to the bottom structure using glue and screws, ensuring they're flush at the back and 3 inches in from the front.
- Attach the sides to the bottom piece, aligning all edges.
- Secure the top brace panels, then nail and glue a 1/2-inch plywood back panel.
- Reinforce internal joints with corner brackets and screws.
- Install shelves by attaching corner brackets inside at your chosen heights. Slide in the plywood shelves, ensuring they fit snugly.
Add glue to the bottom dado grooves in the side panels and insert the bottom piece. Clamp the panels, then glue in the back stretchers for support. Install drawer dividers with clamps for precise alignment. Secure the toe kick with pocket screws.
Once dry, install the back panel using a brad nailer. You now have a sturdy carcass ready for a drawer and door.
Adding Facing Panels and Shelves
Create face frames using hard maple or poplar, ensuring a 1⁄4" overhang on both sides. Join pieces with pocket screws and glue, clamping joints while they dry.
Drawer Box Construction:
- Use 5/8" Baltic birch plywood for drawer boxes.
- Cut four side pieces with 1⁄4" dado grooves for the bottom panels.
- Assemble by clamping parts together, aligning dadoes, and securing with pocket screws.
Attach side-mount full-extension drawer slides, lining them up at the front of the drawer and in the cabinet.
For doors, use hard maple framing with a 1⁄4" groove for panel fitting. Assemble by gluing and tapping pieces together, then clamping until dry.
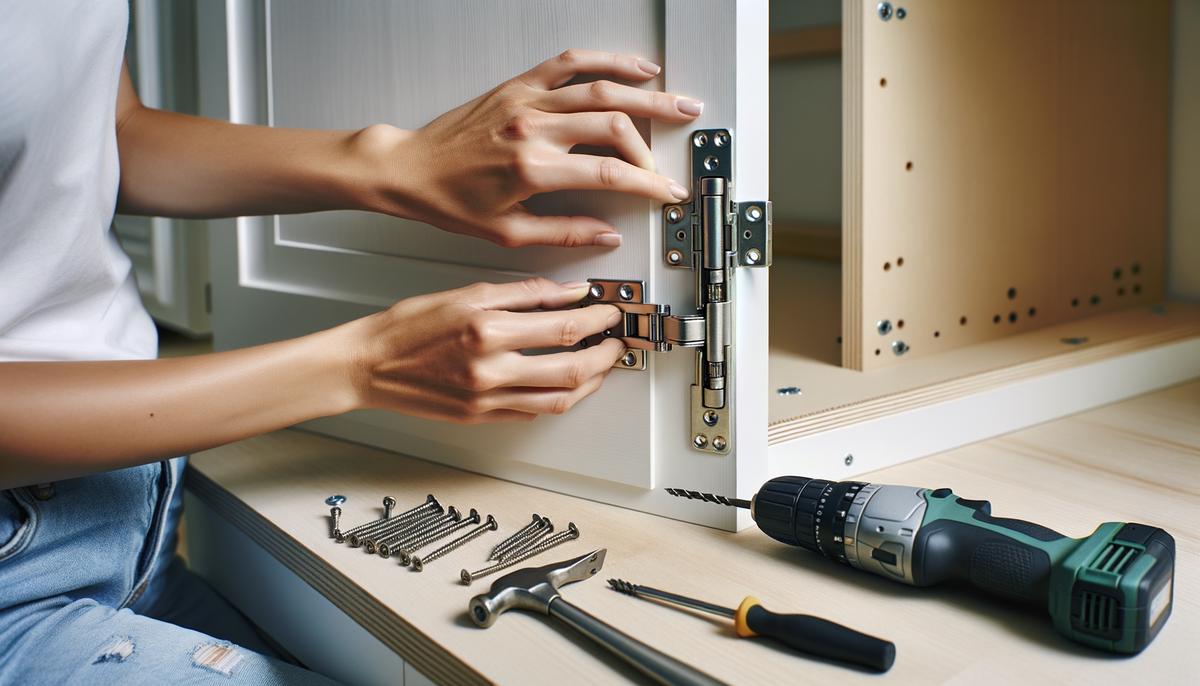
Install European-style hidden hinges by drilling pockets and pre-drilling pilot holes. Use a self-centering drill bit for accuracy.
Important: Sand the face frames and fronts thoroughly before installation.

Installing Doors and Drawer Fronts
Door Installation:
- Mark hinge cup locations 4.25 inches from the top and bottom edges.
- Drill 1-3/8-inch hinge cup holes about 1/2 inch deep using a Forstner bit.
- Position hinge cups, mark screw locations, pre-drill, and secure.
- Hang the door by marking mounting locations on the cabinet face frame.
- Screw hinge plates onto these marks, ensuring vertical alignment.
- Adjust hinges as needed for proper gaps and smooth operation.
Drawer Front Installation:
- Ensure each drawer box is aligned in its opening.
- Use a 1/8-inch spacer on top of the cabinet door below for consistent reveal.
- Position the drawer front, align with the face frame, and clamp temporarily.
- Pre-drill holes from inside the drawer box into the front, then secure with screws.
- Repeat for all drawer fronts, maintaining consistent spacing and alignment.
Add handles or knobs using a template for uniform placement. Pre-drill holes and attach hardware. Double-check all doors and drawers for smooth operation, adjusting as necessary.
Your cabinets are now assembled and installed, creating a functional addition to your space. The attention to detail ensures a professional finish that reflects your craftsmanship. Remember, precise measurements and careful assembly are key to achieving a polished result that will stand the test of time.
"Measure twice, cut once" – Old Carpentry Proverb
- Spence WP. Construction Materials, Methods and Techniques. Cengage Learning; 2016.
- Jackson A, Day D. Collins Complete Woodworker's Manual. HarperCollins UK; 2005.
- Cristoforo RJ. Heirloom Furniture Projects: Timeless Pieces for Your Home. Lark Books; 2004.