
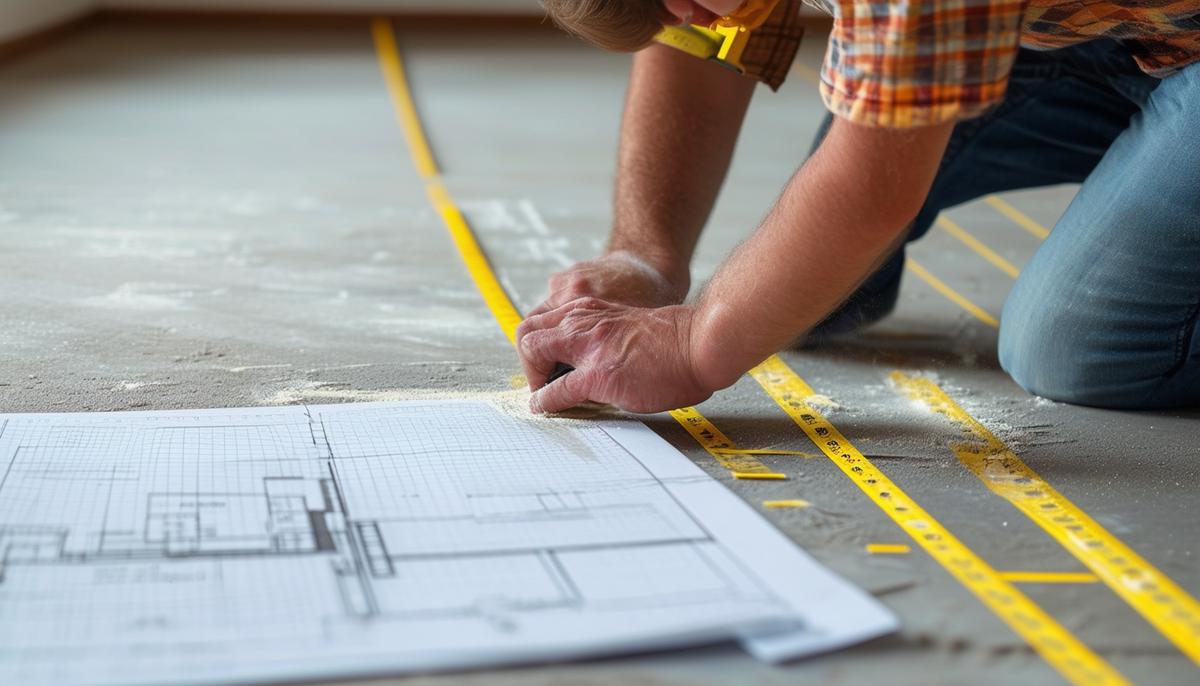
Planning Your Wall Layout
Start by measuring carefully using a tape measure and marking the location with a chalk line. Consider obstacles like baseboards or molding, as you might need to cut out small sections where the new wall meets existing walls. Include the thickness of the drywall in your measurements.
Create a detailed plan on graph paper, including alignment, placement of doors, windows, and studs. Studs should be spaced 16 inches apart on center. For doors, add an extra 3 inches for jack studs on each side. Mark positions of king studs on the bottom and top plates.
Use a plumb bob to check vertical alignment between floor and ceiling marks. Transfer all information to chalk lines on both floor and ceiling. This double-marking approach reduces errors.
If you plan to hang heavy items, consider adding blocking between studs halfway up the wall. With accurate measurements and a thorough plan, you'll find the construction process much smoother.
Preparing the Work Area and Materials
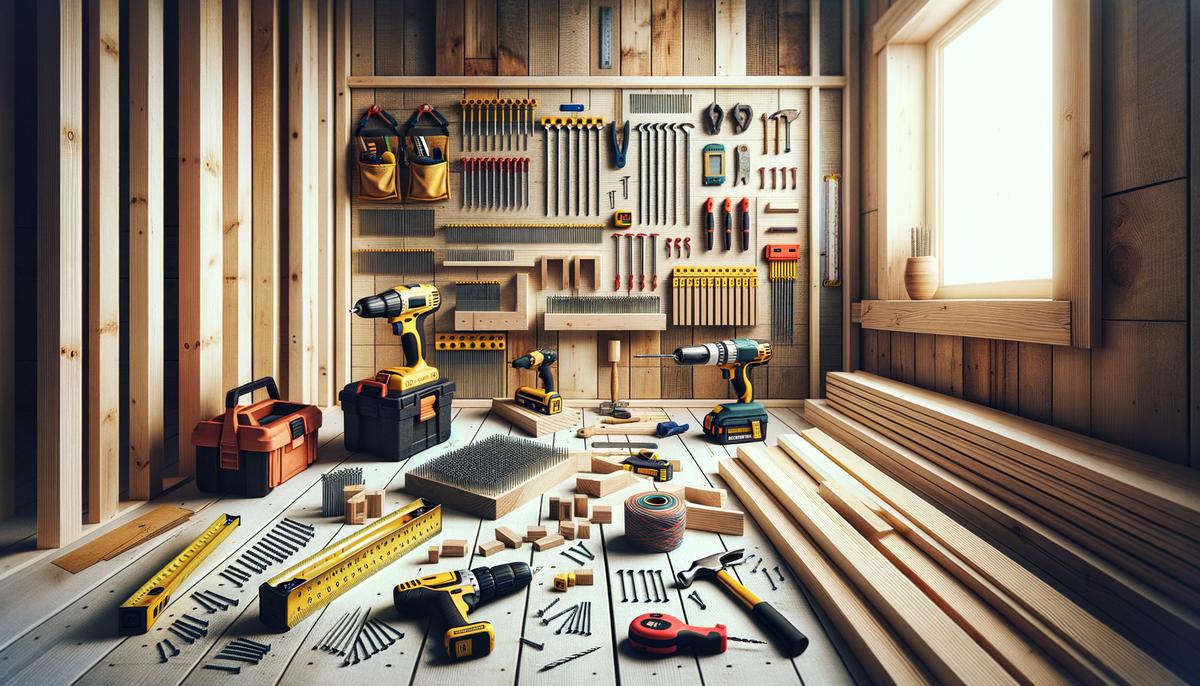
Clear the area where you'll be building your wall and protect the floor with drop cloths or cardboard. Gather all necessary tools and materials:
- 2×4 lumber (spruce or fir, no major knots or warping)
- 16d and 10d nails
- Drywall screws
- Tape measure
- Hammer
- Chalk line
- Level or laser level
- Power drill
- Drywall taping supplies
- Insulation (for soundproofing)
Ensure good lighting in your work area. If it's dim, use work lights or clamp lamps. Proper ventilation is crucial, especially when cutting materials or using adhesives. Open windows or use fans to keep the air fresh.
Set up a dedicated workspace for cutting and assembling materials. Have personal protective equipment on hand, including safety goggles, work gloves, and ear protection.
Good preparation sets the foundation for an efficient DIY project. With your work area organized and materials ready, you're set to start building.
Framing the Wall
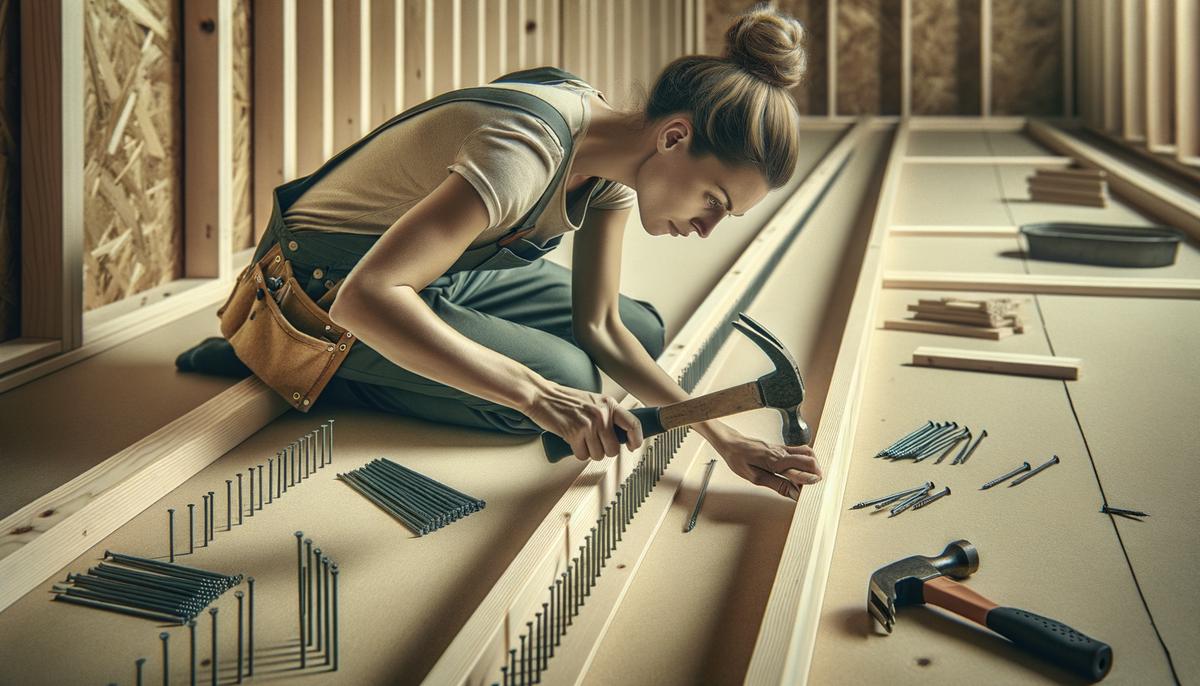
Cut your top and bottom plates to the exact length of your wall. Lay them side by side on the floor and mark locations for studs every 16 inches on center. Use a speed square to draw straight lines through each marked point.
Position studs on these marked lines, ensuring both ends are flush with the edges of the plates. Use two 16d nails per end to attach the studs to the plates, driving them in at slight angles for better holding power.
For door openings, prepare jack and king studs. Nail jack studs to king studs before installing the header. To build the header:
- Cut two pieces of 2x4s
- Sandwich a piece of 1/2-inch plywood between them
- Place this assembly on top of the jack studs
- Nail it securely
Install cripple studs above the header, running up to the top plate.
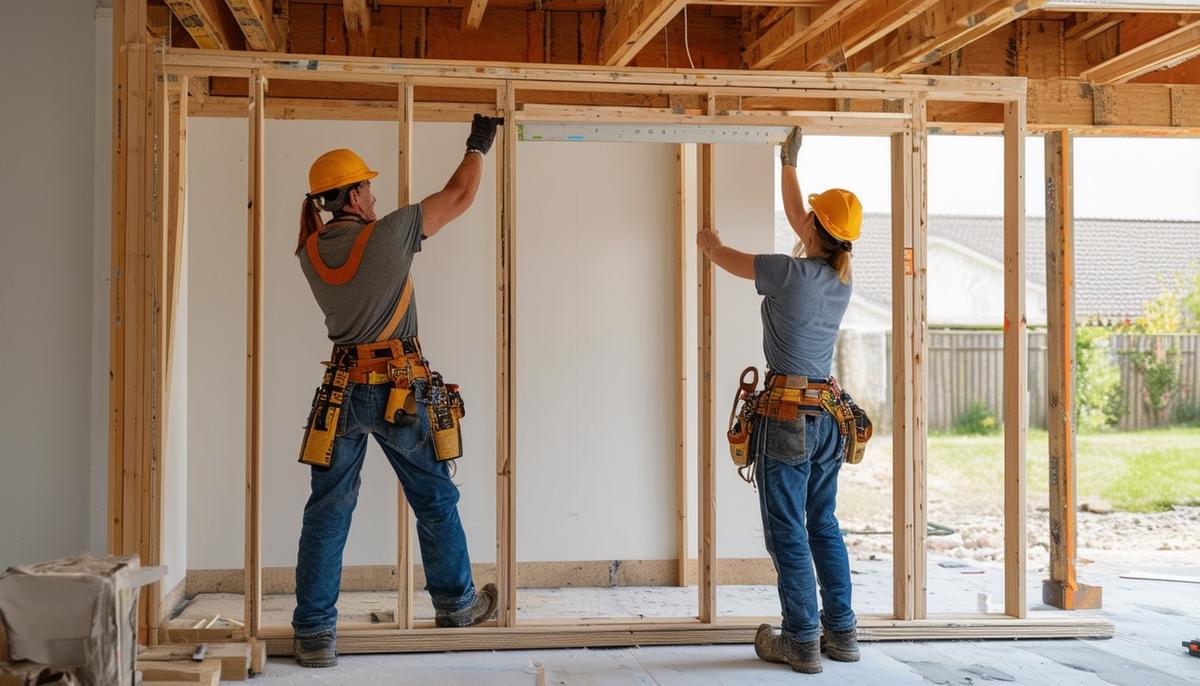
Once your frame is laid out, raise it into place. Secure the bottom plate to the floor using 16d nails or concrete screws, depending on your flooring. Nail the top plate to the ceiling joists.
Ensure the wall is perfectly vertical using a level or plumb bob. Adjust as needed, using wooden shims for any slight unevenness. With the framing complete, you're ready to move on to installing drywall.
Raising and Securing the Wall
Lift your frame into position, aligning it with the chalk lines on the floor and ceiling. If working alone, brace it temporarily with 2x4s.
Secure the bottom plate to the floor using 16d nails spaced about every 16 inches. For concrete floors, use concrete screws or masonry nails. Secure the top plate to the ceiling joists in the same manner.
Check for vertical alignment using a level against multiple studs. Make minor adjustments as needed with gentle taps or shims. Use a long level or string line to check horizontal alignment.
Finally, secure the wall to any adjacent structures by nailing the end studs into the studs of existing perpendicular walls. This adds stability and prevents future shifts.
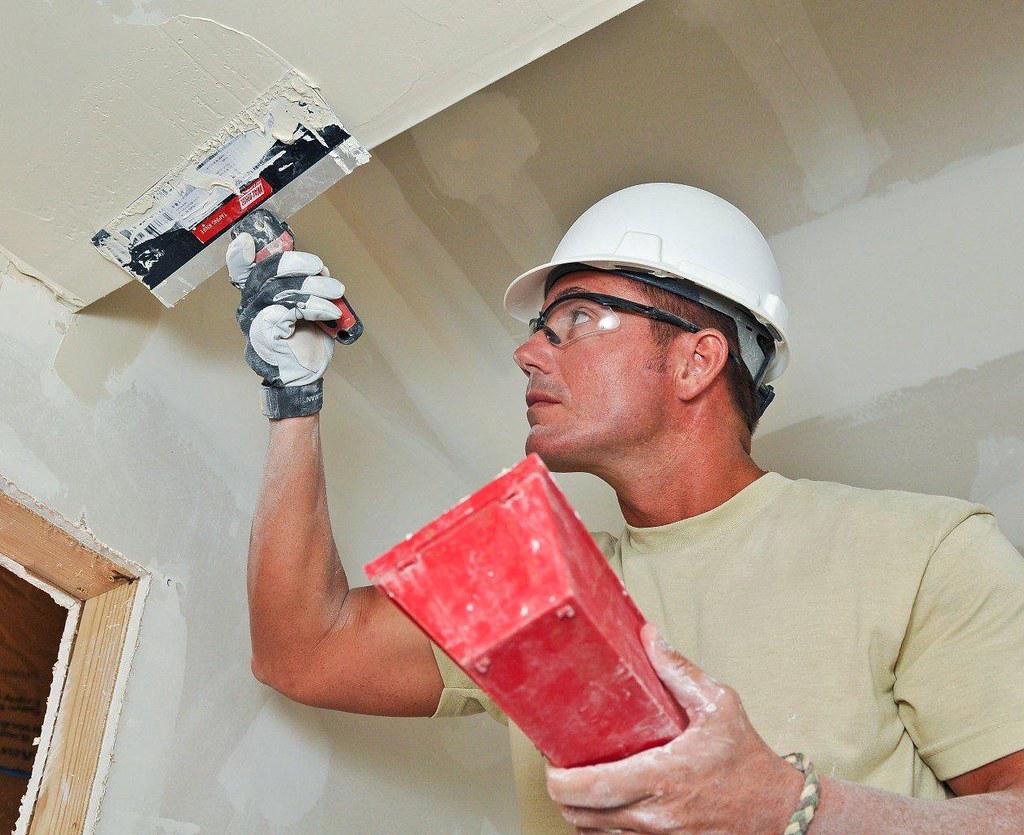
Installing Drywall and Finishing Touches
Measure the wall height and cut drywall sheets to fit. Attach them to the studs using drywall screws placed about a foot apart. Start screwing from the center of the panel and work your way out to avoid bulges.
Apply joint tape along the seams where drywall sheets meet, then cover with joint compound. Let it dry for 24 hours, then sand down using medium-grit sandpaper. Apply a second, thinner coat of compound, let dry, and sand again. Fill screw holes with compound and sand smooth once dry.
Install baseboards and trim, mitering the corners for a tight fit. Nail them into the studs and fill any gaps or nail holes with wood filler.
Prime the newly installed drywall before painting. Once dry, apply your chosen interior paint using smooth, even strokes. Paint baseboards and trim to match the walls for a cohesive look.
Did you know? Properly installed drywall can significantly improve a room's acoustics and fire resistance.1
With these steps complete, you've successfully transformed your framed structure into a finished wall, adding both value and a sense of accomplishment to your home.
- Gypsum Association. Fire resistance design manual. 21st ed. Hyattsville, MD: Gypsum Association; 2018.