
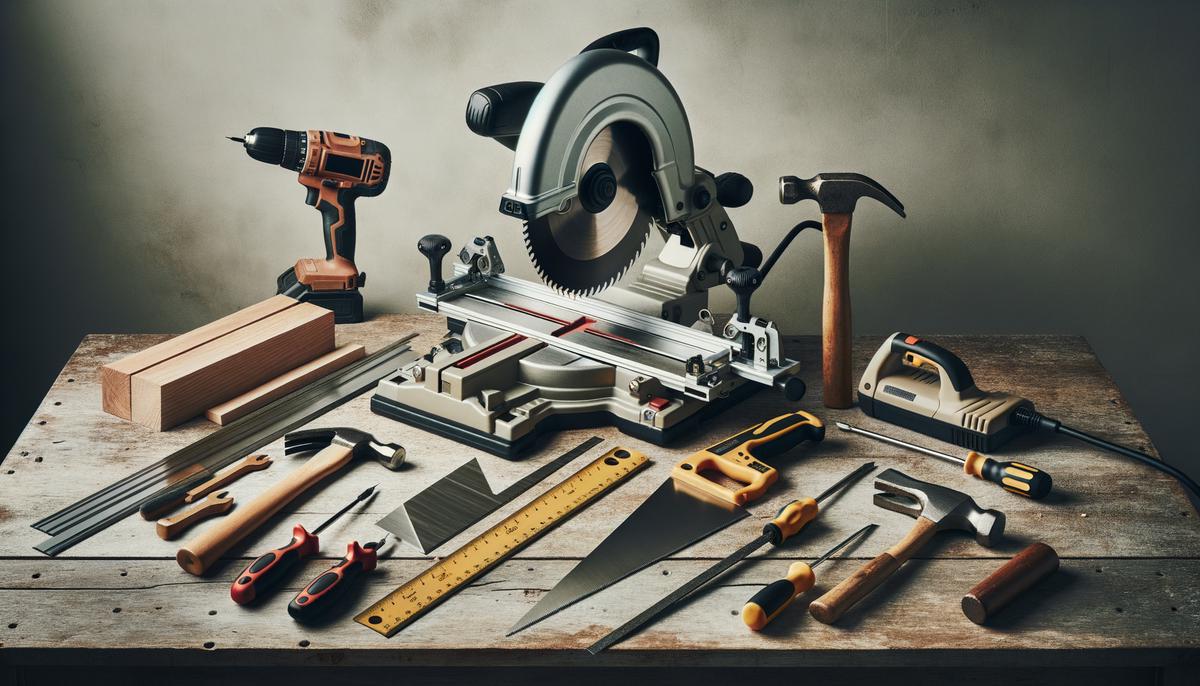
Tools & Materials
Tools Needed:
- Miter Saw: For crisp 45-degree angle cuts.
- Utility Knife: For precise cuts and trimming the mat board.
- Straight Edge: Ensures straight lines.
- Screwdriver: For assembly and securing the backing.
- Hammer: For light tapping to secure nails.
- Saw for Cutting Plexiglass (Optional): If your plexiglass isn't precut.
Materials Needed:
- Wood: 1x2s for the frame, and dowels for smaller trim pieces. Choose good quality material.
- Wood Glue: For sticking pieces together.
- Paint or Stain: Choose your desired finish.
- Hanging Hardware: Options like D ring hangers or keyhole hangers.
Cutting Grooves and Pieces
Cutting the Groove:
-
Router Method: Use a 1/4-inch straight bit router, set to a 1/4-inch depth, and run it along the back inside edge of your wood to create a groove for the glass and picture.
-
Table Saw Method: Adjust the blade height to 1/4 inch and the fence to 1/4 inch from the blade. Run each piece through twice, once with the back against the fence and once with the edge against the fence.
If you don't have power tools, glue thin trim pieces to create a makeshift groove.
Cutting the Pieces:
-
Measure Twice, Cut Once: Measure from the inside edge of the groove, allowing for the groove depth. For example, if your picture height is 10 inches and the groove is 1/4 inch, make your inside measurement 10 ¼ inches.
-
Cut those Angles: Set your miter saw to 45 degrees. Make a 45-degree cut on one end, then measure and make a second 45-degree cut for your desired length plus 1/4 inch.
-
Double-Check Your Work: Ensure your pieces fit together snugly, not too loose or too tight.
Keep your workspace clean to ensure precise cuts.

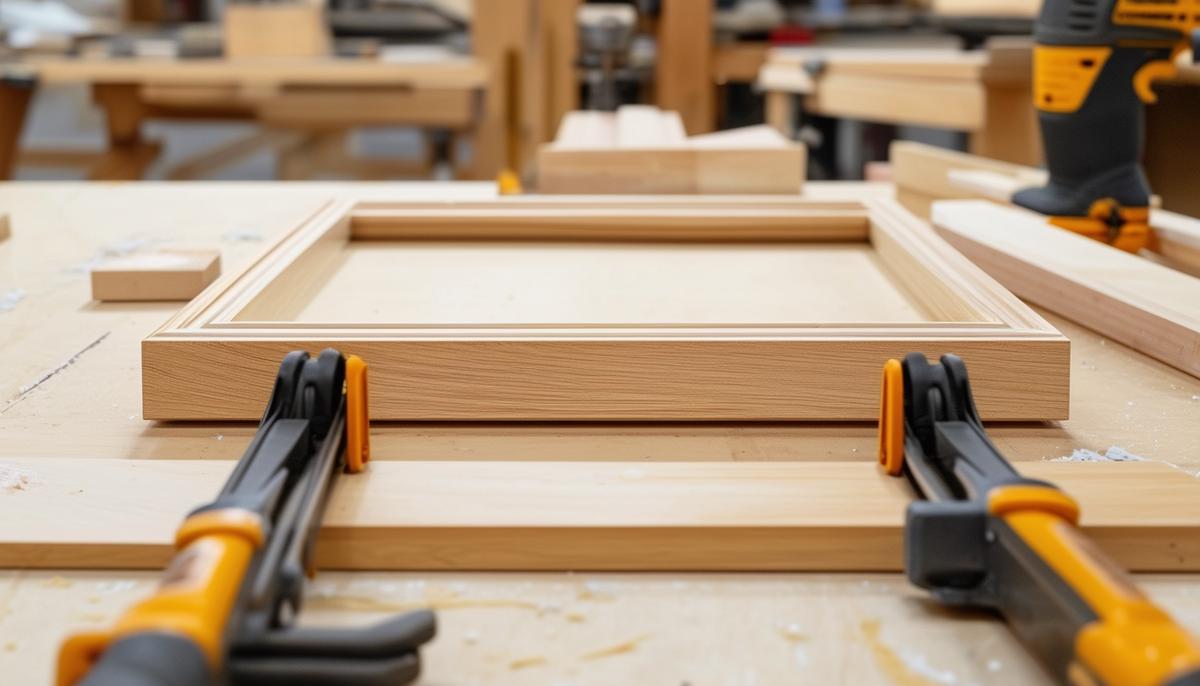
Assembling the Frame
Add wood glue to the angled edges of your pieces. Apply a thin, even layer to each 45-degree angle. Align the pieces to form a clean square or rectangle.
For larger boards, use pocket hole screws. Drill pocket holes into the top and bottom pieces, line up the corners, clamp them, and drive the pocket hole screws through the pre-drilled holes.
For smaller boards, use a brad nailer. Position the glued pieces and shoot in nails at an angle through the sides and into the adjoining pieces.
Before the glue dries, double-check that each corner is flush. Use face clamps to hold the pieces flush and clamp the frame flat on a workbench for stability. For extra reinforcement after the initial glue sets, add more brads or pocket hole screws.
Allow the glue ample time to dry, preferably overnight. Patience is crucial for strong joints.
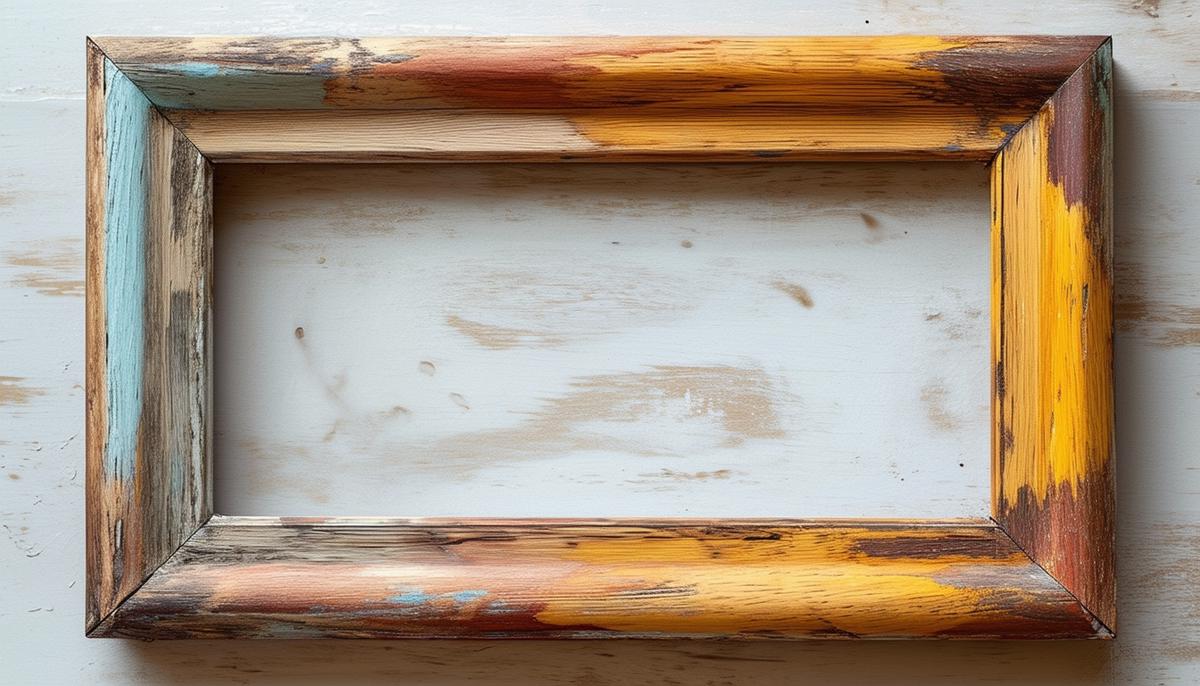
Finishing the Frame
Sand your frame using medium-grit (120-grit) sandpaper, then fine-grit (220-grit) sandpaper for a smooth finish. Wipe down the frame with a tack cloth to remove dust.
For a stained finish, apply wood stain with a lint-free cloth, going along the grain. Let it soak in, then wipe away any excess. Apply a second coat for a deeper hue if desired.
For a painted finish, start with a coat of primer, then apply your chosen paint in thin, even coats using a high-quality paintbrush. Multiple light coats are better than one heavy coat.
For a rustic or textured look, use the dry brush technique. Dip just the tip of your brush into paint, wipe off the excess, and lightly brush the frame, allowing the natural wood texture to show through.
Once satisfied with the paint or stain, seal your work with a clear polyurethane finish to protect the wood.
For the final assembly:
- Insert the clean glass into the groove.
- Place your photo on top of the glass, followed by a chipboard, cardboard, or foam board backing.
- Secure the backing with tape, turn button fasteners, or glazing points.
Affix your chosen hanging hardware, such as D ring hangers or keyhole hangers.
Adding Photo and Hardware
Clean the glass thoroughly using a glass cleaner and lint-free cloth. Carefully place the glass into the groove, ensuring it sits flush and is properly secured at the edges.
Gently lay your photo on the glass, ensuring it's centered and positioned correctly. Don't rush this step.
Add a piece of chipboard, cardboard, or foam board behind the photo, cut to fit snugly within the groove, to provide even support.
Use turn button fasteners or glazing points to secure the backing material into the frame.
For hanging hardware, attach D ring hangers to each side of the frame about a third of the way down from the top. Run a sturdy picture-hanging wire between them. For a cleaner look, use keyhole hangers.
Give your frame a final check for any loose edges, ensure all fasteners are secure, and confirm the hanging hardware is tight. When hanging, use a level to ensure it's perfectly straight.
- American Woodworker. "Picture Frame Basics." American Woodworker 2021.
- Woodworker's Source. "How to Make a Picture Frame." Woodworker's Source 2019.
- Popular Woodworking. "Frame Your Artwork Like a Pro." Popular Woodworking 2020.