
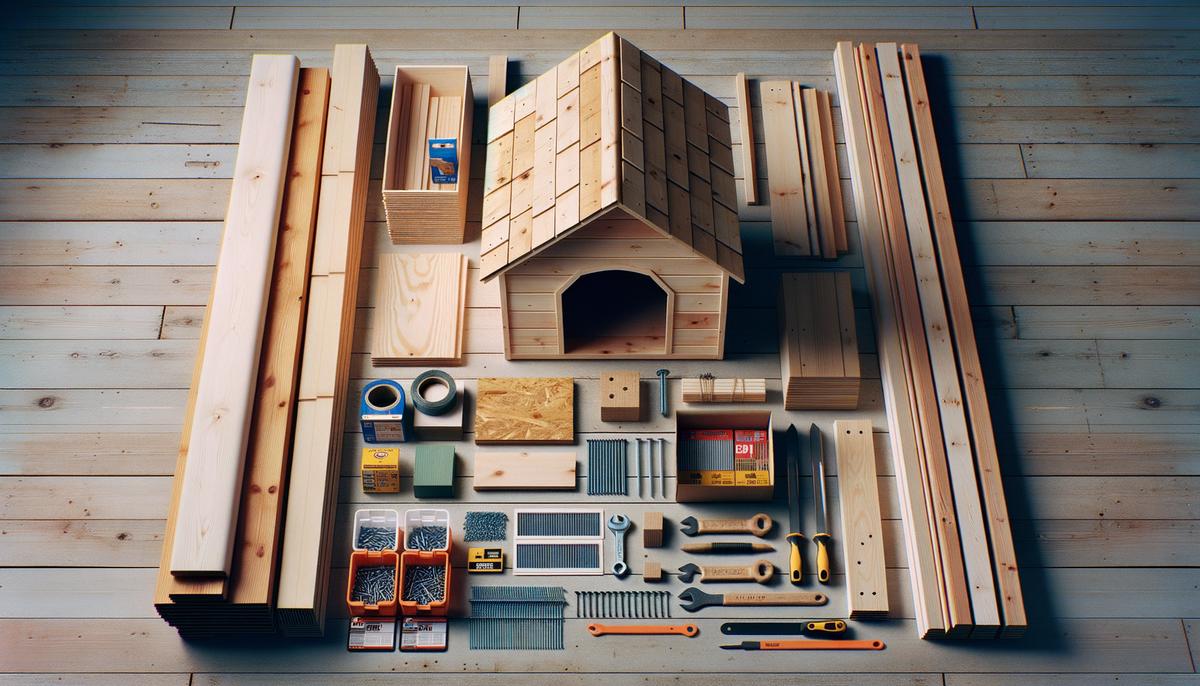
Planning and Materials
Start with quality 2x4s and plywood. That junk leftover from other projects just won't suffice here. We want sturdy construction, so go new. Also, don't forget the screws and nails—1½-inch and 3-inch should cover most of it. While you're out, grab some shingles for the roof and tar paper to keep that rain out.
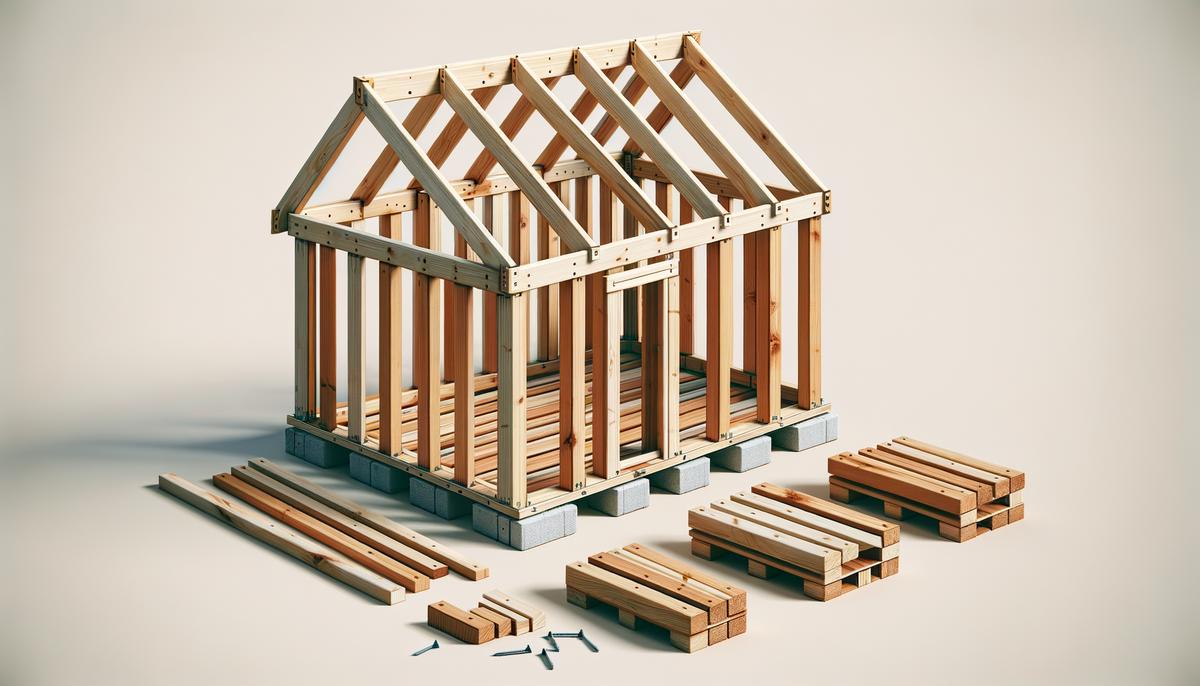
Building the Base
Begin by cutting and assembling two 2×4 pieces at 23 inches and two at 22½ inches, merging them to form a robust rectangle. Place the 23-inch pieces inside the 22½-inch ends, ensuring they sit flat on a 2-inch side for solid contact. Use 3-inch galvanized wood screws to secure each joint, pre-drilling holes to avoid splitting the wood.
Raise the base by attaching additional 2×4 "legs" or blocks, lifting it a few inches off the ground for proper drainage. Secure these using the same 3-inch screws, ensuring they're level for a stable foundation.
Cut your plywood sheet to a 26-inch by 22½-inch rectangle, lay it over the framed base, and use 1¼-inch screws to fix it in place. For extra protection and comfort, glue a layer of foam insulation beneath the base before securing the plywood.
In wetter climates, consider coating the base with a waterproof sealant after assembling it to protect against potential rot.
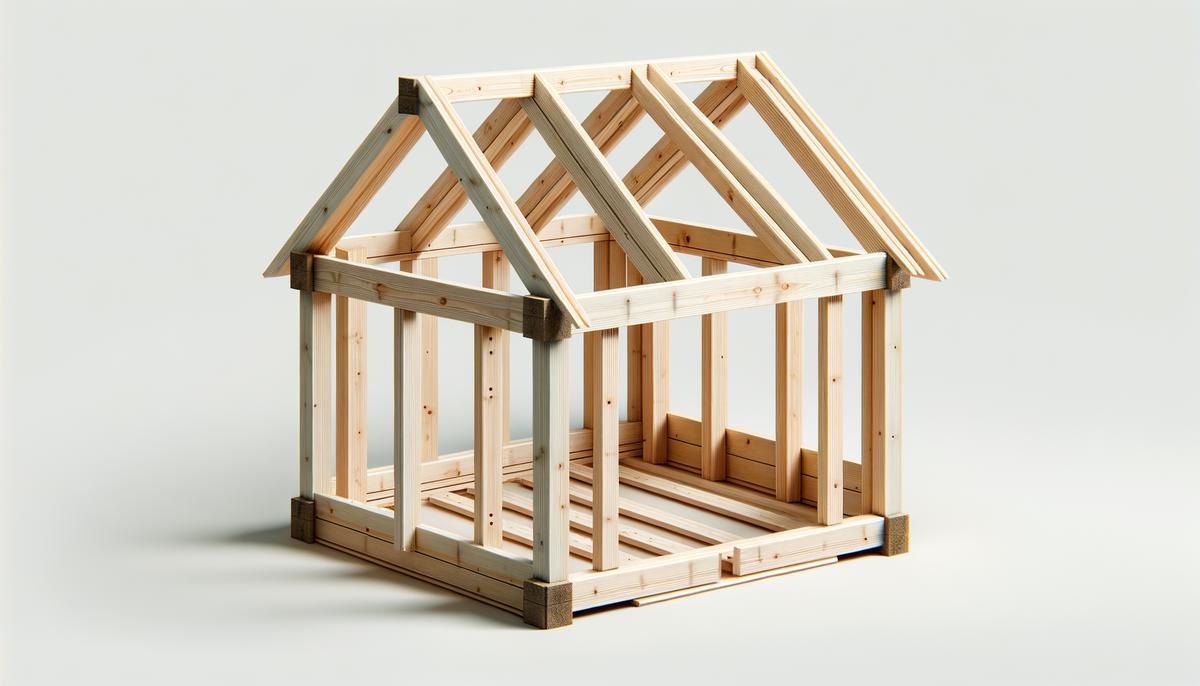
Constructing the Framework
Cut four 2x4s to a height of 15 inches for the corner posts, providing stable vertical support. Cut four more pieces measuring 13 inches each to frame the roof. Cut additional 2x4s to match the planned roof peak height for the A-frame.
Secure the 15-inch corner posts at each corner of the base, ensuring they're perfectly vertical. Pre-drill holes and attach using 3-inch screws, driving two screws through the base into each post.
Attach horizontal support beams between the corner posts, measuring the distance, cutting the beams accordingly, and securing them with 1½-inch screws.
For the gabled roof, join the angled 2x4s at the top to form a triangular frame at the front and back. Position them on the top edges of the corner posts and attach securely with 3-inch screws. Run a ridge beam along the peak, securing it with 3-inch screws through the frame's peaks.
Ensure the framework is stable by giving it a shake. Everything should feel solid with no wobbling or loose connections.
Assembling the Walls and Roof
Cut the side panels to 26 inches by 16 inches, and the front and back panels to 24 inches wide by 16 inches high, including a triangular section for the gabled roof. Mark the entrance on the front panel about 10 inches wide and 13 inches high, leaving a 3-inch cushion at the bottom.
Place the side panels against the framework and secure them with 1¼-inch screws, spaced 4 to 5 inches apart. Ensure the panels are flush with the base and framework corners. Attach the front and back panels, making sure all joins are tight and secure.
For the roof, measure and cut two plywood panels, each 32 inches by 20 inches, to provide adequate coverage and an overhang. Position the panels to align at the roof's peak, extending beyond the walls. Attach them to the framework using 1¼-inch screws every 3 inches.
Reinforce the roof by adding the 13-inch roof-framing pieces inside the edges of the front and back panels, halfway up the angle.
Apply tar paper over the roof panels before adding shingles or a plastic roof panel for extra durability, sealing all edges to keep your dog dry and comfortable.
Give the structure a final shake test, ensuring everything is compact, sturdy, and secure. Tighten screws and add reinforcements if anything feels loose.
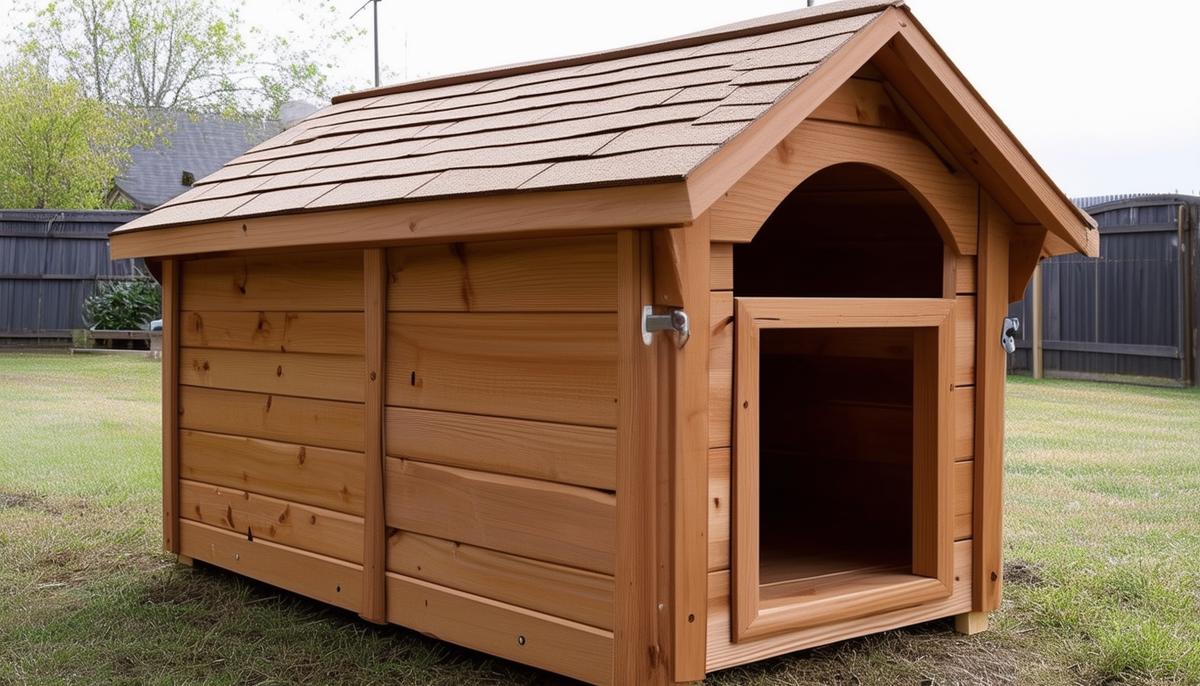
Adding Finishing Touches
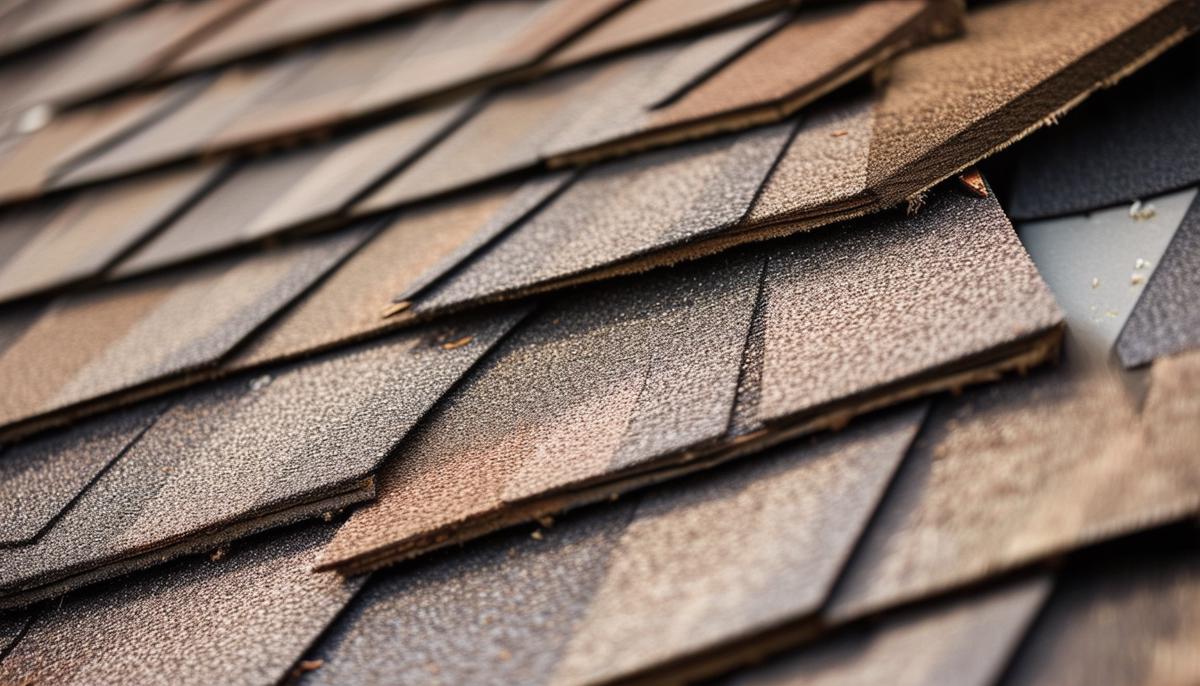
Apply a layer of tar paper over the entire roof surface, acting as the first line of defense against moisture. Lay the tar paper flat and staple it down securely, ensuring it covers the edges.
- Begin shingling at the bottom edge of the roof, working your way up and overlapping each row for proper water runoff.
- Align each shingle carefully and secure it with galvanized or stainless steel roofing nails.
Paint the dog house using non-toxic, weather-resistant paint to match your home and protect the wood. Start with a primer, let it dry thoroughly, then apply your color of choice, painting the edges and nooks for a seamless finish.
Consider adding insulation if you didn't during the build, using fiberglass, foam board, or recycled materials like carpet. Attach it inside the walls and under the roof with an outdoor, weather-resistant adhesive, then cover it with thin plywood or another layer of protection.
Craft a nameplate with your dog's name and attach it above the entrance. Install a couple of hooks on the outside wall to hang leashes or toys.
With a sturdy base, secure framework, and thoughtful finishing touches, you've created a dog house that's both functional and stylish. Your furry friend now has a comfortable and safe haven to call their own.
- Elsen R. Dog House Construction Guide. Canine Companions Press; 2015.
- Smith J, Jones K. Building a Durable Outdoor Dog Shelter. Pet Quarterly. 2018;25(3):42-49.
- Williams D. Practical Woodworking for Pet Owners. Craftsman Publications; 2020.