
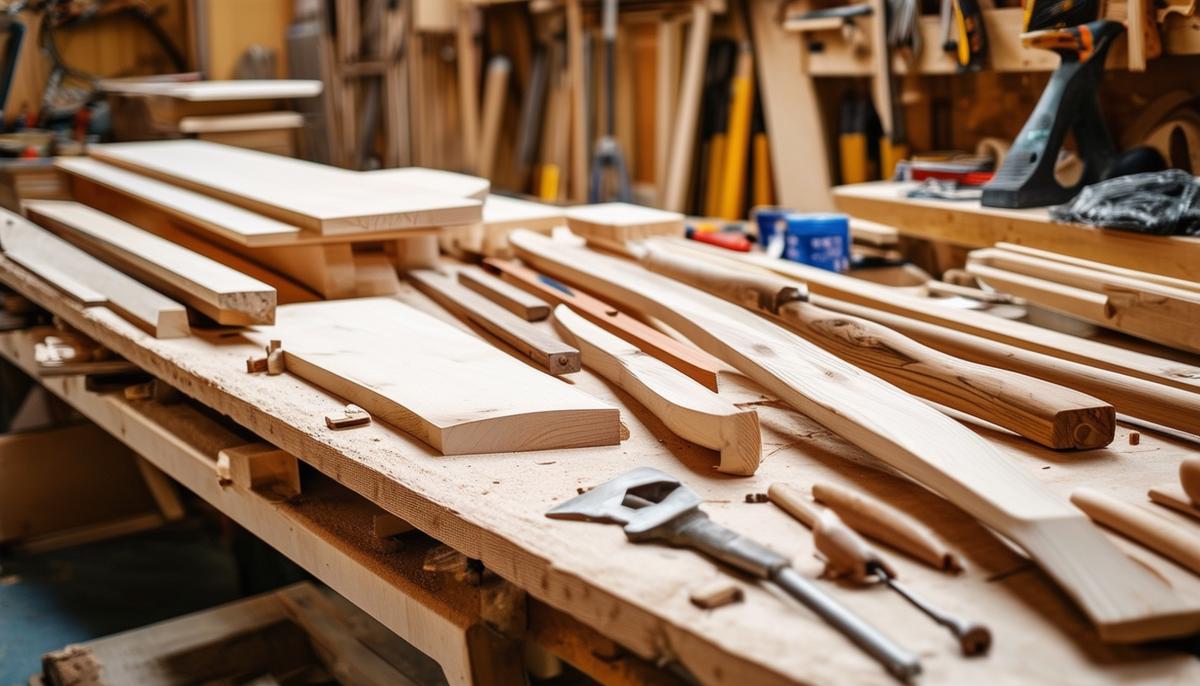
Materials and Preparation
Wood Selection
For the boat's frame and ribs, choose oak or ash. They're sturdy and can bend without snapping. For planking, cedar or mahogany works best. Marine plywood is another option, resistant to rot and warping.
Tools You'll Need
Essential hand tools include:
- Clamps
- Saws (jigsaw for curves, handsaw for straight cuts)
- Planes and sanders
- Measuring tools (tape measures, squares, and levels)
Glue and Fasteners
Use epoxy resin and stainless steel nails or screws. Applying epoxy can be messy, so be careful.
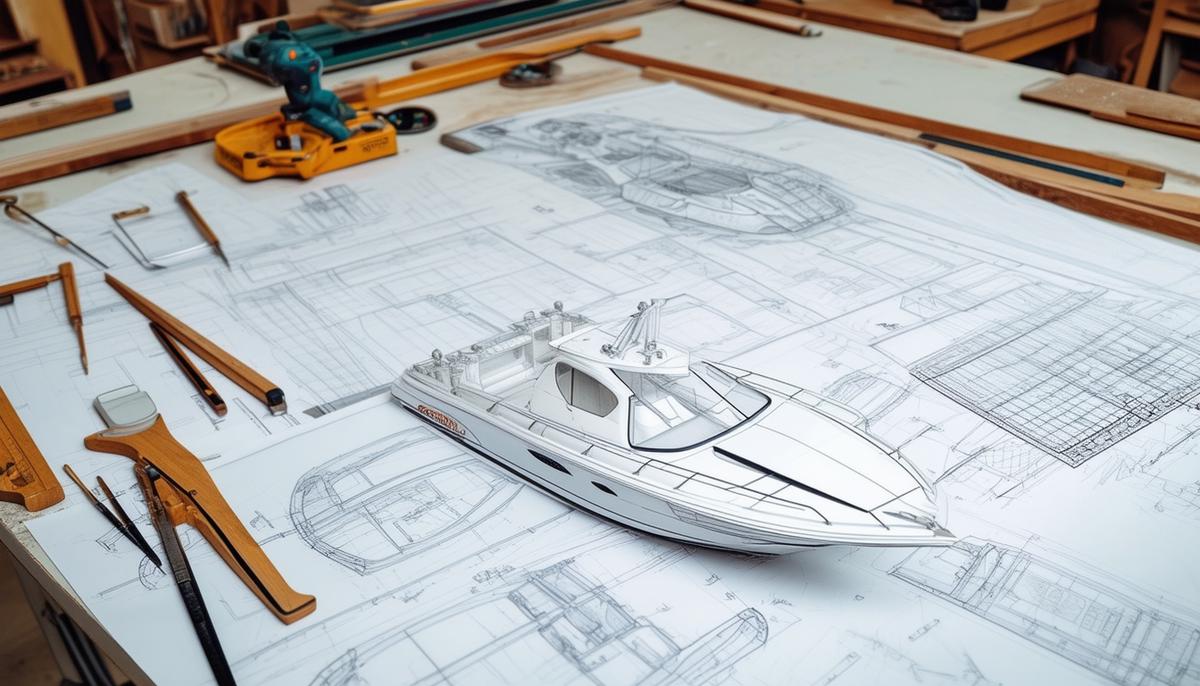
Planning Your Build
Get plans that match your skill level and desired boat size. Plot each step: cutting, assembling, and fitting parts. Start by making your transom and center rib from floorboards.
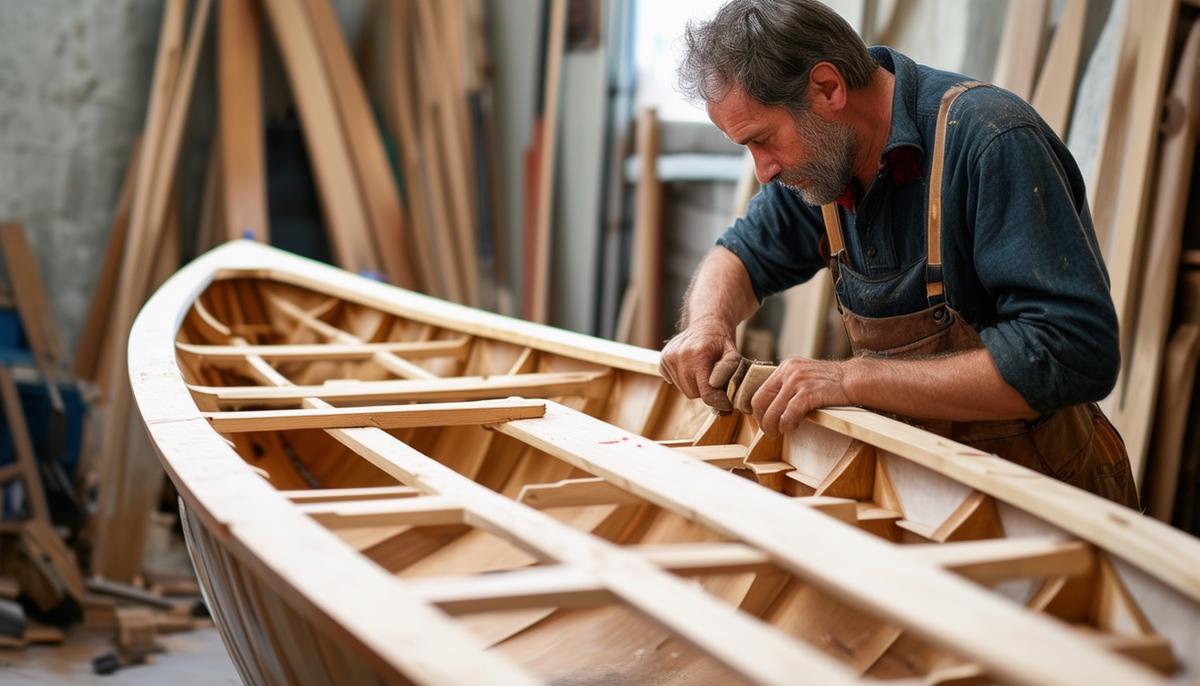
Assembling the Frame
Add ribs, positioning them about 490mm apart. Custom fit and shape each one, ensuring your boat stays symmetrical.
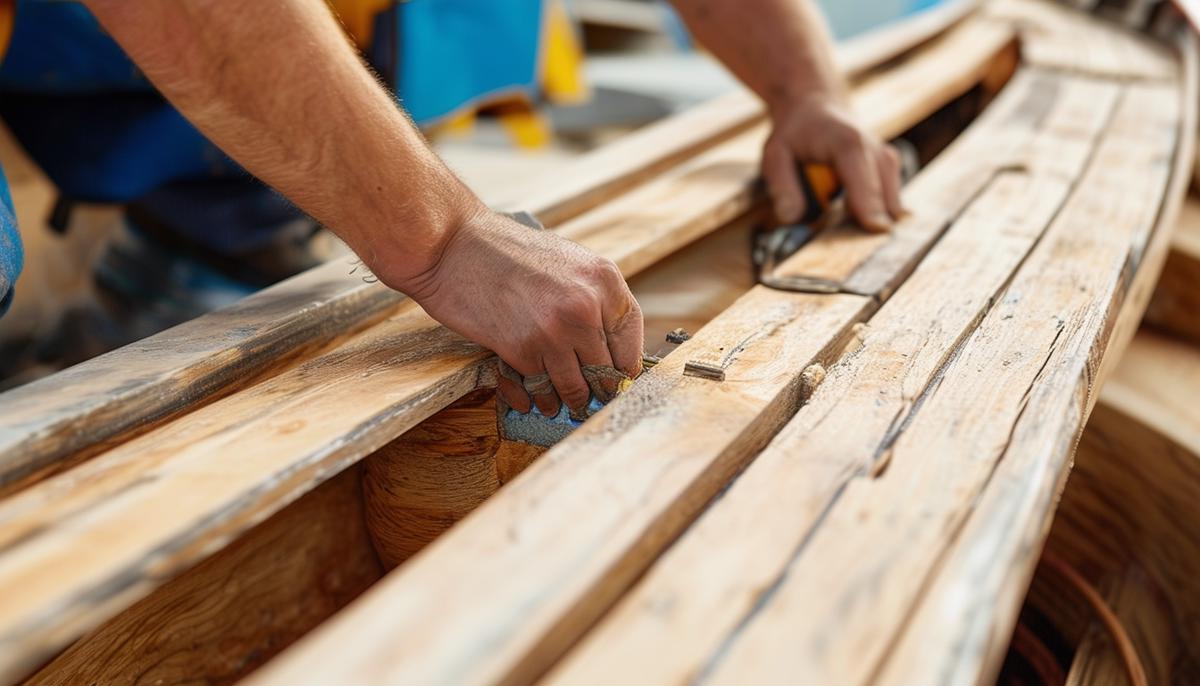
Fairing
Smooth out the framework, removing bumps. This helps the planking go on more easily later.
Planking
Attach your keel strip, then add ply planks, starting at the keel.
Seats and Supports
Cut and place seats on the rail. Add supports for stability.
Epoxy and Sanding
Fill screw tops with epoxy putty before sanding flat. Use appropriate breathing protection.
Painting and Final Touches
Sand thoroughly, then paint or varnish as desired. Attach rowlocks, rope guides, and other small fittings.
Planning and Design
Choose a design that fits your intended use and skill level. Simple rowboats and canoes are great starter projects.
Boat-Building Methods
Carvel Planking
Planks are laid edge to edge on a frame, creating a smooth hull. It's labor-intensive but results in a sturdy boat.
Lapstrake Planking
Planks overlap, providing extra strength. This method is more forgiving and beginner-friendly.
Stitch-and-Glue
Plywood panels are stitched together with wire or cable ties, then sealed with epoxy. It's quick and requires fewer tools.
Design Considerations
Consider where you'll use the boat and how many people it needs to carry. Choose a design that suits expected water conditions.
Step-by-Step Plan
- Gather tools and materials
- Prepare your workspace
- Cut templates
- Build the frame
- Plank the hull
- Fair the surface
- Install keel and seats
- Apply epoxy and sand
- Paint or varnish
- Fit out with necessary hardware
Thorough planning results in a better boat. Enjoy each step of the building process.
Building the Frame
Building the frame is where your boat starts to take shape. This is the backbone that everything else will attach to.
Start with setting up forms or molds. These temporary supports guide your wood strips or planks into the desired hull shape. Position them along a sturdy base called a strongback. Take time to level these forms accurately.
Cut your frames from quality wood—oak or marine plywood works well. These frames need to fit snugly into your forms. Use a bandsaw for smoother curves if available.
Construct the keel next. This central spine runs from bow to stern. Use high-quality, straight-grained wood like mahogany or Douglas fir. Glue and screw each part carefully, using marine-grade epoxy.
Assemble stringers next. These long, thin strips run lengthwise along the boat and tie frames together. Attach them to frames with stainless steel screws and wood glue.
Tip: Pre-drill holes to prevent wood from splitting while screwing.
After placing frames and keel, ensure each part is securely attached and check all sections for stability. Use quality wood throughout this stage.
When all ribs and stringers are in place, double-check everything for alignment and sturdiness. Tap each joint; it should feel solid. If anything moves, tighten it up.
Building the frame can be challenging, but it's also rewarding. This is where your project transforms from timber into a boat outline. A well-built frame sets the foundation for a sturdy, seaworthy vessel.
Planking and Fairing
Planking transforms the boat's frame into a sleek shape. There are various methods to choose from, including carvel, lapstrake, and strip-planking.
Carvel Planking
Carvel planking involves laying planks edge to edge for a smooth hull. Select straight, closely grained wood like mahogany or cedar. Attach planks to the frame using screws or rivets, ensuring each lies flush with its neighbors. Caulk any gaps and plane surfaces smooth.
Lapstrake Planking
Lapstrake planking overlaps each plank with the one beneath it. This method is more forgiving and adds strength naturally. Align the first plank along the keel and secure it firmly. Continue adding planks, maintaining consistent overlaps.
Strip-Planking
Strip-planking uses narrow, flexible strips of wood laid edge to edge. The strips, often with interlocking edges, are glued together with epoxy. This method allows for complex curves but requires extensive sanding afterward.
Pro Tip: Whichever method you choose, ensure each plank or strip is secured tightly to prevent water ingress. Stainless steel screws are a good choice for their durability.
Fairing the Hull
After planking, fair the hull to create a smooth, even surface. Use a longboard with sandpaper, moving diagonally across the planks to reveal high and low spots. Gradually sand down high areas without creating new low spots. Apply fairing compound or epoxy filler if needed.
Fairing requires patience but is crucial for both aesthetics and performance. A well-faired hull not only looks professional but also moves efficiently through water.
Finishing and Outfitting
Sealing and Reinforcing
- Seal seams with epoxy to make the hull watertight.
- Apply fiberglass cloth for added strength.
- Sand the surface smooth, progressing from coarse to fine grits.
Finishing Options
- Varnish: Traditional look, requires multiple thin coats
- Marine Paint: Modern style, better UV protection
Outfitting
Install components like seats, oarlocks, and decks. For rowing boats, ensure oarlocks are perfectly aligned. If sailing, carefully secure the mast step, partner, and rigging points.
"Attention to detail during outfitting can make the difference between a good boat and a great one."
Add storage compartments, ensuring they're watertight and easily accessible. Finally, double-check all fittings, seams, and components for security and proper alignment before launching.
Building a wooden boat requires craftsmanship and dedication. Each step brings you closer to creating something truly special. Take pride in your work and enjoy the process.