Planning and Preparation
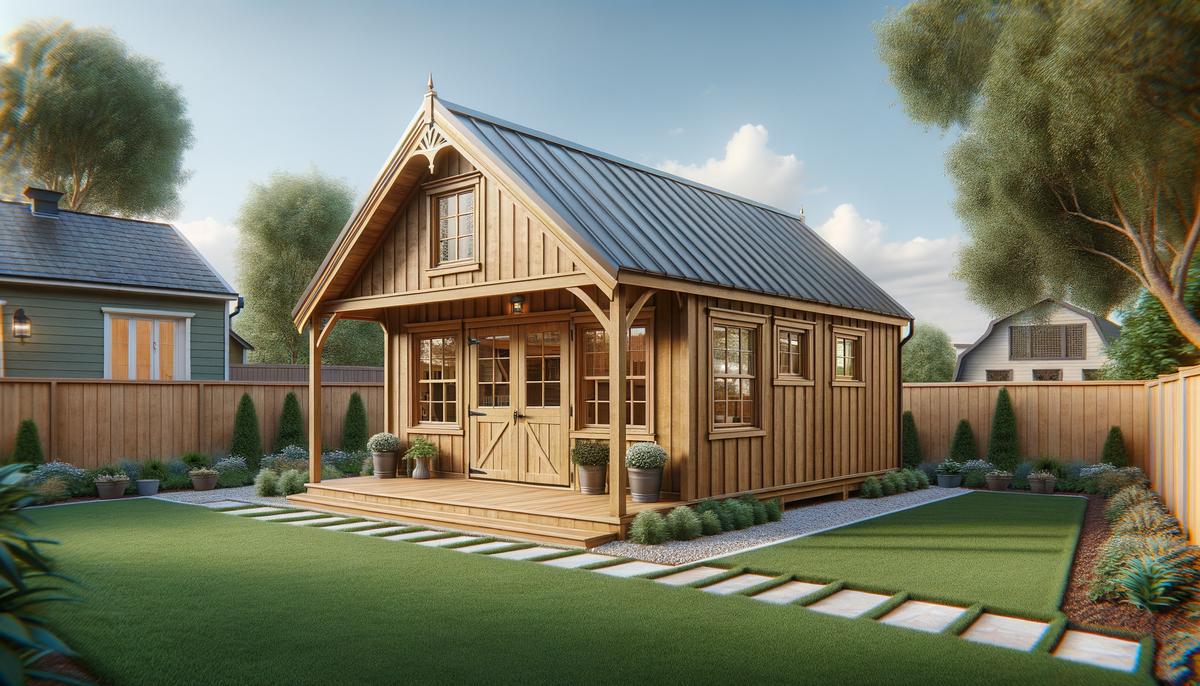
Determining the size of your shed is crucial. A 10 x 20 shed offers ample storage or a small workshop, while an 8 x 12 might suit you better if space is limited. Ensure to accommodate for walking space inside.
You'll need to choose the roof style. A gable roof is a classic choice; it's effective for water runoff and looks nice. A lean-to is simpler and great if you have existing structures to butt it against. Consider windows to prevent the place from feeling cramped and offer ventilation. Double doors are a smart choice if you're wheeling in hefty equipment.
Check local regulations for building permits. Often, sheds below a certain size don't need them, but if you're running electricity, you'll probably need one regardless of size.
Choose a level location and avoid placing your shed in a low spot where water collects or near dense trees that might shed branches. Clear away any plants, rocks, and debris for an easy build.
For the foundation, concrete blocks are a handy option. Set your blocks on some gravel, ensuring they're level. A floor frame comes next, constructed from 2x8s. Space those joists every 16 inches and use joist hangers to secure them.
Use treated lumber to resist rot and pests. For the walls, sheathing them before raising is a smart move for sturdiness. Plan to use galvanized nails and screws to fight off rust.
Install rafters with bird's mouths cut for a snug fit on the wall plates. Plywood sheathing covers the rafters, and roofing felt or tar paper comes after for weatherproofing. Shingles or metal roofing panels make your shed's roof durable and appealing.
Set windows in before raising the walls for easier installation. Prefabricated doors slide directly into place.

Foundation and Floor Construction
Two common foundation choices are pressure-treated lumber and concrete blocks. Concrete blocks offer solid support without constant level checking during installation. Lay your blocks in the corners of your planned shed area and line them up with string levels to ensure they're even. Add a fifth block in the middle for added floor support, especially in larger sheds.
If using pressure-treated lumber, place the lumber directly on concrete piers or slabs. Dig holes, typically about a foot deep, and fill them with concrete. Once cured, your pressure-treated beams will sit securely on these piers.
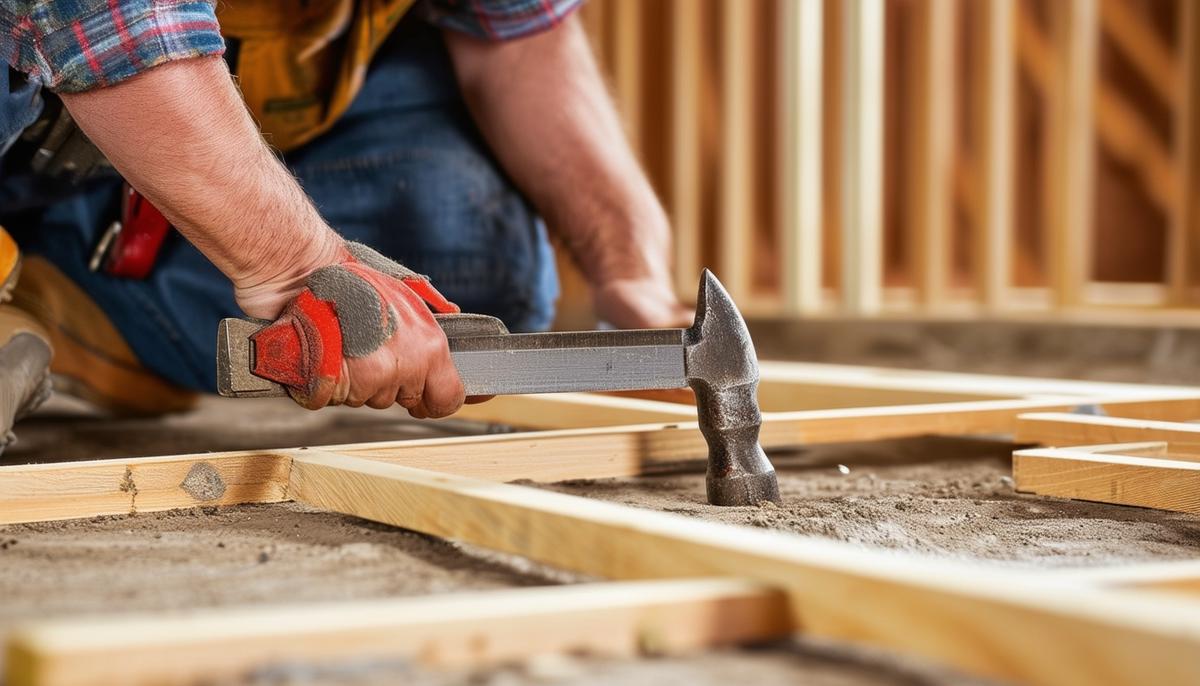
For the floor frame, construct it using pressure-treated 2x8s. Begin with the perimeter, ensuring accurate measurements, then nail or screw the beams together, reinforcing the corners. Place joists inside the frame perpendicularly, spaced 16 inches apart. Use galvanized joist hangers to anchor these joists to the frame. Consider floor blocking between joists for added support for heavier loads.
For the floor sheathing, use 3/4-inch plywood. Place each sheet so that it spans across several joists, nailing them every 8-12 inches along the edges and every 12 inches in the center. Stagger the seams to enhance stability. Nail the sheets down snugly with galvanized nails to prevent squeaky flooring.
Starting with a stable, reliable base ensures that your shed stands resplendent through seasons and weather. A sturdy floor is the beginning and assurance that the rest of your shed project will come together smoothly.

Wall Framing and Installation
Use treated 2x4s for the wall frames, aligning them to match your floor frame's dimensions. Assemble each wall frame flat on the ground before lifting into place for accuracy and stability. Use a framing square to ensure true corners.
For the base and top plates, use long, treated 2x4s. Attach vertical studs in between, spacing them 16 inches on center. Fasten the studs to the base and top plates with 3-inch nails or screws, driving them in diagonally, or "toenailed," for a firm hold. Pre-drill holes to prevent splitting the wood.
Frame door and window openings by adding double studs on each side and using horizontal headers to span the top. This reinforced structure maintains integrity and strength.
Enlist help to raise the walls one at a time, aligning the bottom plate with your chalk lines on the floor frame. Begin with the back wall, securing it in place with nails or screws driven through the bottom plate into the floor joists. Use a level to ensure vertical accuracy.
Position the side walls at right angles to the back wall, nailing them together at the corners. Use temporary braces between the floor and wall frames to hold everything upright and stable.
Lift and secure the front wall, aligning it precisely with your side walls and checking for level surfaces and right angles. Reinforce the wall with temporary diagonal braces nailed between studs and floor joists to maintain stability and shape.
Roof Construction and Sheathing
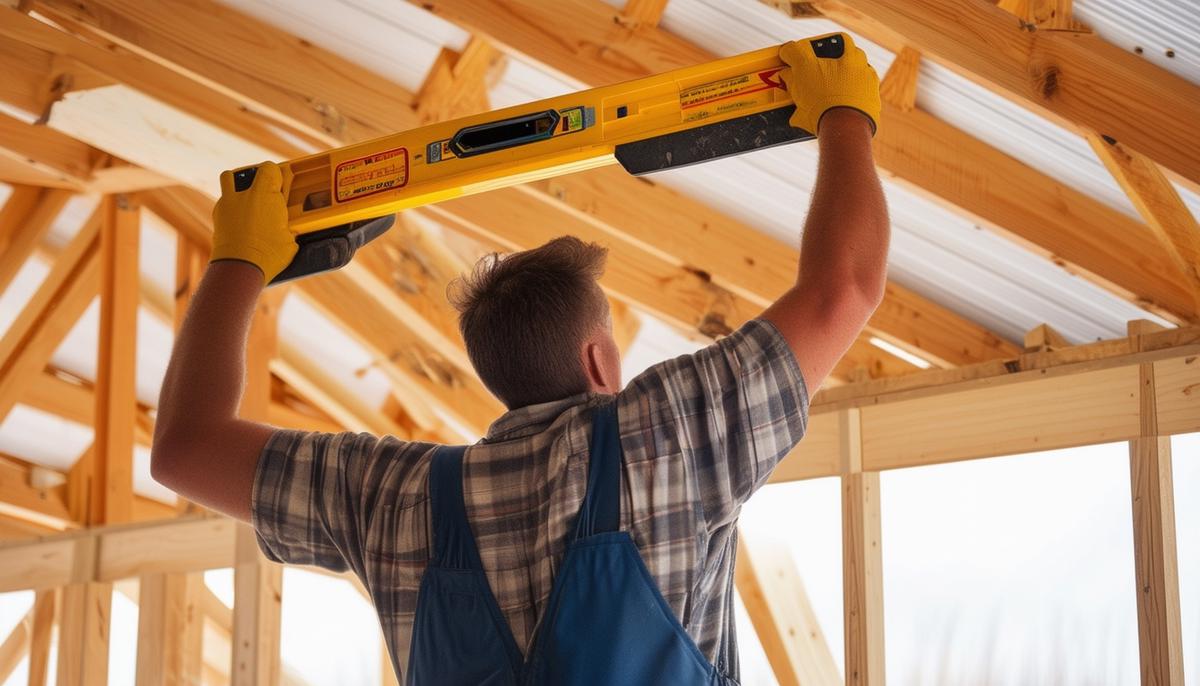
Build the roof trusses by laying out 2x4s in the shape of a triangle. Connect the rafters at the peak with plywood gussets for extra strength. Double-check that all angles meet accurately.
Install the trusses on top of the wall plates, lifting one at each end and toenailing them in place temporarily. Attach a temporary ridge board along the peak to ensure proper alignment. Methodically lift and install the remaining trusses, spacing them according to your plan, typically every 24 inches. Use a level to ensure each truss is vertical before nailing it in place. Secure each truss with hurricane ties for added stability.
For the roof sheathing, lay sheets of 1/2-inch plywood or oriented strand board (OSB) across the trusses, starting at one end and working your way to the other. Ensure each sheet runs perpendicular to the trusses and stagger the seams. Nail every 8 inches along the edges and every 12 inches in the field using galvanized nails. The sheathing should extend slightly beyond the truss tails to form an overhang.
Cover the sheathing with roofing felt or tar paper, starting from the bottom edge of the roof and overlapping each row by at least 4 inches. At the peak, wrap the felt over to cover both sides.
If using asphalt shingles, start with a row of starter shingles at the bottom edge of the roof. Lay each row of shingles above, overlapping as you go, and nailing them in place according to the manufacturer's instructions. Work your way up to the ridge, cutting the shingles to fit as necessary. Cap off the peak with shingle caps, overlapping each piece to ensure water rolls off smoothly.
Finishing Touches and Customization
First, let's tackle the doors. You've already framed your openings, so it's time to hang those doors. If you're using prefabricated ones, the installation is relatively straightforward. Align the door frame with the opening, ensuring it's level and plumb before attaching it with hinges. For a 10 x 20 shed, double doors are a common choice—they allow easy access for larger equipment. Secure the hinges using heavy-duty screws and make any minor adjustments so the door swings freely without sticking to the frame. For added security, consider installing a deadbolt or padlock hasp.
Next, the windows. Place your windows into the framed openings, securing them with screws or nails depending on the window type. Use a level to ensure they're straight, then apply weatherproofing tape around the edges to keep the elements out. Caulk the edges to seal any gaps, preventing drafts and water leaks. Windows provide natural light and ventilate your shed, reducing any musty smells from trapped moisture.
With the windows and doors in place, it's time for the exterior trim. Start by adding corner trim pieces, cutting them to length and nailing them in place. Ensure they sit flush against the edges for a clean look. Use galvanized nails to prevent rusting. Follow up with door and window casing, framing these openings neatly. Finally, install fascia boards along the eaves to cover the ends of the roof rafters, and add soffits underneath if desired.
Consider installing gutters if your shed will be exposed to heavy rain. They help direct water away from the foundation, minimizing erosion and water damage. Choose vinyl or metal gutters, depending on your preference and budget. Attach them along the fascia boards, using gutter hangers secured with screws. Connect downspouts to direct water away from the shed.
For interior storage, get creative. Built-in shelves along the walls can help keep tools and smaller items organized and off the floor. Use sturdy brackets to hold the weight. Pegboards are another option for hanging tools, making them easy to see and access. Customize your shelves and storage solutions based on the types of items you're storing, ensuring everything has a designated spot.
Finally, give your shed personality with paint or stain. Choose a weather-resistant exterior paint or stain to protect the wood from the elements. If painting, apply a primer first to seal the wood and create a smooth surface. Once the primer is dry, follow it up with two coats of your chosen paint color. If staining, apply the stain evenly with a brush or roller, allowing it to soak into the wood before wiping off any excess. This will highlight the natural grain while providing protection. Remember to paint or stain the doors, windows, and trim to match or complement the main structure.