
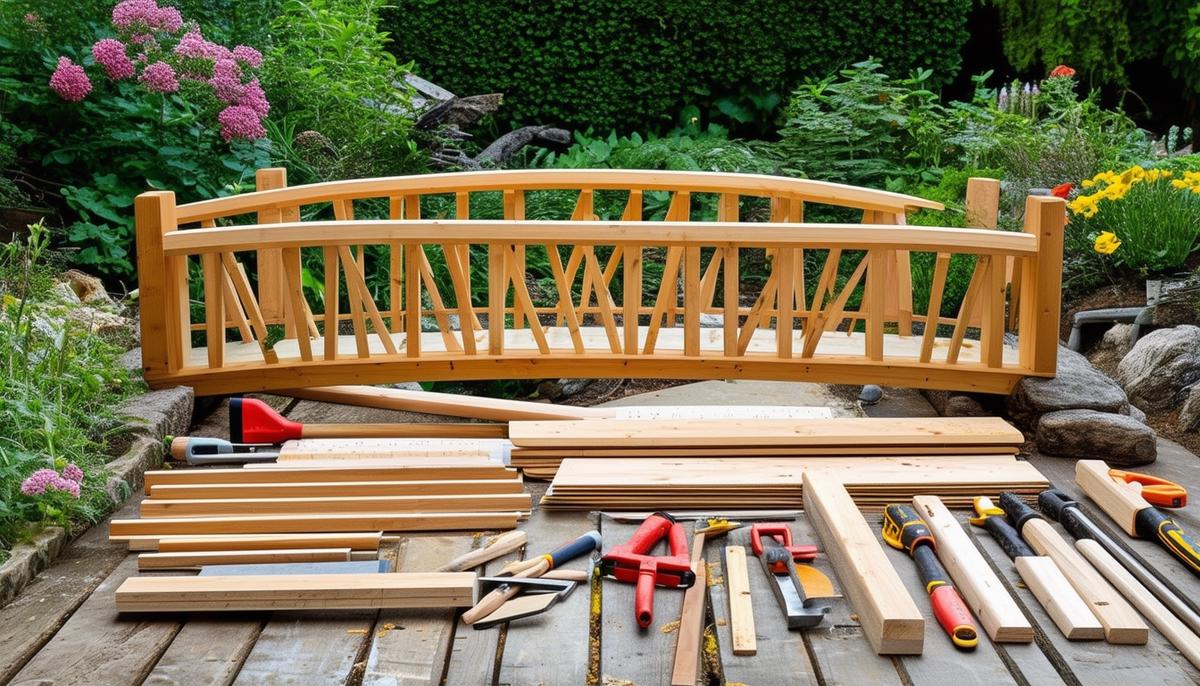
Building a garden bridge combines practicality with aesthetic appeal. With the right materials and tools, you can create a functional crossing that enhances your outdoor space.
Materials and Tools
To start your bridge-building project, gather these essentials:
- (2) 2×12 hardwood boards for support stringers
- (13) 2×6 hardwood planks for flooring
- (2) 8-foot treated pine posts, cut into 32-inch segments for handrails
Tools you'll need:
- Circular saw for precise cuts
- Jigsaw for curves
- Electric screwdriver
- Drill with a 1/2" bit
- Pencil for marking
- Wood planer for smoothing edges
- 2-inch stainless steel screws
Consider staining or painting your bridge to match your garden's style. Focus on quality as you build, and you'll create a sturdy and charming wooden structure without needing an engineering degree.
Drawing and Cutting Arches
To shape the arches:
- Lay a 2×12 hardwood board flat.
- Use flexible conduit as a guide to mark a smooth curve with a pencil.
- Cut the top arch with a circular saw, making short, straight cuts.
- Use a jigsaw for the bottom arch, following the curve slowly.
- Use the first arch as a template for others to maintain consistency.
- Smooth edges with a wood planer for safety and appearance.
These arches will form the elegant foundation of your garden bridge.

Assembling the Bridge
- Arrange stringers 32 inches apart on a flat surface.
- Lay 2×6 planks across stringers, leaving a 2-inch overhang on each side.
- Pre-drill planks to prevent splitting, then secure with stainless steel screws.
- Position posts, aligning them with the stringers using a T-square.
- Drill and screw posts securely.
- Attach handrails to each post, ensuring they're aligned with the bridge's flow.
- Allow any stain or paint to dry completely.
Your completed bridge will showcase your craftsmanship, serving as both a functional crossing and a garden centerpiece.

Your finished bridge reflects your dedication and skill, creating an inviting path that adds charm to your garden. Remember, the beauty of a handcrafted bridge lies in its uniqueness and the personal touch you bring to its design.
- Shibles E. Garden design and landscaping. Mount Vernon Landscape Architecture. 2021.
- Johnson T. DIY garden projects: Building a wooden bridge. Home and Garden Magazine. 2020;15(3):45-50.
- Smith R. Woodworking techniques for outdoor structures. Craftsman's Handbook. 3rd ed. Timber Press; 2019.