
Selecting the Right Materials
Choosing appropriate materials is key for constructing a custom bed frame that's both sturdy and long-lasting. Hardwood, such as oak, maple, and walnut, offers excellent strength and durability. For decorative elements, plywood stands as a cost-effective alternative. Always check your materials for knots, cracks, and other imperfections to ensure a seamless build.
Hardwood for Strength and Durability
A strong bed frame starts with selecting solid wood. Choose from hardwoods like oak, maple, or walnut. These woods are known for their rigidity and ability to withstand weight and stress, making them ideal for the main structure of the bed. Softwoods like pine or cedar may require extra thickness and breadth to meet the same level of sturdiness.
How to Select Hardwoods
- Oak: Known for its strength and durability, oak is a reliable choice for any bed frame.
- Maple: Offers excellent resistance to wear and tear, making it a great option for building furniture.
- Walnut: A bit on the pricier side, but walnut provides unmatched stability and a rich, dark appearance.
Using Plywood for Decorative Elements
Hardwood may be sturdy, but it's also expensive. For parts of the bed frame that don't bear as much weight, such as the headboard or footboard, plywood can be a good alternative. Plywood is versatile and can be shaped and finished to match or contrast with the hardwood used for the frame.
Inspecting Materials
Before you get into the construction phase, it's crucial to inspect each piece of wood. Here's what to check for:
- Knots: These can weaken the wood and make it challenging to drive screws.
- Cracks: Avoid pieces with cracks as they can compromise the structural integrity.
- Surface Damage: Check for any dings or stains on the lumber.
Tools and Additional Materials
Having the right tools and auxiliary materials can make your project smoother and more successful. Here are a few essentials:
- Table Saw: For accurate cuts.
- Mitre Saw: Handy for angled cuts.
- Circular Saw: Useful for making longer cuts.
- Drill and Impact Driver: For drilling holes and driving screws.
- Wood Glue and Wood Putty: For bonding and filling imperfections.
Each tool plays a significant role in cutting, shaping, and assembling your bed frame correctly.

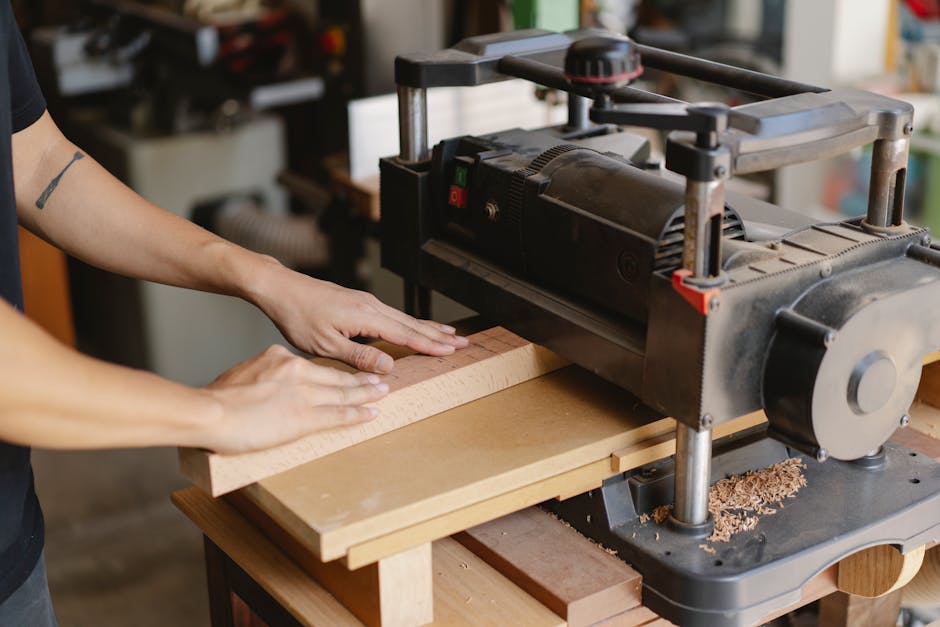
Preparing the Lumber
Before cutting and assembling, the lumber needs to be squared and surfaced to ensure a precise and professional finish. This step is essential to eliminate any rough surfaces or rounded edges, making the joints easier to cut and fit snugly.
Let's start by squaring your posts. If you're using 4×4 posts, you may find they have some rough surfaces and rounded edges. There are two primary methods to square your posts:
- Using a thickness planer: Run the posts through several times, rotating them to ensure equal amounts are removed from all sides. Stop at a final thickness of about 3-1/4 inches to make sure your posts are square and uniform.
- Using a table saw: Set your blade just high enough to cut through the post and set the fence at 3-3/8 inches for the first two cuts. After cutting one face off the post, rotate it by a quarter turn and cut the next face. Then, reset the fence to 3-1/4 inches for the remaining two faces. Using push sticks can help you control the post as you cut.
Once your posts are squared, inspect for bowing and twisting. Sight down each edge of the post to check for any warping. A straight post is crucial for the structural integrity of your bed frame.
Now, measuring is your next big task. Extend your tape measure to find the best portions of each post, usually by identifying areas free from knots or cracks. For example, for the side rails, you'll want to find 80-inch segments that are consistently smooth and free from significant imperfections. Mark your measurements clearly before making any cuts.
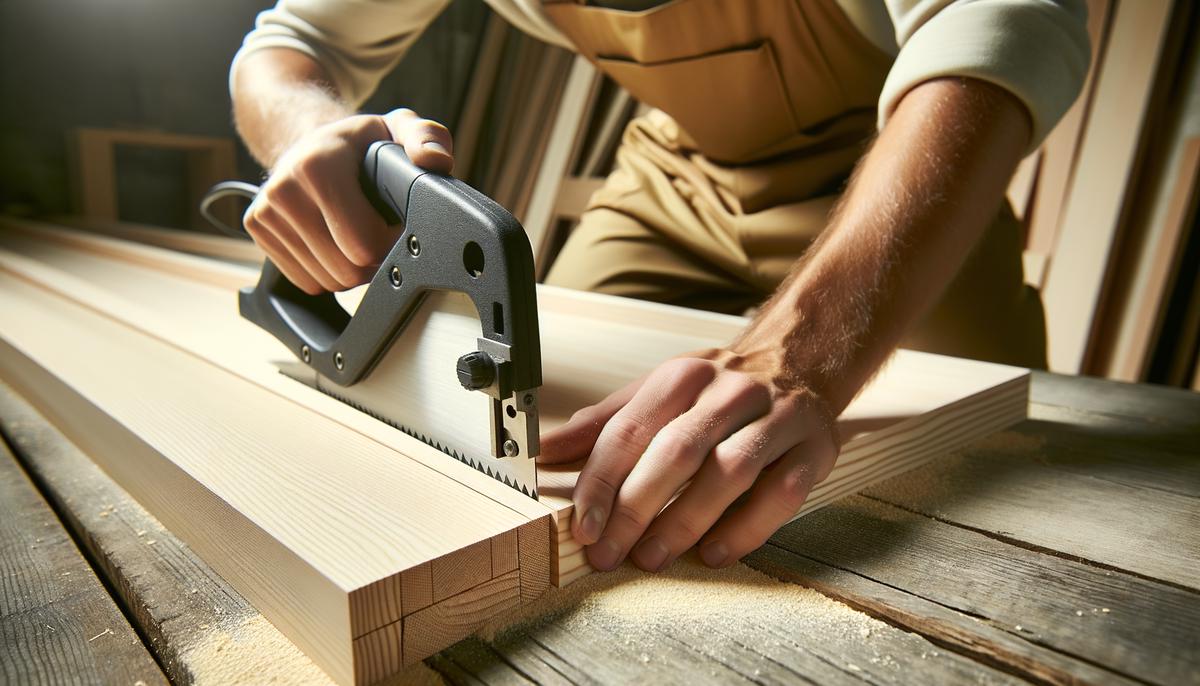
Precision Cutting and Assembly
Once your posts are squared and measured, move on to cutting them down to size. A mitre saw is excellent for these cuts, offering precise angles and clean cuts.
After all pieces are cut and inspected, you can begin the assembly process. Sand down any rough edges or surfaces to ensure your pieces fit together smoothly. Use wood glue and wood putty to bond and fill any minor imperfections, creating a seamless appearance.
Constructing the Frame
Side rails, cross rails, center supports, and legs must be accurately cut and securely fastened. Use half lap joints for strength, and glue and clamp everything tightly until dry. Structural screws will add additional rigidity.
Begin by accurately measuring and cutting the side rails. For a standard queen size bed, cut 2×6 boards to about 80 inches each. For the cross rails and center supports, use 2×6 boards as well. Cut two end cross rails to 60 inches and a center support to 57 inches.
Legs are often made from the squared and surfaced 4×4 posts. Cut each leg piece to 16-1/4 inches long, with parallel 15-degree angles at each end. This tilt allows the legs to spread and provide better stability.
To form half lap joints, follow these steps:
- Mark 4 1/8 inches from each end of the side rails, positioning the legs flush against the top edges of the rails.
- Trace the leg outline onto the side rail, then mark corresponding lines on the legs.
- Set your circular saw blade to half the thickness of the wood and carefully cut along your marked lines.
- Make multiple 1/4-inch cuts within these lines to weaken the material in the joint area.
- Remove the waste wood using a chisel and a hammer.
Before assembly, round over the exposed edges of your 4×4 posts with a router equipped with a 1/4-inch roundover bit. Apply wood glue to the inner surfaces of each joint and fit the legs to the side rails. Use a mallet to ensure the legs are fully seated in the joints, and clamp each joint securely.
Once the glue has dried on your side rail and leg assemblies, add the inner side rails. Measure and mark 1 1/2 inches down from the top edge on each leg and in multiple spots along the rail length. Align a 2x6x70 board with these marks, ensuring the ends are equally distant from the leg edges. Clamp the board in place and drill 5/16-inch pilot holes through the inner rail into the legs.
Assemble the frame in its designated location. Fit the inner frame between the side rail and leg assemblies, securing it with 4-1/2-inch structural screws. Use clamps to hold everything in place while you screw in the fasteners.
Attach the 1x6x60 slats across the inner frame ends, allowing for a 1-1/2-inch overhang. Secure these with 1 1/2-inch screws. Lay the twelve 1×4 slats evenly across the inner frame, securing them if the bed will be moved.
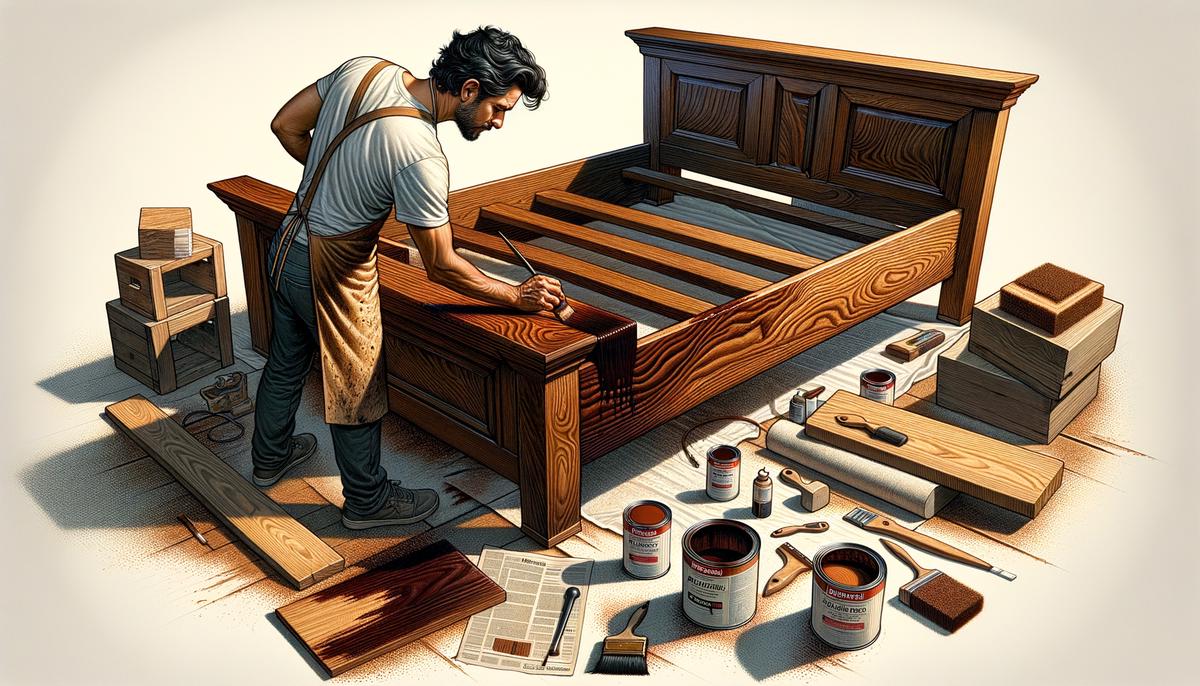
Finishing Touches
Once your custom bed frame is fully assembled, focus on the finishing touches to enhance its appearance and protect the wood.
Start by using a router with a 1/4-inch roundover bit to smooth out all visible edges on the bed frame. This adds a polished look and eliminates potential splinters.
Sand all visible surfaces thoroughly. Start with a medium grit to remove any rough patches, then follow with a fine grit for a smooth finish. Pay attention to corners and joints where excess glue might have seeped out.
Fill any screw holes with wood putty that matches your wood type. Let it dry, then sand these areas lightly to level them with the surrounding wood.
Decide on your finish—either a stain or paint:
- For staining: Apply a wood conditioner first, then choose a stain that complements your room's décor. Apply the stain in the direction of the wood grain, wiping off any excess. Let it dry completely and consider a second coat for deeper color. Finish with a clear sealer.
- For painting: Start with a wood primer. Once dry, apply your chosen paint with a brush or roller, ensuring even coverage. You might need two coats for a solid finish. Add a protective top coat to prevent scratches and scuffs.
After the finish has dried, assemble the bed in its final location. Place the side rail and leg assemblies upright, position the inner frame between them, and fasten securely with the 4-1/2-inch structural screws.
Place the 1x6x60 slats across the inner frame ends, overhanging the edges by about 1-1/2 inches. Attach them with 1-1/2-inch screws. Then, lay the twelve 1×4 slats evenly across the inner frame to support the mattress.
If your project includes additional components like a headboard or storage drawers, attach these elements now, ensuring they're securely fastened and properly aligned.
By carefully selecting quality materials and thoroughly inspecting each piece, you can build a bed frame that's both sturdy and stylish. This project requires effort, but the result is a custom piece of furniture tailored to your needs.
- Hoadley RB. Understanding Wood: A Craftsman's Guide to Wood Technology. Taunton Press; 2000.
- Jackson A, Day D. Collins Complete Woodworker's Manual. HarperCollins; 2005.
- Flexner B. Understanding Wood Finishing: How to Select and Apply the Right Finish. Fox Chapel Publishing; 2010.