
Understand Your Space
Building custom shelving units starts with understanding your space. Consider the room's purpose and measure it accurately, noting window, door, and furniture positions. Think about your desired style and how it influences materials and design features.
Consider ceiling height and whether you want floor-to-ceiling storage or wall-mounted units. List necessary tools, including basics like a hammer, nails, and saw, as well as specialized tools like miter saws or brad nailers.
Plan for functionality by including hidden storage or display options. Consider shelf weight capacity to ensure sturdy construction. Use a level for even, steady shelves. Visualize the finished product to catch any last-minute adjustments before you start building.

Decide Wall Coverage
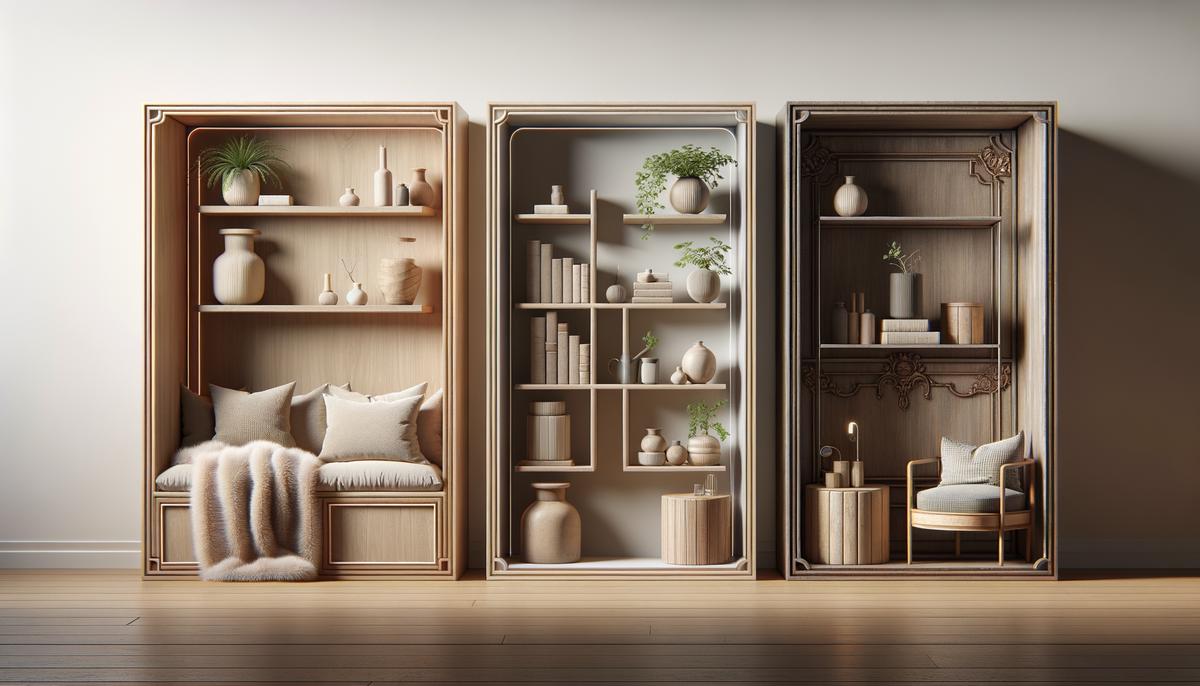
Determine your desired wall coverage for custom shelving units. Options include:
- Full-wall coverage: Maximum storage, but might overwhelm smaller rooms
- Upper-wall shelving: Maintains open space while providing ample storage
- Half-wall installations: Sufficient storage without boxing in the room
Consider room layout, desired atmosphere, and ceiling height when deciding on coverage. Remember overall aesthetics and how your shelving choice fits with your design style. Ensure your shelves serve their purpose beyond appearance, considering the weight of items you'll store.
Take time to find the perfect mix of form and function for your needs and aesthetic. Once decided, you're ready to create a well-organized room that meets your storage needs.

Define the Ambience
Defining the ambience of your custom shelving units is about creating a space that tells a story. For coziness, incorporate rounded edges and soft finishes. Modern styles favor sharp angles, clean lines, and minimalist design. Vintage feels can be achieved with detailed framing and character-rich materials.
Consider existing room dimensions and structural elements when designing your shelves. Let baseboards, trim, or wainscoting guide your design choices. Materials play a crucial role in setting the ambience, so choose wisely between wood, metal, glass, or stone.
Pay attention to details like decorative brackets, varied shelf heights, and unique finishes.
Ensure your custom shelving complements existing room elements for seamless integration. Balancing creativity and practicality will help you create shelving that enhances your space's beauty and character.
Gather Necessary Tools
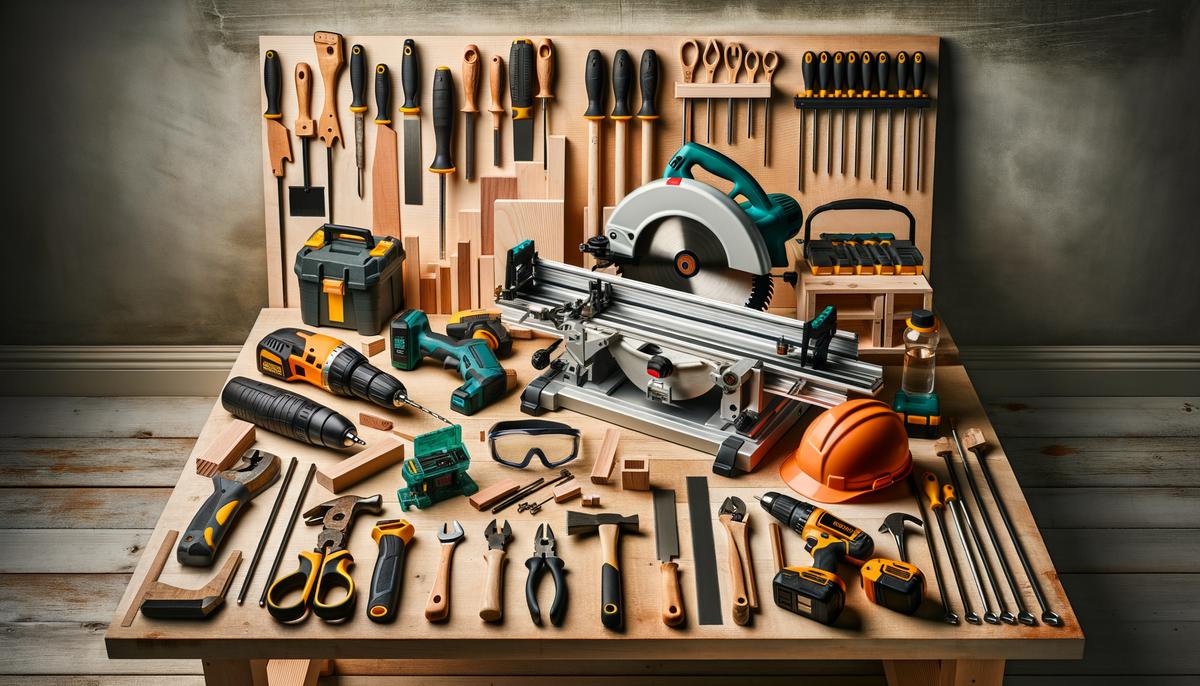
Before starting your custom shelving project, gather the right tools for efficient work. Essential items include:
- Tape measure and pencil for accurate measurements
- Miter saw for clean, angled cuts
- Level to ensure straight shelves
- Stud finder for secure wall anchoring
- Brad nailer or nail gun for attaching trim
- Basic tools: hammer, screwdrivers, carpenter's square, and clamps
- Wood glue for added stability
- Power drill for pilot holes and driving screws
- Jigsaw for intricate details and custom shapes
- Sandpaper or electric sander for finishing
- Wood filler for covering small gaps or nail holes
Don't forget safety gear like protective eyewear, a dust mask, and ear protection when using power tools. Having everything ready beforehand helps you stay focused and work efficiently on your custom shelving project.
- Spence WP, Kultermann E. Construction Materials, Methods and Techniques. 4th ed. Cengage Learning; 2016.
- Ching FD. Building Construction Illustrated. 5th ed. John Wiley & Sons; 2014.