
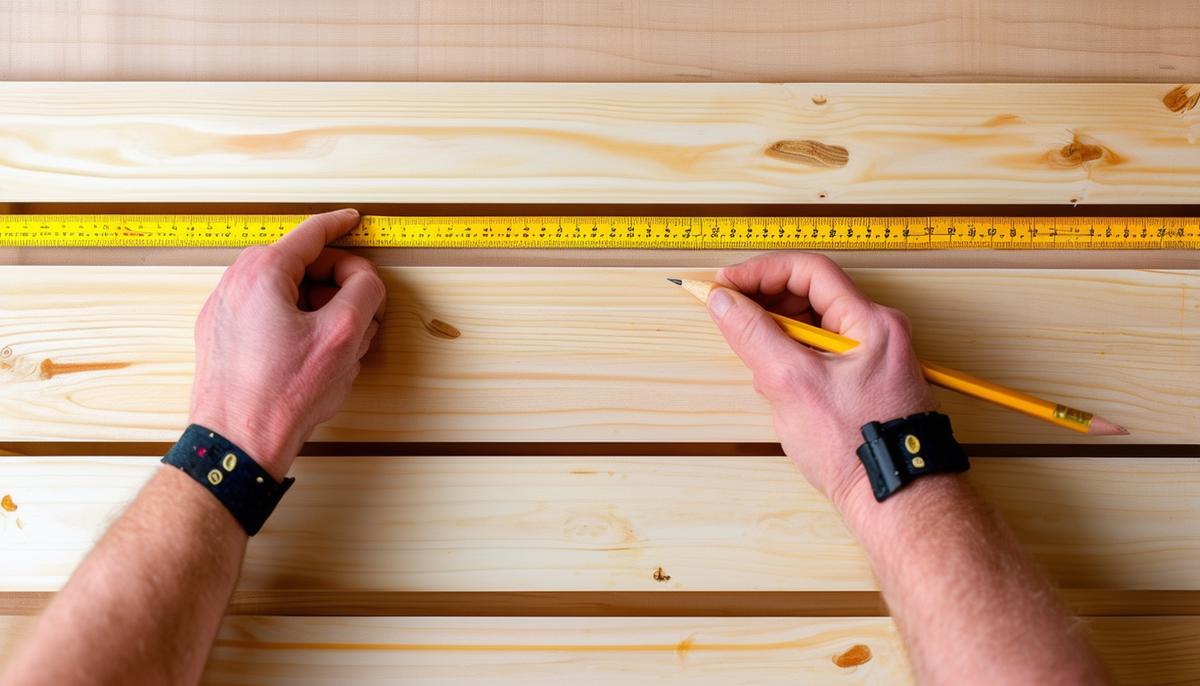
Planning and Measuring
Before you start your DIY bookshelf project, it's crucial to plan and measure carefully. This step lays the foundation for a successful and well-crafted end result.
Materials:
- Wooden boards (cut to size)
- Measuring tape
- Pencil
- Saw
- Sandpaper
Step-by-Step Instructions:
- Decide on Dimensions:
– Measure the available space from floor to ceiling if needed.
– Width should be enough to accommodate your books without overwhelming the room.
– Depth should be about 12 inches for standard books, but can be adjusted. - Mark Your Wood:
– Draw out your dimensions on the wood with a pencil.
– You'll want pieces for the sides, top, bottom, and the shelves.
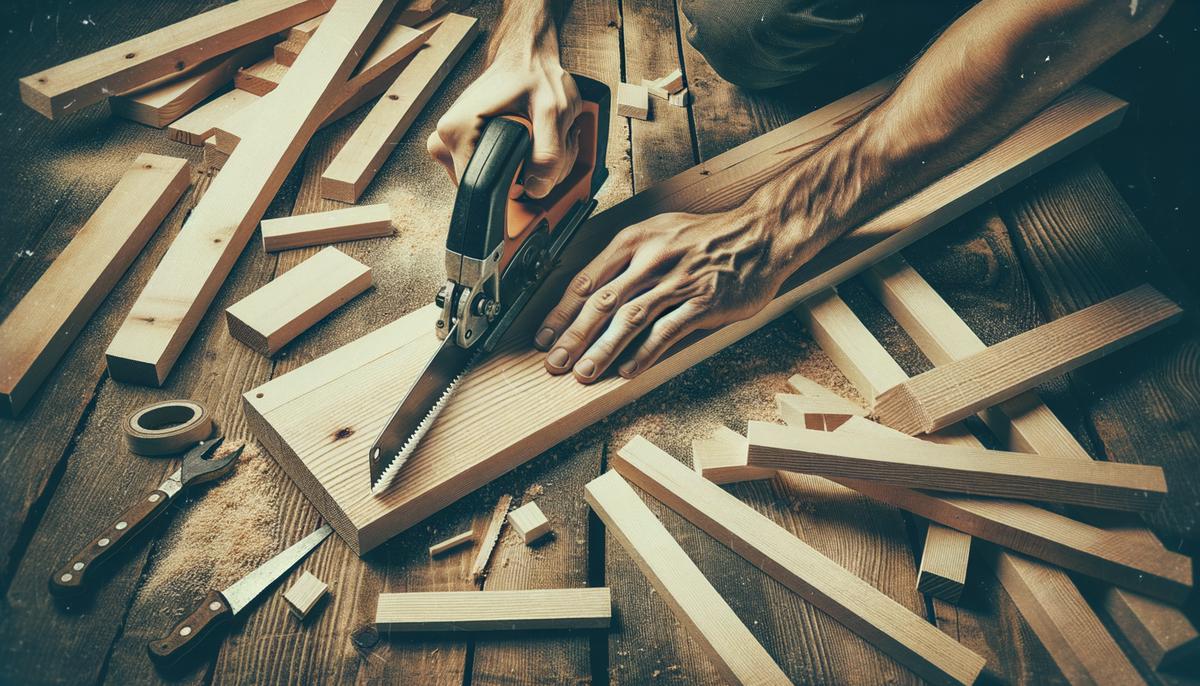
Cutting the Wood
With your measurements ready, it's time to cut the wood to size. This step requires precision and care to ensure all pieces fit together seamlessly.
- Prepare to Cut:
– Use a saw—circular is easiest but a hand saw works if that's what you have.
– Make sure your cuts are straight. Clamp the wood if needed. - Cut to Size:
– Cut the top and bottom pieces first.
– Cut the side panels according to the height you measured.
– Don't forget the shelves. Measure and cut these to fit snugly between the side panels.
Once you've got all your pieces cut, take your sandpaper and smooth out the edges. This step is crucial because it's going to make the assembly process smoother, and it'll also prevent any rough edges from causing splinters or affecting the final finish.
Sanding the Wood
Sanding is a vital step in the woodworking process. It not only smooths out the surface but also prepares the wood for painting or staining. Here's how to approach it:
- Start with a medium-grit paper, like 120, to really smooth out any rough patches and remove splinters.
- Pay special attention to the edges where the saw might have left the wood a bit jagged. This step isn't just about smoothing things out for aesthetics; it's about making sure the wood will take any paint or stain evenly.
- After your initial sanding, take it up a notch with a finer grit sandpaper, like 220. This will polish the wood to a smooth finish that's perfect for painting or staining. Run your hand over the surfaces to ensure they're all as smooth as possible. If you feel any snags or rough spots, go over them again until they're completely smooth.
After you've thoroughly sanded all pieces, wipe them down with a tack cloth or a damp rag to remove any dust. It's important to get rid of all that sanding residue so it doesn't interfere with the finish.
Taking the time to sand your wood properly sets a great foundation for the next steps. Whether you choose to paint or stain your bookshelf, this careful preparation means you'll achieve a clean, polished look.
Assembling the Frame
With all your pieces cut and sanded, it's time to start putting your bookshelf together. The assembly phase is where your project really starts to take shape.
- Join the Frame:
– Lay out the sides parallel to each other.
– Position the top piece on the ends of the sides.
– Apply wood glue to the edges and then screw the top piece to the side panels. - Check Your Work:
– Double-check that everything is square.
– A carpenter's square is handy here.
Place the bottom piece similarly, ensuring it's level and that all edges meet perfectly. Once aligned, it's time to secure everything with wood screws. Here's a crucial tip: pre-drill your holes. This step prevents the wood from splitting, which can compromise the integrity of your bookshelf.
Using a drill bit slightly smaller than your screws, pre-drill holes at the joint points. Space these holes evenly, about every 6-8 inches along the edges to ensure a sturdy structure. Once your holes are ready, drive your wood screws in carefully. Tighten them just enough to hold the pieces together firmly without over-tightening, which could cause the wood to crack.
As you screw in each joint, use clamps to keep the frame steady and secure. This not only helps keep your hands free but also ensures the pieces don't shift as you work. Remember to check periodically with your carpenter's square that everything remains aligned.
The frame should now be securely joined. Let the wood glue set for the recommended time (usually a few hours or as specified by the manufacturer) before moving on to the next steps. This wait ensures all joints are solidified.
This careful assembly phase is the backbone of your bookshelf's structure. By taking the time to align, glue, and screw everything accurately, you're ensuring a sturdy and professional-looking result.

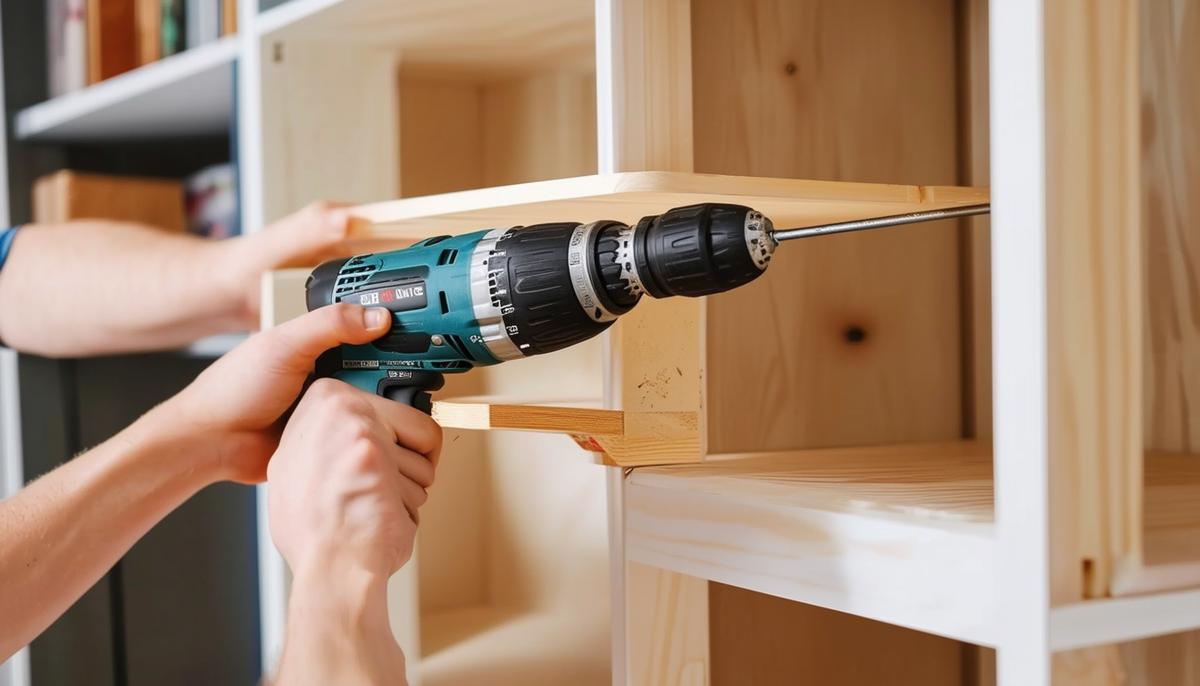
Installing the Shelves
With your frame assembled, it's time to add the shelves that will hold your books. This step requires precision to ensure your shelves are level and secure.
- Mark Shelf Placement:
– Decide how many shelves you want and measure equal spaces for them.
– Mark these spots on the inside of the side panels. - Attach the Shelves:
– Glue and screw each shelf into place.
– Start with the bottom shelf for stability and work your way up.
Next, it's time to attach the shelves. Start with the bottom shelf. Apply a bead of wood glue along both ends of the shelf where it will meet the side panels. Position the shelf between the panels at the lowest marked line. Use clamps to hold it in place.
To secure the shelf, pre-drill holes through the side panels into the edges of the shelf. Space these holes evenly, around 6-8 inches apart, just like when you assembled the frame. This step is crucial to preventing the wood from splitting.
Once your holes are pre-drilled, drive in the wood screws. Tighten them enough to secure the shelf snugly without causing the panels to crack. Do this for one side first, then move to the other side, ensuring the shelf remains level and aligned. Using a level here can be very helpful to double-check your work.
With the bottom shelf secure, move to the next shelf up. Apply wood glue, position it, clamp it, pre-drill holes, and screw it in place, just like you did with the bottom shelf. Work your way up, repeating this process for each shelf. Continuously check that your shelves are level and equally spaced.
To ensure extra stability, consider using shelf brackets. These brackets, attached underneath each shelf, provide additional support. They're especially useful if you plan to load your bookshelf with heavy items. Position the brackets evenly, one near each end of the shelf, and pre-drill and screw them into both the shelf and the side panels.
Once all shelves are installed and the glue has had time to set, your bookshelf should be feeling sturdy. Give everything a final once-over to make sure screws are tight and nothing wobbles. If any adjustments are needed, now is the time to make them.
Finishing Touches
You're on the home stretch! Your bookshelf is assembled, but there are a few final steps to ensure a polished, professional look.
- Sanding and Smoothing:
– Go over the entire structure with sandpaper one last time.
– Ensure all edges are smooth and there's no roughness. - Painting or Staining:
– If you want to paint or stain, now's the time.
– A coat of primer before painting can help with adhesion.
Decide if you want to paint or stain. If you're going for a natural wood look or a classic, rich tone, stain is your best bet. For a bold, colorful appearance, paint is the way to go. Here's how to proceed with each:
Staining:
Apply the stain with a staining pad or a brush, following the wood grain. Work in thin, even layers to avoid blotches. Let each coat dry as per the product's instructions before applying additional coats if needed. After staining, you may want to seal the wood with a clear finish like polyurethane for extra durability.
Painting:
If you opt for paint, start with a coat of primer. Primer helps the paint adhere better and can be especially important if your bookshelf wood grain is porous.
Apply the primer in thin, even coats, and let it dry completely. Once primed, you can move on to painting. Use a high-quality brush or a foam roller to apply the paint. Work in thin layers, letting each coat dry thoroughly before applying the next. This will give you a smooth finish without brush strokes or drips.
Whether you're painting or staining, let your bookshelf dry completely between coats and before any final finishing steps. Once fully dry, check all the screws and joints to ensure everything is tight and secure.
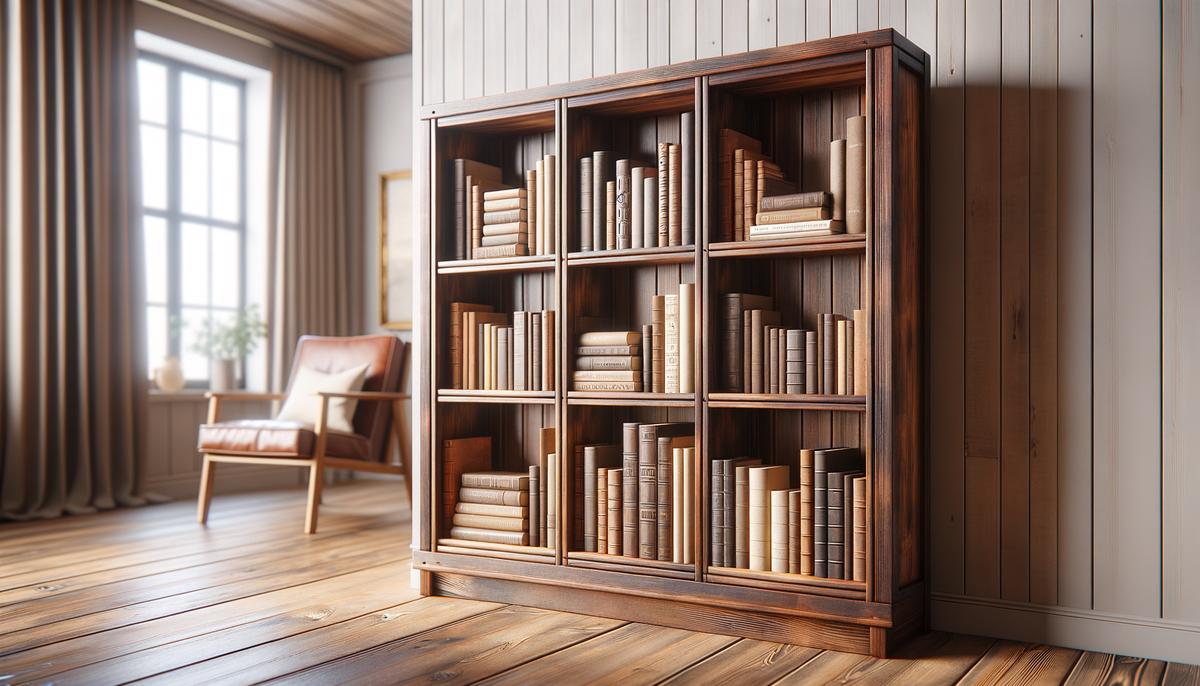
Your DIY bookshelf is now finished and ready to be loaded with books, décor, and whatever else you fancy. Stand back and admire your handiwork—you've just created a functional and beautiful piece of furniture with your own hands. That's a rewarding feeling!
Remember, the beauty of DIY projects is that they're unique to you. Your bookshelf might not be perfect, but it's yours, and that's what matters. Each tiny imperfection tells a story of the learning process and the effort you put in.
As you fill your new bookshelf, think about how you might arrange your books. You could go for a classic alphabetical order, organize by genre or color, or mix it up with a combination of books and decorative items. The possibilities are endless!
Enjoy your new bookshelf, and here's to many more successful DIY projects!
- Udo N, Schroeter M, Sperhake JP. Practical Skills in Forensic Medicine and Pathology. Dtsch Arztebl Int. 2018;115(33-34):575.
- Greveling K, Karssemakers LHE, Korpershoek E, Metselaar S. DIY-Bio: An Overview of the European Ecosystem. Front Bioeng Biotechnol. 2020;8:423.
- Marsh T. Overview of the Procedure for Making a Wooden Bookshelf. J Woodwork Hobb. 2019;12(4):112-118.