
Design and Measurements
Common dimensions for a coffee table are around 48 inches long, 24 inches wide, and 18 inches high. Sketch your design, noting the dimensions for each piece. This initial step sets the foundation for the entire build.
Cut your wooden planks according to the measurements. Precision here ensures snug fits later. Your planks will form the tabletop, legs, and supports. Use a saw, whether circular, miter, or hand, but watch your fingers!
Arrange your planks on the ground for the tabletop. You can spot any imperfections or mismatches now, rather than when you're halfway through assembly.
Apply wood glue between the tabletop planks. Clamp them together tightly, letting the glue dry overnight. This keeps your tabletop from shifting around.
Secure the planks with wooden strips underneath. Screw or nail these strips perpendicular to the planks. This will provide additional stability. An unsteady table ruins coffee time.
Measure and cut the legs to the desired height, usually 18 inches. Attach them to the underside of your tabletop. Use wood screws like Kreg screws for better hold. Make sure they're equidistant from each corner. A lopsided table just looks sad.
Add cross supports between the legs. Measure and cut pieces to fit between each pair of legs. These supports, also known as aprons, make your table sturdy enough to survive a dance party.
Select and Prepare Wood
Select wooden planks that fit your size requirements. Reclaimed wood adds authenticity, but new wood aged appropriately can also work. Choosing the right wood is akin to selecting the right ingredients for a recipe; the better the quality, the better the final outcome.
Begin by cutting the wood to the lengths you need, according to your earlier design and measurements. A circular saw, miter saw, or even a trusty hand saw will do the trick, but don't rush this step. Precision here means everything fits together without gaps or wonky angles. You don't want your coffee table looking like it escaped from a funhouse.
After cutting, it's time for sanding. Use various grits of sandpaper, starting with a coarser grit to remove any major roughness. Progressively move to finer grits to smooth out the surface. The goal is smooth enough to avoid splinters, rustic enough to maintain character. Over-sanding will make it look too polished, and under-sanding will have your guests wondering if you hastily threw the pieces together.
When sanding, always move in the direction of the wood grain. Sanding against the grain can create noticeable scratches. If your wood has knots, whorls, or splits, embrace them. These imperfections add rustic charm, like laugh lines on a well-lived face.
If using new wood but desiring an authentic rustic feel, consider aging it yourself. Hit it lightly with chains for dents, or use a wire brush to scuff the surface. Moderation is key—a little aging makes your table look like an heirloom; too much looks like it was borrowed from an old pirate ship.
Carefully inspect each plank after sanding. Remove any residual dust with a damp cloth or a tack cloth, ensuring the surface is clean for the next steps. Clean surfaces provide the best results.
Build the Tabletop
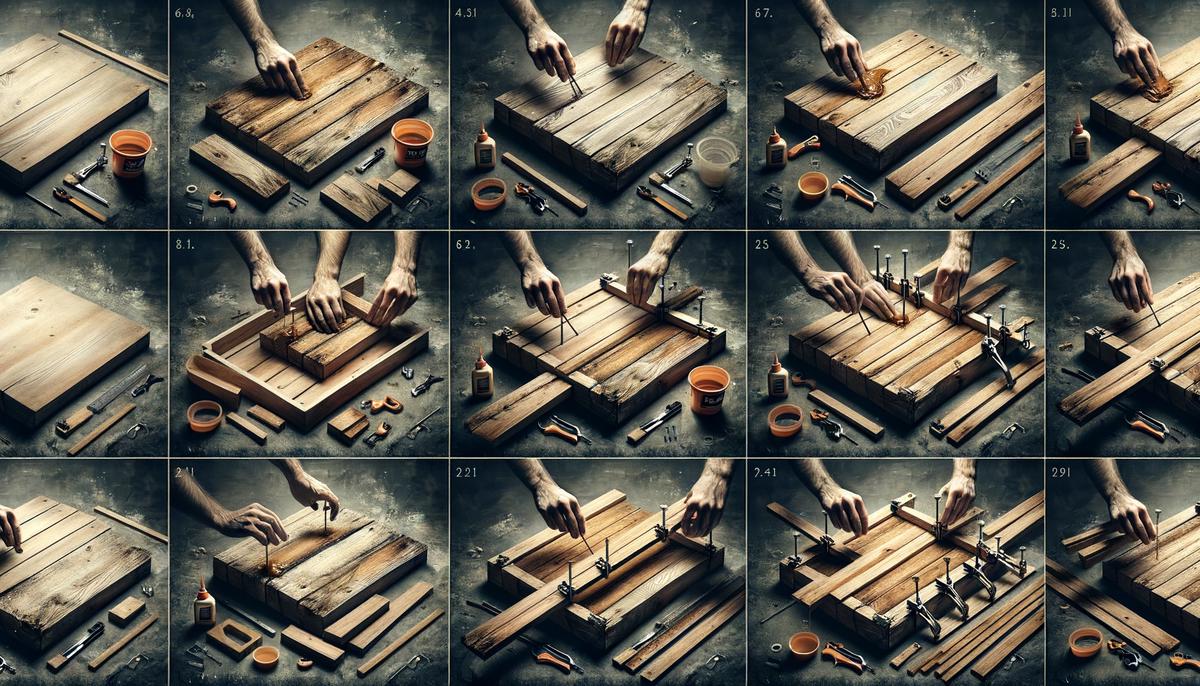
Arranging the planks side by side is where your coffee table starts to take form. Lay out your planks on a flat surface to ensure a cohesive, rustic flow in your wood grain.
Once satisfied with the layout, bond the pieces together. Apply wood glue to the edges where planks meet. Don't skimp—it's holding your masterpiece together. Clamp the planks tightly to ensure they dry seamlessly without gaps. Even slight gaps can eventually lead to an unsteady table or separation when you least expect it.
Leave the glued arrangement to dry overnight. Rushing this will sabotage your efforts. Once cured, flip the tabletop over and reinforce it.
To prevent warping, add stability with wooden strips on the underside. Cut strips to the tabletop's width and place them perpendicularly:
- One near each end
- One in the middle
This keeps the planks bonded.
Secure the strips with wood screws or nails. Screws generally provide a firmer hold. Place screws every 6-8 inches along the strip, or use a nail gun for nails. Ensure strips are flush with the plank surface to avoid uneven spots.
Your tabletop should now feel solid—sturdy enough for stacks of magazines, remotes, and the occasional cat. This groundwork ensures your functional, rustic piece can withstand daily life.
Construct the Legs
Cutting the wood for the table legs is straightforward, but treat it with respect. Aim for each leg to be around 18 inches, balancing stability and comfort.
Measure and mark your leg pieces, then carefully cut the wood. Use a circular, miter, or hand saw. Accuracy here is crucial—a slightly uneven leg will make your table look ready to keel over. Double-check measurements; measure twice, cut once saves frustration later.
Sand each leg thoroughly, removing splinters or rough spots. Use medium-grit sandpaper initially, then a finer grit for a smooth finish. Keep sanding consistent for easier, more secure assembly. An uneven surface complicates matters.
Positioning the legs is crucial for stability. Lay your tabletop upside down and place each leg at the corners, equidistant from the edges. Measure and mark the leg spots to maintain uniformity.
Secure the legs with wood screws for a firm hold. Predrill holes slightly smaller than the screw diameter to prevent splitting. Aim for at least two screws per leg in a diagonal pattern. If using nails, a nail gun is quick, but hammering works too—just mind your thumb!
After securing, give the legs a little wiggle to ensure they're firmly attached. A wobbly leg can typically be tightened by another screwdriver turn or hammer taps. Your table should now stand sturdily on its four legs.

Add Support
Give your coffee table a backbone by adding cross supports, also called aprons. These connect each pair of legs, running parallel to the tabletop's short and long sides, forming a sturdy frame underneath. This reinforces the legs and ties the structure together, preventing wobble or flex.
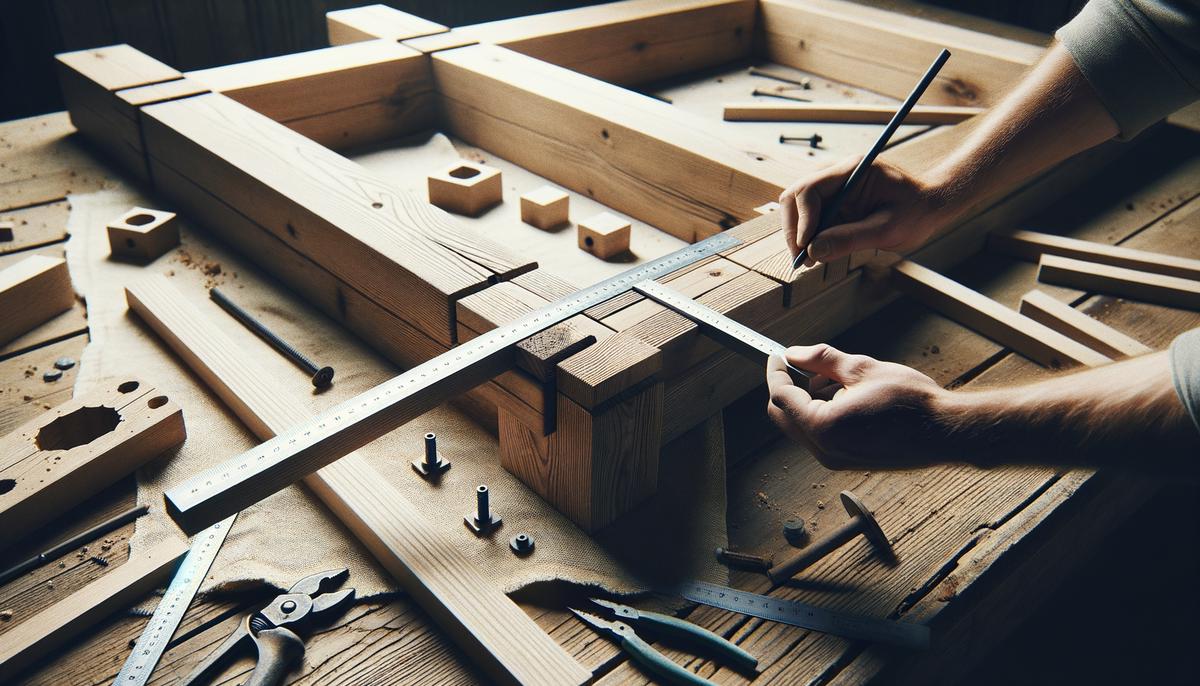
Measure the distance between leg pairs, marking the apron lengths on your planks. Cut the pieces using your saw, ensuring straight cuts for proper alignment and integrity.
Position each apron between the legs, flush with the inner sides. Predrill screw holes at each end to prevent splitting when driving in screws. For added stability, use two screws per joint, positioned diagonally.
Step back and check alignment after securing each piece. Consistency ensures the table remains level and sturdy. Gently shake the structure—if there's movement, add another screw or reposition slightly. "This table is designed to last, so extra effort now pays off in durability."
With these supports, your coffee table framework is robust and unyielding. The cross braces add rustic charm while guaranteeing it stands resolute against daily use. A well-braced piece makes all the difference.
Next up are the finishing touches—sanding, staining, and sealing. These detail-oriented steps will transform your functional table into a beautiful, long-lasting centerpiece.
Finishing Touches
Give the entire table another sanding pass to smooth out any lingering rough spots. Grab your various grits of sandpaper, starting again with a medium grit and working your way to a fine grit. This step will blend minor imperfections and smooth the surface. Remember, you're aiming for that perfect balance of smoothness and rustic charm.
Next, remove any sanding dust with a tack cloth or a damp cloth. You want the surface clean and dust-free before applying finishes.
Now decide whether to stain, paint, or leave the wood in its natural beauty. If staining, select a color that complements your room and enhances the wood grain. Apply the stain with a clean rag, moving in the direction of the grain for an even application. Wipe off excess stain to avoid blotchy areas. Follow the instructions for drying times.
For painting, choose a wood-friendly paint and apply a primer first if the wood is bare. Use even brush strokes, and don't overload your brush; thin, multiple coats often look better than one thick coat.
Once your stain or paint is thoroughly dry, it's time to seal the deal. A clear wood sealant like polyurethane will protect your table from spills and scratches. Apply the sealant with a high-quality brush or foam applicator, following the wood grain. Coat every inch of the table. Let the first coat dry completely, then lightly sand with a fine grit sandpaper. Clean off any dust.
Apply a second coat of sealant, ensuring even coverage. For added protection and sheen, you can add a third coat, especially on the tabletop.
Allow the table to dry completely before use. A fully cured sealant means your table is ready to withstand daily use.
Step back and appreciate your work. You've turned raw wood into a functional, beautiful piece of furniture, adding a personalized touch to your living space.
