
Woodworking can be a rewarding hobby, especially when crafting toys for children. Starting with simple designs and choosing the right materials are crucial steps that set the foundation for your project. As you progress through cutting, sanding, and assembling, each phase requires patience and attention to detail. Finally, adding paint and finishing touches brings your creation to life while ensuring safety remains a priority throughout the process.
Choosing Your Design
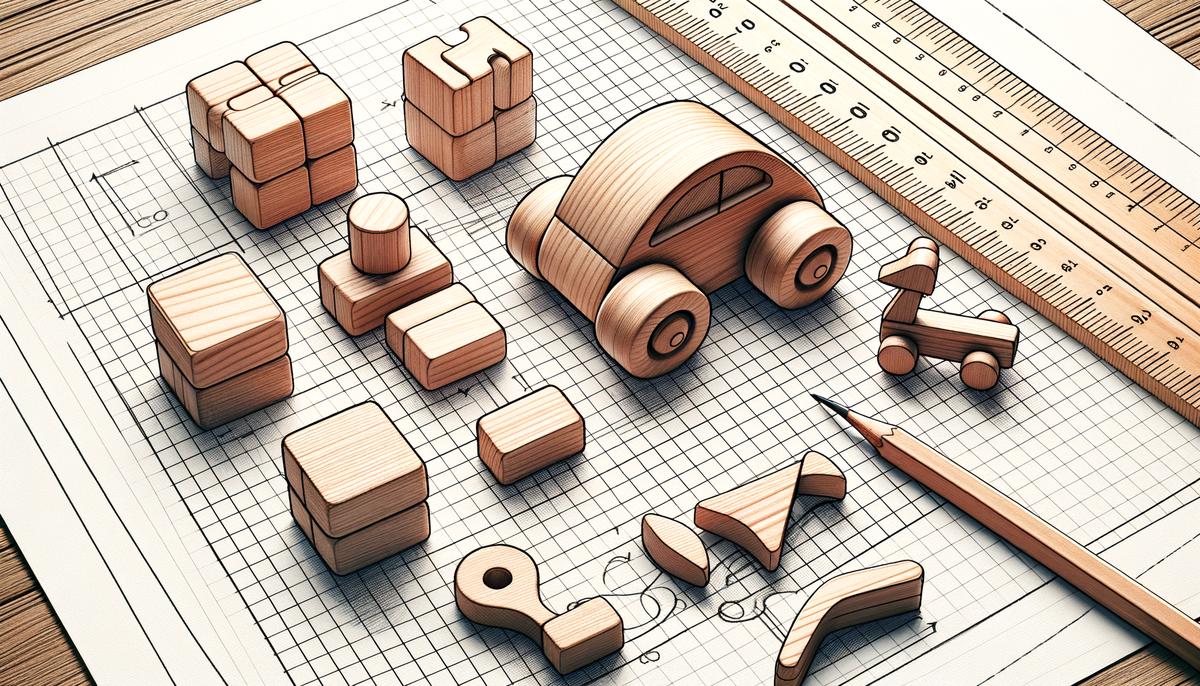
Begin with simple shapes like cars, blocks, or animals. Sketch your design on paper or find templates online. Your design is the blueprint for your entire project.
Choose easy shapes like a wooden car, stacking blocks, or a simple animal figure. For beginners, these designs offer a gentle introduction to woodworking.
- Use a pencil and ruler to make straight lines and accurate dimensions.
- If drawing isn't your forte, use free templates from the internet.
- Transfer your design onto the wood using masking tape to hold the template steady while tracing.
- Double-check your traced design for symmetry and proportions.
If designing directly on the wood, use a measuring tape and corner square for precision.
Pro tip: Keep your work area organized. Label your traced pieces to avoid mix-ups. A tidy workspace ensures you don't reach for the wrong piece mid-project.
Selecting The Wood
Softwood like pine is ideal for this project. It's easy to cut, shape, and widely available. Pine is also relatively inexpensive, making it perfect for beginners.
Choose untreated and non-toxic wood. This is crucial for making toys for kids, ensuring no hidden chemicals in your final product.
- Examine the grain: A tight, straight grain is easier to work with and produces a cleaner cut.
- Avoid wood with too many knots, which can be difficult to cut through and might weaken your toy.
- Feel the wood to make sure it's smooth and free of splinters.
For most beginner projects, 1/2 inch to 3/4 inch thick pine boards work well. This thickness is sturdy enough for toys but still easy to cut and shape.
Don't hesitate to ask for help at the store. The staff can guide you in selecting the best wood for your project.
Store your wood properly. Lay it flat to prevent warping, which can misalign your cuts and joints. Keep multiple pieces stacked neatly and off the ground to avoid moisture problems.
Tip: Use wood filler for minor defects, and sand everything down for a smooth finish later on.

Cutting The Wood
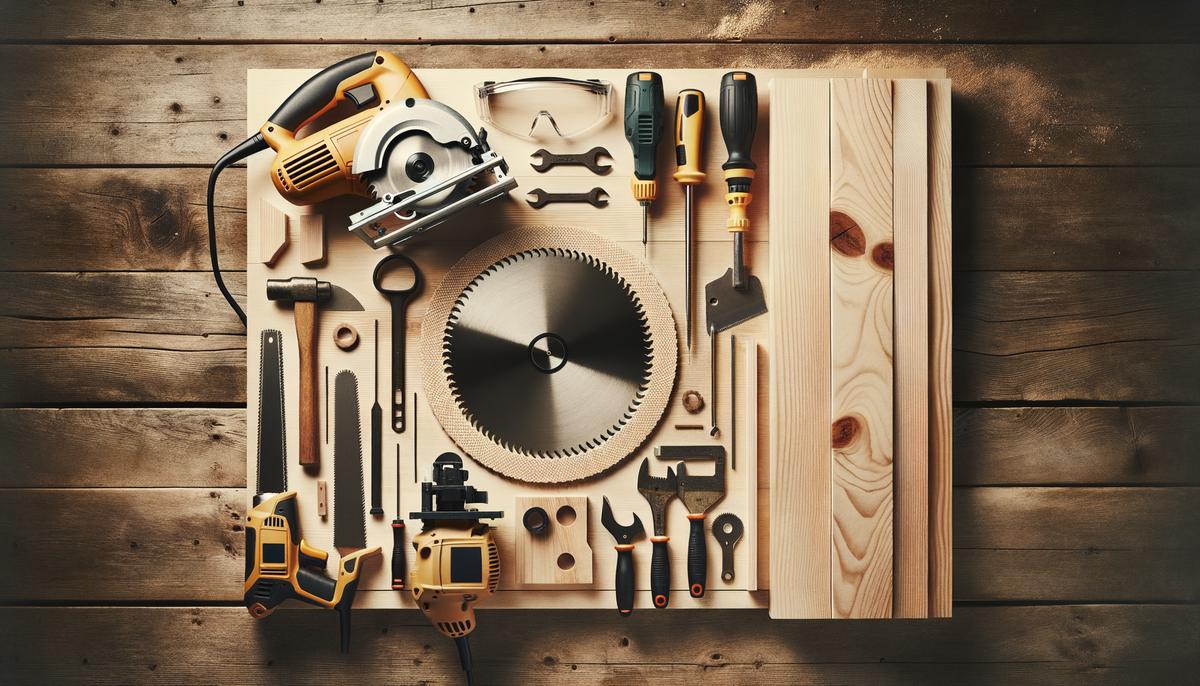
Choose the right saw for the job. For straight cuts, use a circular saw or hand saw. For curves or intricate shapes, use a jig saw or scroll saw.
Safety first: Ensure your saw blade is sharp and clean. A dull blade can cause splintering or burning. Follow safety recommendations and wear appropriate gear like goggles and ear protection.
- Set your wood on a stable surface and secure it with clamps.
- Use a straight edge or guide for long cuts to ensure precision.
- Begin cutting with a smooth, steady motion.
- For curves, take it slow and let the saw do the work.
- Avoid sharp directional changes to maintain a smooth cut.
Keep an eye out for any deviations from your design. Stop and reassess if the saw starts to drift.
After cutting, inspect your pieces. Lay them out to see if everything fits together as planned. Make minor adjustments if needed.
Remember: Label each piece according to your design. This will help keep your work organized and streamline the assembly process.
Sanding
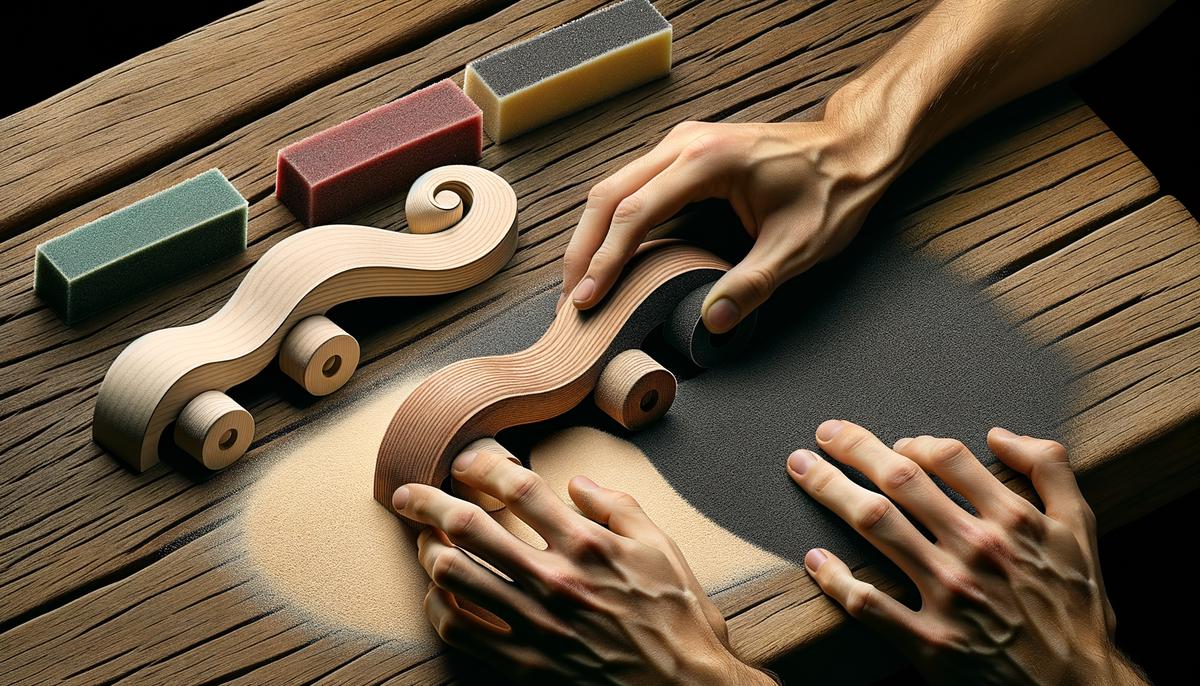
Start with coarse grit sandpaper (80 to 100 grit) to remove rough edges and major imperfections. Use a hand sander if available, or sand manually along the grain of the wood.
- Focus on edges and corners first, as these are most likely to have splinters.
- For intricate shapes or curves, cut small strips of sandpaper to reach tight spots.
- Periodically check for smoothness by running your hand over the surface.
Once satisfied, move to medium grit sandpaper (about 150 grit) to refine the surface. Finish with fine grit sandpaper (220 grit or higher) to achieve a smooth, polished surface.
Attention to detail: Pay extra attention to detailed areas, using an emery board or sanding sponge for tight spots if necessary.
Take your time with each grit level. Proper sanding requires patience but results in a better finish.
After sanding, wipe down the entire piece with a clean, damp cloth to remove dust. Let it dry thoroughly before moving on to painting or finishing.
Remember: Well-sanded wood not only looks good but feels good and is safe for children to handle. Your efforts in this step will greatly enhance the quality of your finished toy.
Assembly
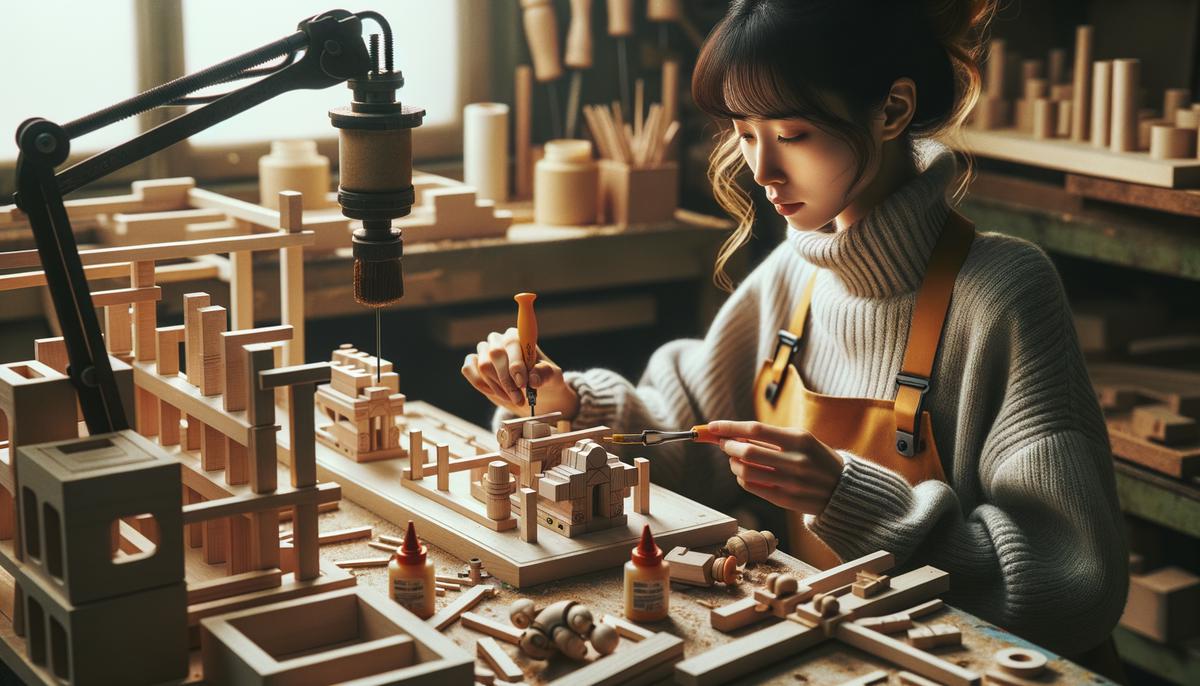
Joining the parts together requires skill but is rewarding as your design takes shape. Gather all cut and sanded pieces, arranging them based on your sketch. Do a "dry run" assembly to check everything fits correctly before gluing.
Use woodworkers glue like Elmer's Carpenter's Wood Glue. Apply a thin, even layer to joining surfaces. For smaller pieces, use a small brush. For larger surfaces, an old credit card or putty knife can help spread glue evenly.
Align pieces and press firmly, moving parts in small circles for a tight bond. Wipe off excess glue immediately with a damp cloth.
Clamps are crucial while the glue dries. Spring clamps or rubber bands work for smaller parts, while larger surfaces might need bar clamps. Ensure clamps are snug but not over-tight to avoid denting the wood.
Verify pieces are square and correctly aligned. Use a corner square to double-check.
Allow glue to dry for at least 24 hours. After removing clamps, inspect joints for gaps or missed glue residue. Light sanding can smooth out any issues.
With pieces securely glued, your toy's structure is set. Next, we'll cover painting and finishing touches.
Painting and Finishing
Choose non-toxic, water-based acrylic paint for children's toys. Prepare a clean, dust-free workspace and protect surfaces.
- Apply paint in thin, even layers using a fine-bristle or small foam brush.
- Work with the grain for even application.
- Allow each layer to dry completely before applying the next, typically a couple of hours.
After the first coat dries, lightly sand with 220-grit sandpaper to help the next layer adhere. Repeat until you achieve solid, uniform color, usually 2-3 coats.
Add a protective layer with non-toxic varnish or clear sealant. Water-based polyurethane varnish or non-toxic spray sealer work well. Apply like paint in thin, even layers, letting each coat dry thoroughly and sanding lightly between coats.
Apply 2-3 coats of varnish for a durable, glossy finish. Let the toy cure for at least 24 hours before handling.
This finishing step enhances visual appeal and durability, ensuring your wooden toy can withstand play and remain cherished for a long time.
Safety Tips
Safety gear is essential when crafting wooden toys. Always wear safety goggles to protect your eyes from flying wood particles. Use a dust mask or respirator to avoid inhaling fine dust, especially when sanding.
- Ensure all materials are child-safe.
- Use non-toxic paints, glues, and finishes certified for toy safety (look for ASTM or EN71 certifications).
- Choose untreated, non-toxic wood like pine, avoiding pieces with many knots or cracks.
Keep your workspace clean, organized, and well-lit to prevent accidents. Maintain your tools regularly, following manufacturer's guidelines. Sharp tools are safer as they require less force and are less likely to slip.
If children are helping, teach them basic safety principles and provide appropriate gear. Supervise them closely, especially around active tools.
Following these safety tips creates a safer woodworking experience and ensures the toys you make are secure and durable for children to enjoy.

Creating wooden toys combines craftsmanship with the joy of making something special for children. Focus on simple designs, careful material selection, precise cutting, thorough sanding, secure assembly, and safe finishing practices to craft beautiful, lasting toys that will be treasured for years.
Remember, wooden toys have been shown to promote creativity and problem-solving skills in children1. By crafting these toys yourself, you're not only creating a unique plaything but also contributing to a child's cognitive development.