
Basic Tools for Wood Carving
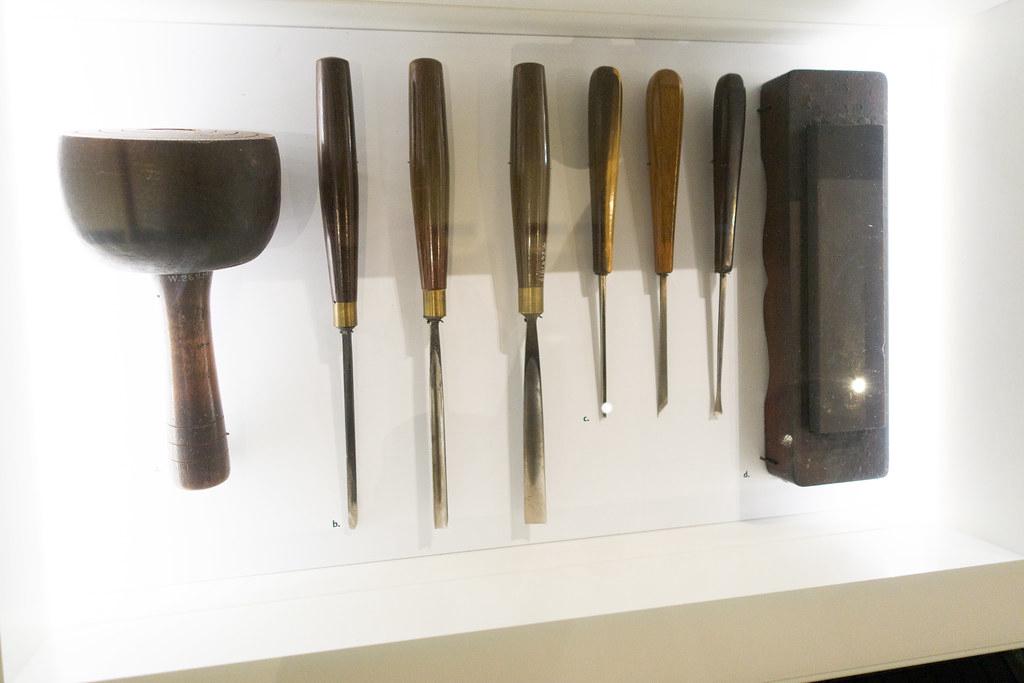
A solid starting point for any beginner in wood carving is selecting your basic tools. A good quality carving knife is essential. You need a sharp, dependable blade that can slice through wood effectively.
Gouges are also important. U-gouges and V-gouges are most handy for scooping out wood and adding depth to your designs. Choose gouges made from hardened steel for longer-lasting sharpness.
Chisels are versatile tools for both rough work and fine details. Start with a straight chisel and perhaps an angled one.
A wooden or rubber mallet is essential for driving chisels and gouges into the wood without damaging your tools or the piece.
Don't forget sharpening tools: a sharpening stone, honing compound, and a strop. Keeping your tools sharp is crucial for safety and efficiency.
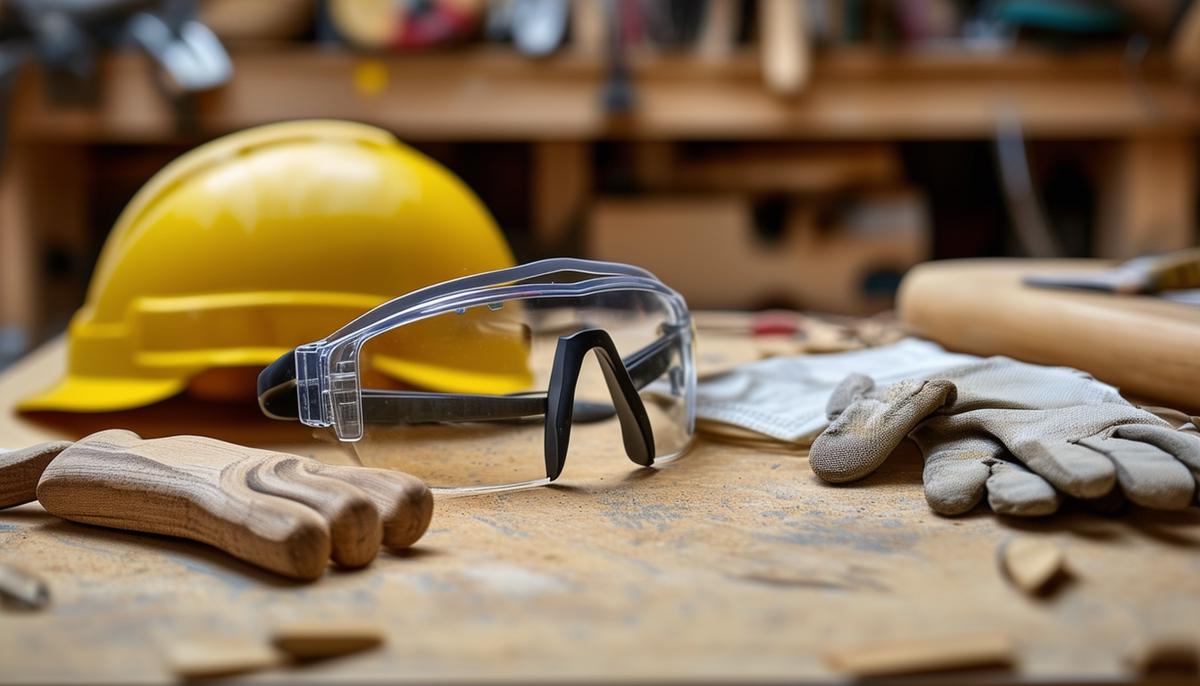
Safety gear is important:
- Gloves
- Safety glasses
- Dust mask (when working with softwoods that tend to splinter)
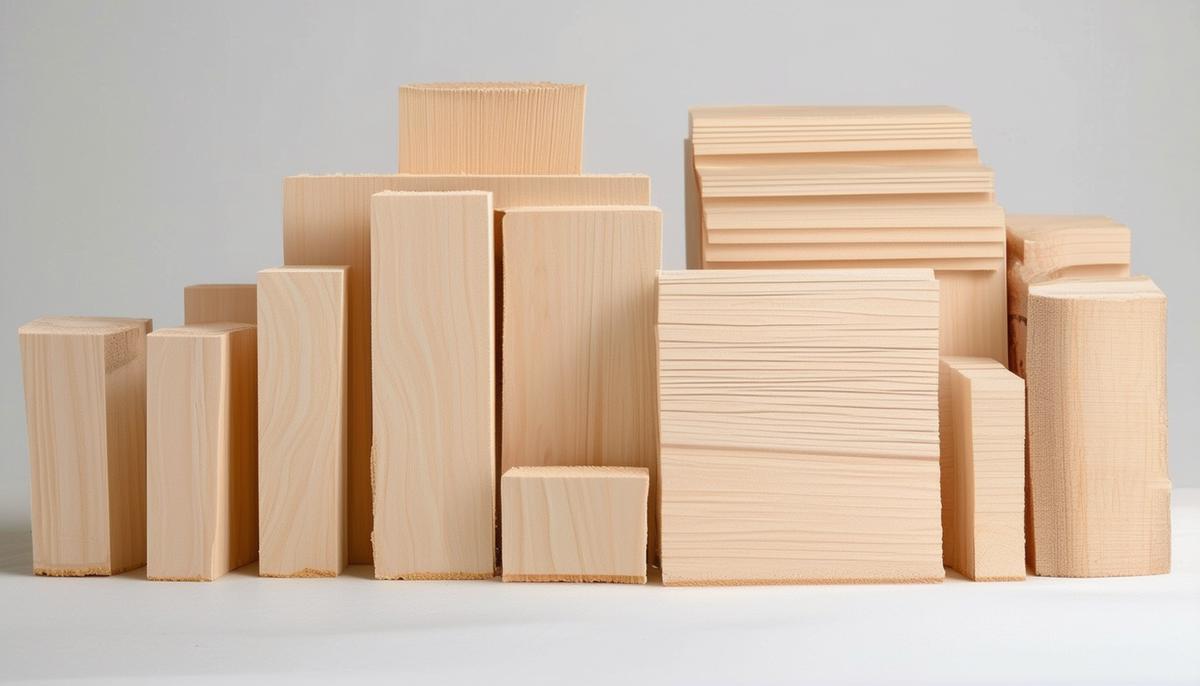
Choose your wood wisely. Basswood is softer and easier to carve, making it perfect for honing basic skills.
Set up a proper workspace with a sturdy table, good lighting, and solid clamps to hold your wood securely.
Start with simpler projects to build confidence and skill. Carve a spoon or a basic animal shape to understand how your tools interact with the wood.
Choosing the Right Wood
Softwoods like basswood, aspen, and butternut are ideal for beginners due to their ease of carving and availability. These woods offer a straight grain and are soft enough to carve without much effort, yet still hold details well.
Recommended woods for beginners:
- Basswood: The go-to choice for most beginners. It's soft, easy to carve, and takes detail beautifully. You can find it easily at most woodworking stores, and it's affordable.
- Aspen: A bit harder than basswood but still manageable for novices. Its typically straight grain reduces the likelihood of frustrating splits and cracks. It's also more durable, suitable for small furniture pieces or decorative items you'll use regularly.
- Butternut: Often called "white walnut," carves easily like basswood but has a more pronounced grain that gives your project a unique, rustic look. It's a bit more brittle than basswood, so you'll need a gentler touch. Keep in mind it's not as readily available as basswood or aspen.
When you're ready to step up to hardwoods, consider cherry or black walnut. These woods are tougher and can hold exquisite details, but they'll also test your patience and sharpening skills.
Avoid pine for beginners. While cheap and widely available, its resinous nature makes it difficult to carve, and it tends to splinter.
Basic Wood Carving Techniques
Always pay attention to the grain of your wood. Carving with the grain is smoother and requires less effort. Carving against the grain can lead to tear-outs and frustration.
Essential carving techniques:
- Push cuts: Hold the wood steady with one hand and use the other to push the carving knife into the wood. Keep the blade at a 15-20 degree angle for clean, controlled cuts.
- Pull cuts: Use your thumb to anchor the knife while your fingers pull it towards you. This technique gives you more control for finer details.
- Stop cuts: Vertical incisions that create a 'stop' point in the wood, useful for outlining shapes. Make a vertical cut with your knife or chisel, then carve away the wood up to that point.
- Relief carving: Involves carving a design into a flat piece of wood, giving it a three-dimensional appearance. Start with shallow cuts and gradually go deeper, keeping your levels consistent. The deepest part should only be half the thickness of your wood.
- Chip carving: Used for creating intricate patterns and designs. This technique involves removing small chips of wood in a calculated manner to form geometric shapes. Start with simple designs like triangles and squares before moving on to more elaborate motifs.
Practice these foundational techniques on simpler projects like carving a leaf, a fish, or a bird. As you get more comfortable, you'll find it easier to tackle more complex designs.

Safety Measures
"Always wear safety glasses to protect your eyes from flying wood chips. Make it a habit to wear these every time you pick up a carving tool."
Use a good carving glove to prevent accidental cuts. Think of the glove as a seatbelt for your hand.
Keep your tools sharp. Dull tools are more dangerous because they require more force, increasing the chances of slips and accidents. Make sharpening your tools part of your routine before each session.
Always cut away from your body to prevent injuries if the knife slips.
Properly secure your workpiece using clamps, a carving vise, or a carving bench. A wobbly piece of wood can easily lead to slips and mistakes.
Keep your workspace clear of clutter. Good lighting is key to avoid mistakes and accidents. If working with dustier woods, consider using a dust mask.
If using power tools, wear hearing protection and a face shield. Power tools add another layer of risk, so extra precautions are necessary.
Stay hydrated and take regular breaks to stretch your hands and fingers. Fatigue can lead to mistakes and injuries.
Trust your instincts. If a cut feels unsafe, stop, reassess, and find a safer way to proceed.
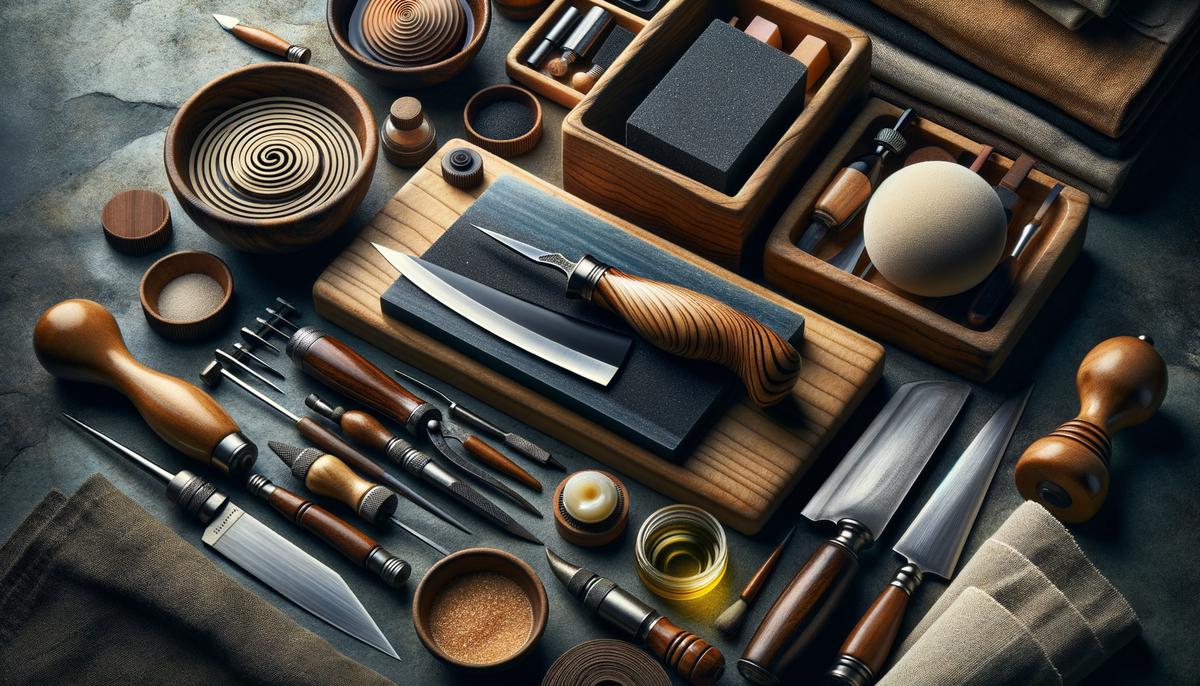
Maintaining Your Tools
Keeping your tools sharp and in good condition is crucial for effective carving. Here are some essential tips:
Tool Maintenance Essentials:
- Sharpening: Use a sharpening stone (whetstone or oilstone). Hold your tool at the correct angle, typically around 20 degrees, and move it in a circular or figure-eight motion against the stone. Aim for consistency to achieve a razor-sharp edge.
- Honing: Use a honing compound on a leather strop to polish the edge and remove any burrs left after sharpening. This keeps your tools slicing cleanly and prolongs the edge between major sharpening sessions.
- Cleaning: After each carving session, wipe your blades with a dry, clean cloth to remove any wood residue. This prevents build-up of sap and debris that can dull your tools.
- Oiling: Apply a light coat of oil after cleaning to protect against rust. Plain mineral oil works well, especially for high-carbon steel tools prone to rusting.
- Storage: Store your tools in a dry, cool place. A toolbox, wooden tool chest, or pegboard works well. Ensure tools aren't jostling around during storage or transport.
- Periodic checks: Inspect your tools closely every month for signs of rust, nicks, or dullness. Address small issues before they become big problems.
By incorporating these steps into your carving routine, your tools will last longer and perform better, making your wood carving experience more enjoyable and efficient.
Remember, wood carving is about honing your skills and enjoying the process. Each project brings you closer to mastery. Keep your tools sharp and your patience sharper. Happy carving!
- Jacobs J, Puetz B, Larson D. Minnesota Woodturners Association: Tips for Beginning Woodturners. Minnesota Woodturners Association Website.
- American Association of Woodturners. Chapters and Membership Information. American Association of Woodturners Website.
- Sundqvist W. Swedish Carving Techniques. Taunton Press; 1990.