
Drawing the Curve
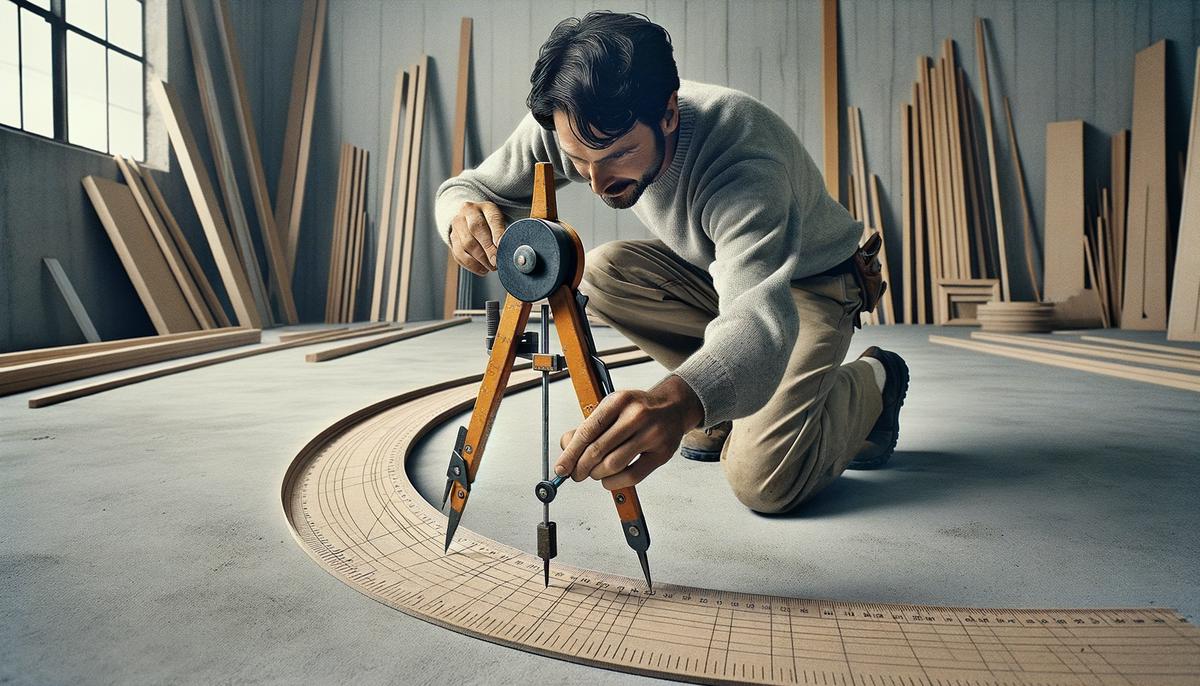
Drawing the curve accurately on the floor is crucial for successful curved wall framing. Follow these steps:
- Create a giant compass using a strip of hardboard or plywood.
- Tap a nail into your pivot point on the floor.
- Drill a hole at the other end of the hardboard at the desired radius for the curve.
- Slide your marker through this hole and trace the curve on the floor with a permanent marker.
Next, bend your metal track to match the curve. Use No. 8X1/2-inch self-drilling screws to secure it. Pro tip: Place masking tape along the outside edge of the track to maintain the curve while securing the screws.
For the top track:
- Flip over the first track and attach them with locking-grip pliers, one end at a time.
- Shape the curve and secure with screws.
If making your own flexible track:
- Start with a steel runner.
- Cut through one flange and web at 2-inch intervals where the curve forms.
- Lay a steel strap inside and fasten with screws to set your curve.
Position the ceiling track using a plumb bob for accuracy. Place a few studs temporarily to support the upper track. Check the alignment at both ends and the middle.
Important: Twist the studs into the tracks, keeping them plumb before securing with screws. For the smoothest wall surface, space studs closely following recommended guidelines.
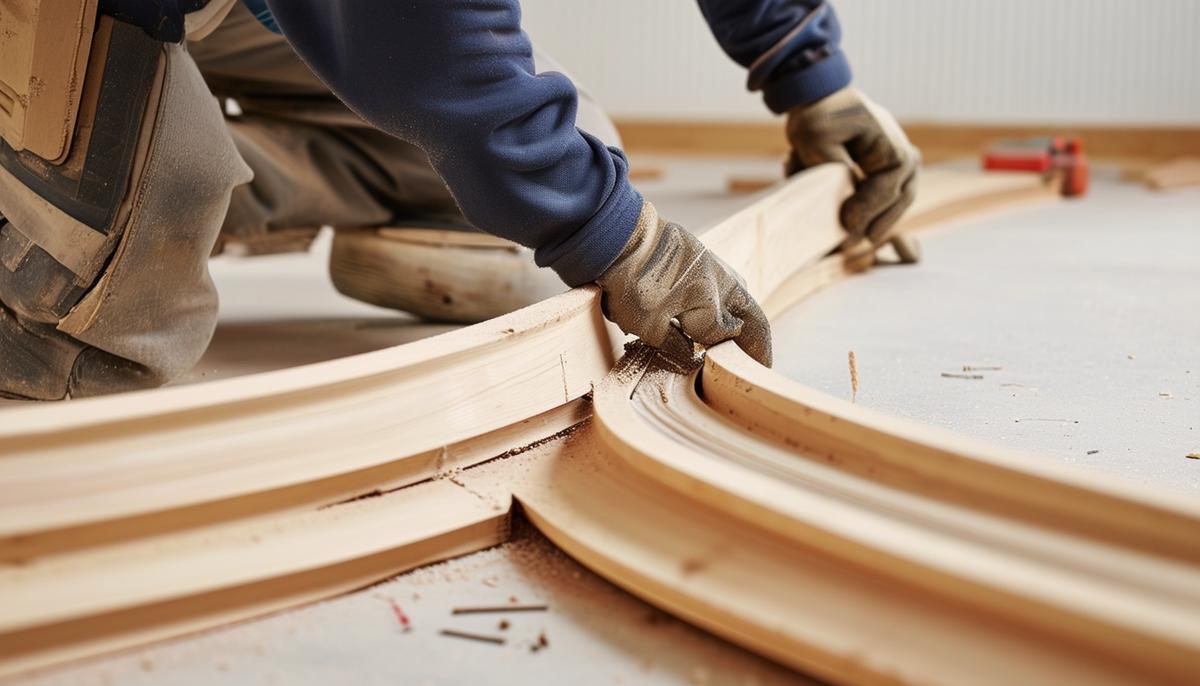
Shaping and Securing Bottom Track
Bend the bottom track to follow the drawn curve, securing it with No. 8X1/2-inch self-drilling screws through the tabs on both sides. If the track is stubborn, use masking tape along the outside edge before driving screws into the inside edge to maintain the curve.
Once in place, ensure the ceiling track matches perfectly. Use a plumb bob to align the upper track correctly. Set a few studs temporarily into the tracks to hold everything steady. Check alignment at both ends and the middle for precision.
"With the bottom track shaped and secured, you're laying a solid foundation for the rest of the wall. Be thorough in this process – everything else is built on this groundwork."
These steps might seem tedious, but they make all the difference in the final product. Take your time and pay attention to detail for the best results.
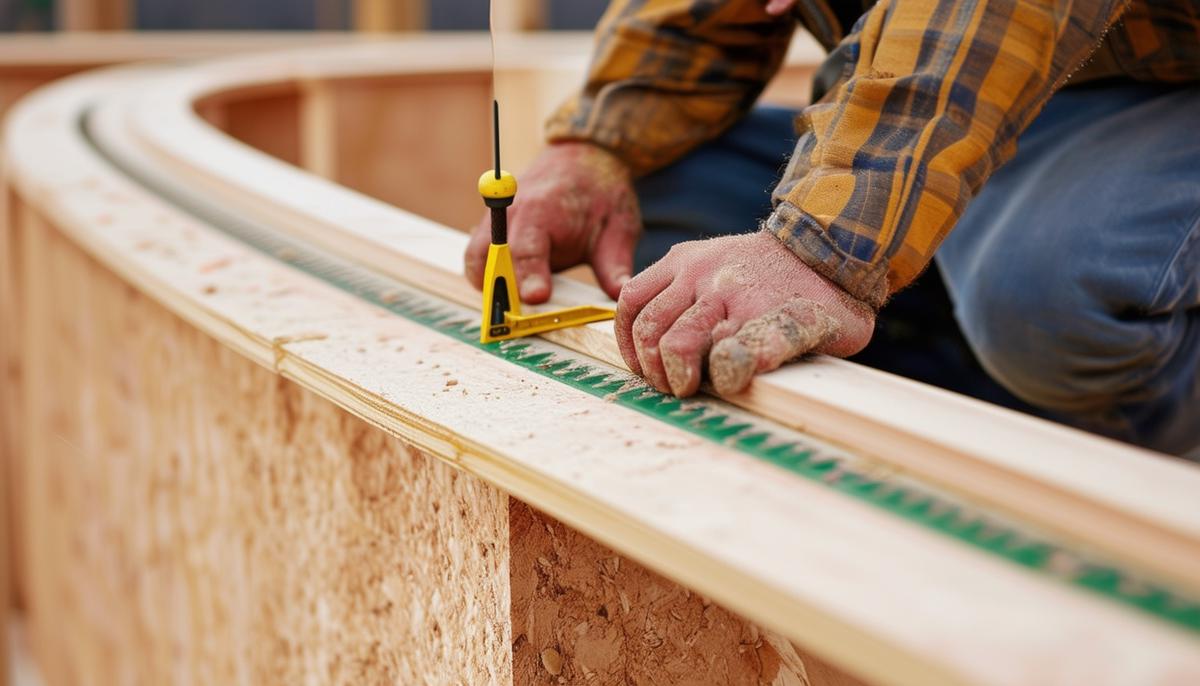
Creating and Positioning the Top Track
Use the completed bottom track as a template for shaping the top track. Flip it over to ensure the curve aligns perfectly. Attach both ends of the top track with locking-grip pliers.
Carefully bend the top track to match the curve of the bottom one. Once satisfied with the alignment, secure it with No. 8×1/2-inch self-drilling screws.
Position the top track using a plumb bob for accuracy. Place a few studs temporarily to support the track while checking alignment at both ends and in the middle. Correct any discrepancies immediately.
When twisting studs into the tracks:
- Keep them plumb
- Secure each one with screws
- Adhere strictly to the recommended spacing for a smooth wall surface
This careful approach to shaping and positioning the top track is key to building a gracefully curved wall that stands the test of time.
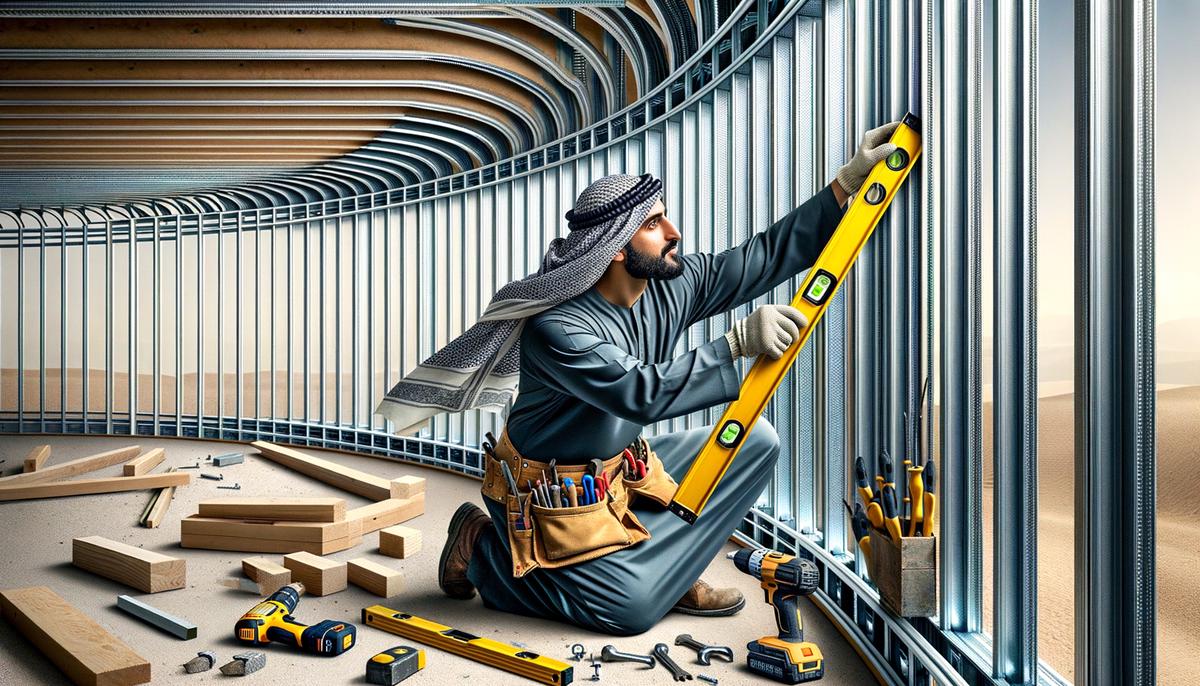
Attaching Studs
Twist the studs into the curved tracks, ensuring each one fits snugly. Check for plumb before driving in the screws. Whether using metal or wooden studs, precision is key.
Close spacing on the studs is crucial for a smooth surface. Stick to the recommended specifications for stud spacing. This provides a sturdy framework and ensures a perfect, fluid curve. Overlapping toes between each stud improves wall stability.
Having studs at correct, close intervals prevents drywall from bowing or bulging later on. Take your time to get it right at this stage.
Once all studs are in place and secured, step back to check for any minor adjustments needed. Ensure everything sits well. Your curved wall is taking shape – sturdy, elegant, and precisely aligned.
Take a moment to appreciate the precision and effort that goes into crafting a curved wall. Each step builds towards a final structure that's both sturdy and visually pleasing. Your attention to detail ensures that everything aligns perfectly, creating a smooth curve that stands strong over time.
- Yovanovitch P. Curved Walls in Interior Design. Architectural Digest. 2021;68(4):82-87.
- Smith J. Advanced Framing Techniques for Curved Walls. Journal of Construction Engineering. 2019;45(2):112-118.