
Choosing the Right Hardwood Flooring
Solid hardwood, cut from a single piece of wood, is durable and can handle multiple sandings and refinishes. It can last a century if well-maintained, but is sensitive to humidity changes. Engineered hardwood, with a top layer of hardwood veneer bonded to plywood or high-density fiberboard, offers better stability and moisture resistance. It's suitable for basements or over concrete.
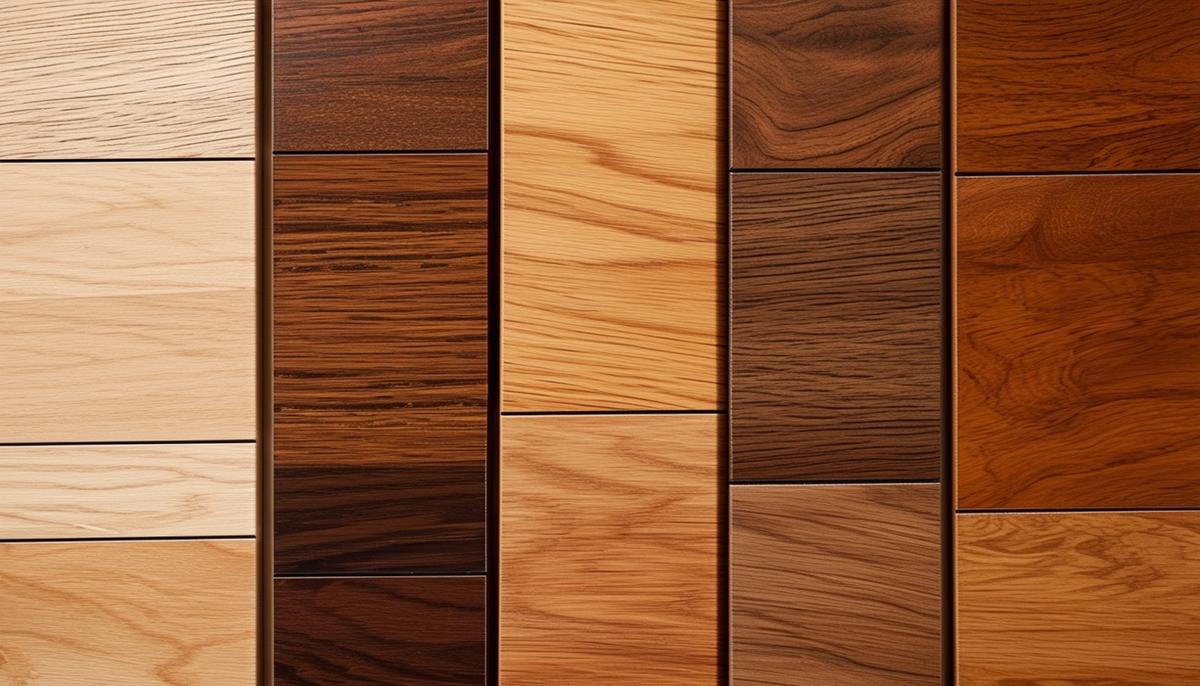
Consider these popular hardwood options:
- Oak: Classic, durable, and widely available
- Walnut: Sophisticated look with dark, rich color
- Hickory: Tough and distinctive, ideal for high-traffic areas
- Maple: Smooth grain and warm tones
- Cherry: Elegant appearance with reddish hues
Measure your space and add 10% to account for mistakes or bad cuts. Let the wood acclimate to your room's climate for at least three days before installation.
Installation Methods:
- Glue-down: Popular for engineered planks, providing added stability
- Click-lock: User-friendly option where pieces snap together
- Nail-down: Traditional and reliable method for solid wood
Start installation from the straightest wall, laying flooring perpendicular to the joists if possible. Maintain a three-quarter-inch expansion gap around the room's perimeter using spacers. Face-nail the first row, then use a flooring nailer for most of the work, driving nails every 6-8 inches along the tongue. Stagger board joints by at least six inches.
For the last rows, you may need to revert to face-nailing. Cut templates for obstacles like vents before using a jigsaw. Finally, reinstall trim and baseboards to cover expansion gaps, nailing them to the wall, not the floor.
Preparing the Subfloor
Clear existing floor coverings and inspect the subfloor for levelness. Use a long level or straightedge to identify high or low spots. Small unevenness can be fixed with sanding or patching compound. Larger issues may require self-leveling underlayment.
For wood subfloors, use plywood or oriented strand board (OSB) at least ¾ inch thick. Fasten sheets securely, driving screws every 6 to 8 inches along edges and every 12 inches in the middle.
"A properly prepared subfloor is crucial for the longevity and performance of your hardwood flooring." – National Wood Flooring Association
If installing over concrete, use a moisture barrier. Lay down plastic vapor barrier or use a moisture-retarding adhesive for glue-down installations. Ensure the barrier runs up the walls slightly and overlaps at seams.
Prepare doorways and vents by undercutting door jambs and using a jigsaw for precise cuts around obstacles. Address any squeaking in the existing subfloor by adding extra screws or applying construction adhesive between the subfloor and joists.

Acclimating and Planning the Layout
Let hardwood planks acclimate in the installation room for three to seven days. This allows the wood to adjust to the room's temperature and humidity, preventing future gaps or buckling.
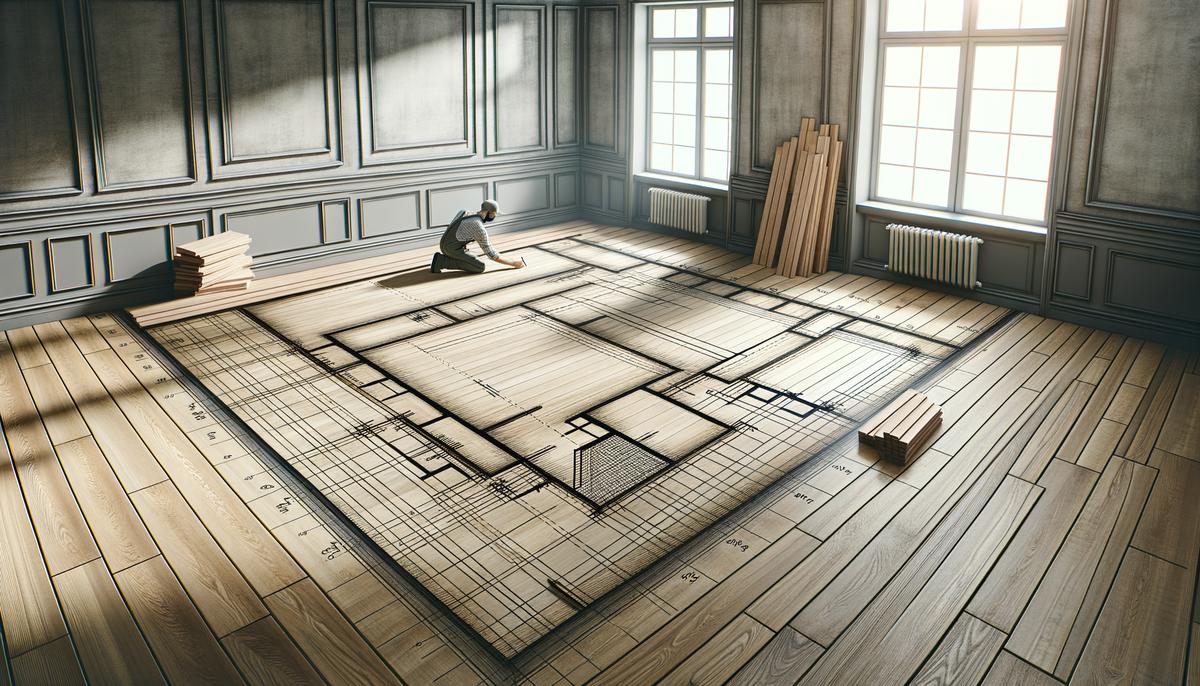
Measure the room to get the total square footage. Mark the center point of each wall and snap chalk lines to create crosshairs, ensuring the floor is square to the room.
Determine board direction, typically perpendicular to floor joists for better support. In narrow rooms or hallways, consider laying boards lengthwise to create the illusion of a larger space.
Planning steps:
- Plan your starting line, ensuring the desired expansion gap (usually about three-quarters of an inch)
- Snap a chalk line parallel to the wall as your guide
- Stagger end joints by at least six inches from one row to the next for structural integrity and a natural look
- Consider potential obstacles like doorways or vents in your layout planning
Installing the Hardwood Flooring
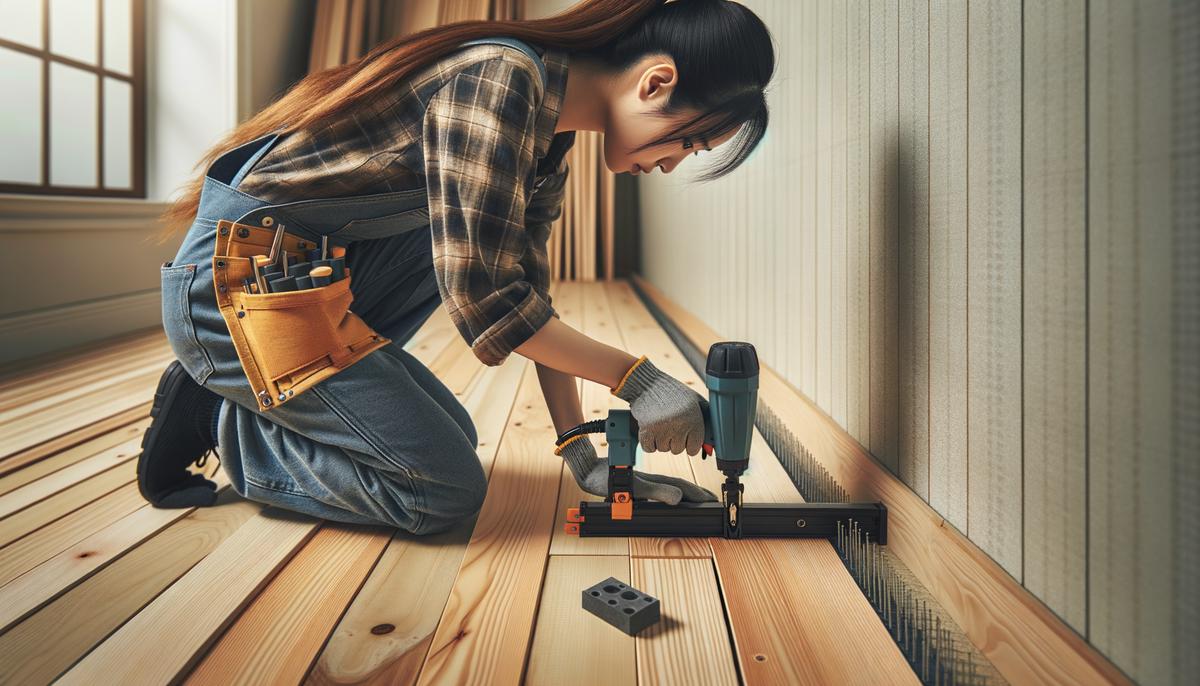
Begin installation by placing spacers along the walls to maintain the expansion gap. Lay the first row along the straightest wall, with the tongue facing the room. Face nail this row, sinking nails at an angle through the tongues.
For subsequent rows, use a flooring nailer to blind nail through the tongue at a 45-degree angle. Drive nails every 6-8 inches and within 2-3 inches from the ends of each board. Stagger end joints by at least 6 inches.
Periodically check your progress to ensure boards are straight and snugly fitted. For obstacles like vents or doorways, measure carefully and use a jigsaw for precise cuts. Undercut door jambs to allow flooring to slide underneath.
For the final rows near walls, you may need to face nail again. Use a nail set to counter-sink nails without damaging the wood. A pull bar can help snug boards into tight spaces.
Pro tip: Double-check the expansion gap around the room before reinstalling trim and baseboards to cover it.
Finishing Touches and Maintenance
Fill visible nail holes with wood putty matching your flooring's color. Reinstall baseboards and trim, nailing them to the wall to allow for floor expansion.
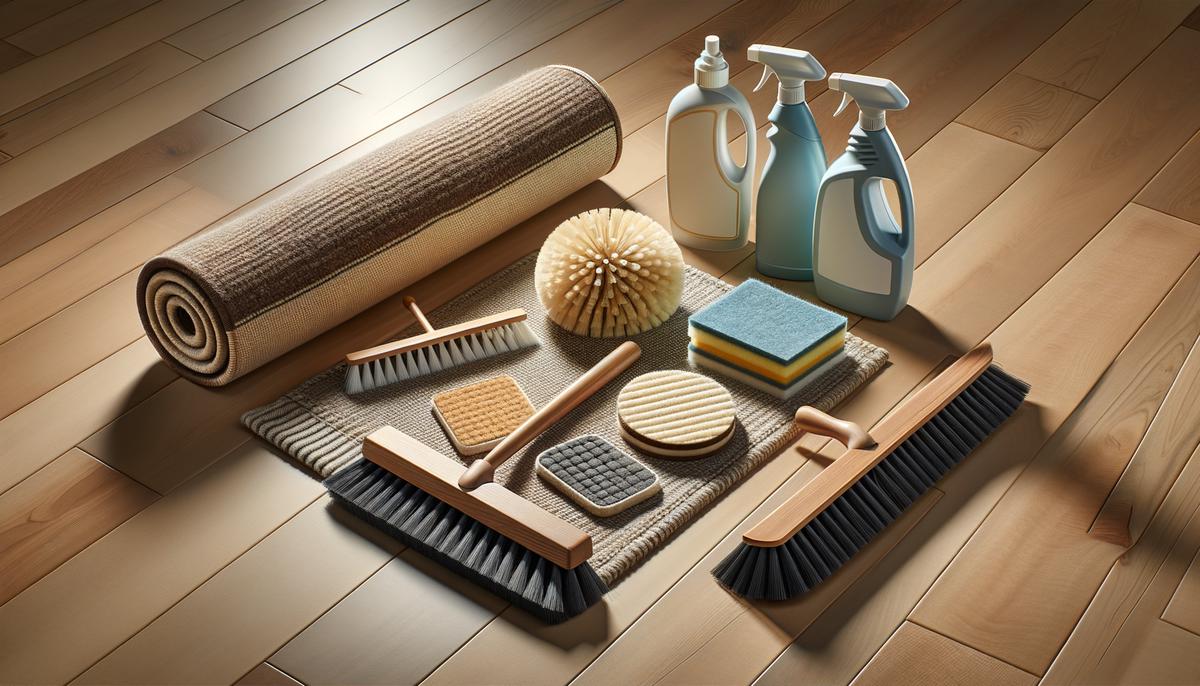
Hardwood Floor Maintenance Tips:
- Sweep or vacuum regularly with a soft-bristle attachment
- Use felt pads under furniture legs to prevent scratches
- Place area rugs in high-traffic zones and in front of sinks
- Maintain indoor humidity levels between 30-50%
- Clean spills immediately with a dry or slightly damp cloth
- Avoid wet mops or steam cleaners
Consider refinishing every seven to ten years, or as needed based on wear. This involves sanding down the surface and applying a fresh coat of finish.
With proper care, your hardwood floor will remain a beautiful feature of your home for years to come. Regular maintenance can extend the life of your floor and preserve its natural beauty1.
- National Wood Flooring Association. Wood floor maintenance guide. 2018.