
Assessing Skylight Location and Design
Pinpointing the right spot for your skylight starts with examining the beams and ceiling. Check where seams and rivets are to ensure everything fits together properly.
Consider how natural light will work in your room. Visualize where sunlight will fall throughout the day to maximize light without overheating the space.
Think about ventilation needs. Some skylights provide airflow, which can be handy in stuffy rooms.
Skylight Shape Considerations:
- Square or rectangular: Straightforward and cost-effective
- Circles or pyramids: Add a special touch
Don't forget the roof structure. Your skylight should complement the existing design without weakening it. Heavy frames can span larger distances, while lighter ones might need more support.
Consider if you need one skylight or several smaller ones. Sometimes, spreading out smaller units can be more budget-friendly and reduce energy loss.
Plan the skylight's exact location, design, and practical elements to save trouble down the line. Aim for a balance between beauty and utility while keeping an eye on the big picture.
Building and Securing the Skylight Frame
- Cut 2×4 lumber into four pieces to form the frame.
- For curved ceilings, use it as a template to trace the curvature onto your wood.
- Notch out sections for any obstructions like rivets or seams.
- Secure the frame with corner clamps to maintain right angles.
- Add wood glue and screws for durability.
- Paint the frame with Rustoleum primer for moisture protection.
Next, size your polycarbonate. Measure and mark it, keeping the protective film on during cutting. Use a carbide-tipped blade on a table saw for precise cuts.
Drill pilot holes into both the polycarbonate and wooden frame, about 2 inches apart. Widen the holes on the polycarbonate to allow screws to bite into the wood without cracking.
Installing the Frame:
- Lift frame into position
- Mark the inside outline on the ceiling
- Cut out the hole with an angle grinder
- Secure frame to beams using Loctite Polyurethane Construction Adhesive and Teks Wood-to-Metal Self-Drilling Screws
Sand the roof metal flush with the frame using the angle grinder. Clean the surrounding area before applying Henry's Roof Sealant to the roof around the hole.

Cutting and Installing Polycarbonate Sheets
With your frame mounted, it's time to install the polycarbonate sheet. Keep the protective film on while working to prevent scratches. Measure and cut the sheet to fit your frame using a table saw with a carbide-tipped blade.
Drill pilot holes through both the polycarbonate and wood frame, about 2 inches apart. Widen the holes on the polycarbonate with a larger drill bit to prevent cracking when inserting screws.
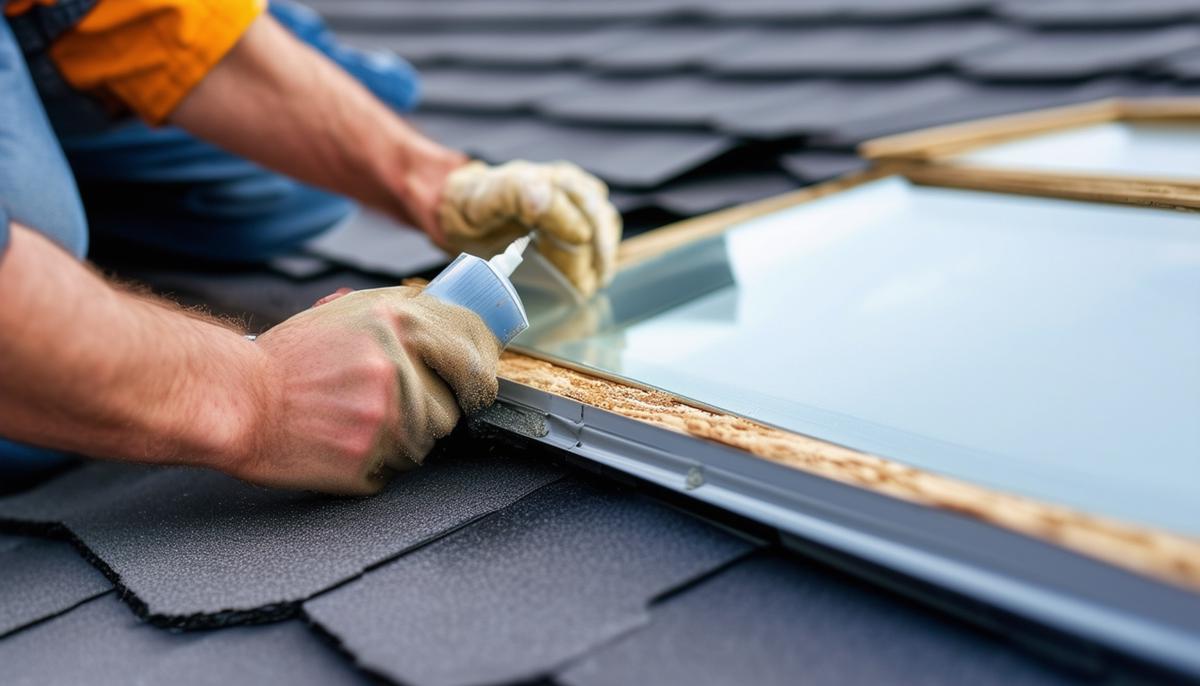
"Clean the area around the skylight opening and apply Henry's Roof Sealant around the frame's perimeter. This crucial step ensures a watertight seal."
Place the cut polycarbonate sheet onto the frame, aligning the pre-drilled holes. Secure the polycarbonate using #9 Teks Sharp Point Roofing Screws. Insert them gently but firmly, allowing the sealant to spread and create a strong bond.
Seal the edges of the polycarbonate with additional Henry's Roof Sealant. Cover all screw heads with OSI QUAD Window, Door, and Siding Sealant for extra protection against leaks.
Finally, remove the remaining protective film from the polycarbonate sheet to reveal your new skylight.

Sealing and Finishing the Skylight
Apply a generous bead of Henry's Roof Sealant around the entire perimeter of the polycarbonate sheet. Ensure smooth and consistent application to avoid gaps that could compromise the seal.
Address the screws by adding a layer of OSI QUAD Window, Door, and Siding Sealant over each screw head. This acts as a secondary barrier against moisture.
Inspect the area thoroughly for any missed spots or areas needing extra smoothing. Make adjustments before the sealant sets.
After allowing appropriate drying time, remove the protective film from the polycarbonate sheet. This reveals the clear surface of your new skylight, allowing natural light to flood your space.
With proper sealing and finishing, your skylight will stand up to many years of use and weather. Enjoy the warmth and brilliance your new custom skylight brings to your environment!
Did you know? Properly installed skylights can reduce energy costs by up to 10% annually1.
- Velux America LLC. Skylight energy performance ratings. Residential Skylight Selection Guide. 2018.