
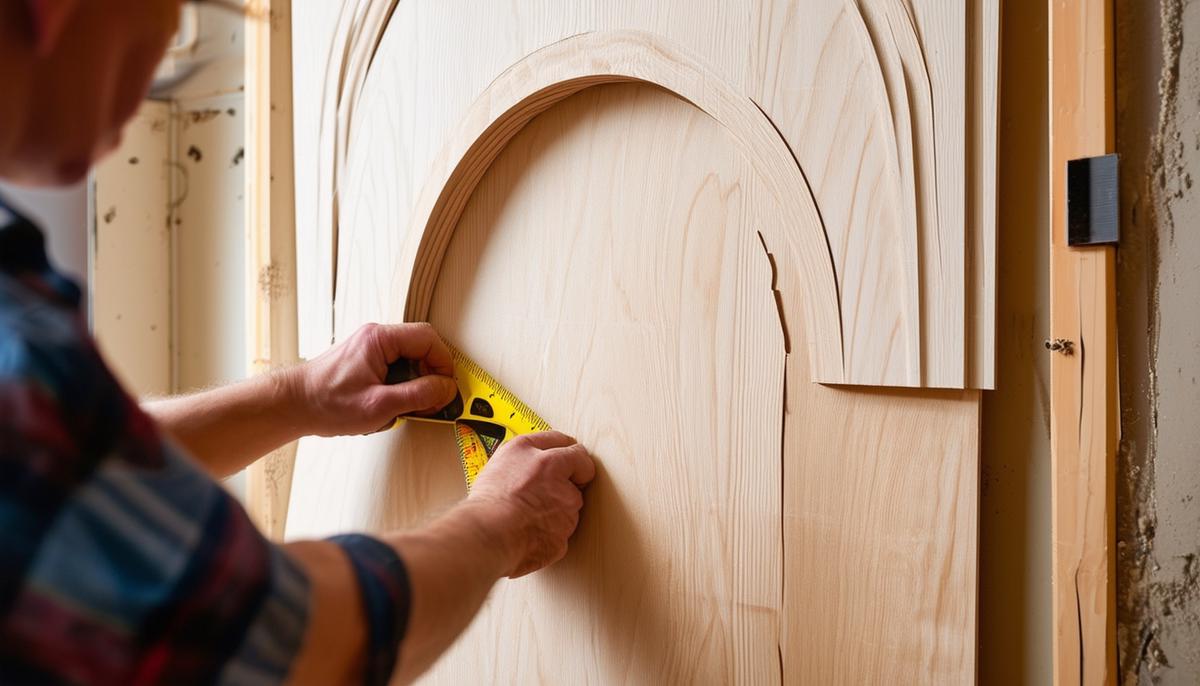
Planning and Measuring
Measure your doorway opening and decide on the arch type: half circle, partial circle, or ellipse. Mark the center on 1/2" plywood and trace a half circle using a string tied to a pencil. Cut along the traced line with a jigsaw to create your base template. Trace this piece onto another sheet of plywood and cut it out to get two identical arches for the sides of your archway.
Measure the doorway width and rip 2x4s to match the thickness, typically around 2.5 inches. Cut these into short blocks, spacing them about every 6 inches.
Glue and screw the blocks between the plywood pieces to form your arch frame. Use wood glue and 2" screws, pre-drilling holes to avoid splitting the wood.
Cutting and Assembling the Arch
After cutting your two plywood arch pieces, prepare the blocks for the arch structure. Rip 2x4s to match your door opening width, typically about 2.5 inches to fit between the 1/2-inch plywood pieces.
- Assemble the arch by attaching the 2×4 blocks between the plywood pieces.
- Apply wood glue to each block and place them evenly between the arches.
- Secure with 2-inch screws, pre-drilling holes to prevent splitting.
Once the glue sets and screws are in place, your arch is ready for installation. Use 3-inch screws to attach the arch frame to the existing wall studs in the doorway. Ensure it's level and properly aligned with the studs.

Securing the Arch to the Doorway
Position your completed arch frame into the doorway, ensuring it's level. Pre-drill holes to avoid splitting the wood. Start at the top center of the arch, placing screws through the plywood and 2×4 blocks into the top doorway framing.
Work your way down, alternating sides to keep the arch balanced. Secure each 2×4 block through the plywood on both sides of the arch frame. For each block:
- Pre-drill a hole
- Add wood glue
- Drive in a screw
Ensure every point is solidly anchored to both the side and top framing. Check that the arch remains level and adjust if necessary. Verify that each screw is snug and the arch holds firm. Add extra screws in tighter curves for additional support if needed.

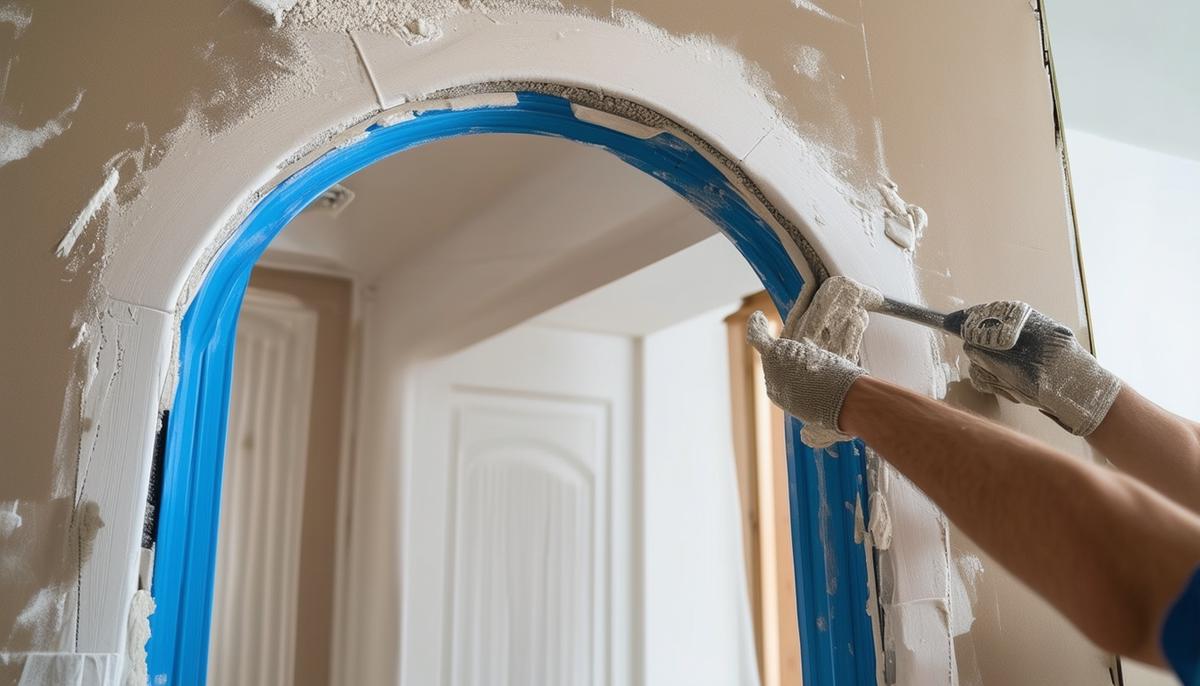
Finishing with Drywall or Cement Board
Cover the frame with drywall or cement board, depending on the application area. Cut strips to fit the arch width. For drywall, score the backside with parallel cuts about half an inch apart to allow bending. For cement board, use a carbide-tipped scoring tool along the bending lines.
Fit the material around the arch frame, starting about 6 inches below the curve. Work upwards, pressing firmly to follow the contour. Secure with screws into the 2×4 blocks at 6-inch intervals.
Apply mesh tape over all seams. For drywall, use joint compound; for cement board, use thinset mortar. Apply in thin layers, smoothing and feathering edges. Let each coat dry and sand between applications.
Install flexible plastic corner beads along the arch's edges using a staple gun. Apply joint compound over the corner beads, blending into surrounding surfaces. Sand for a smooth finish.
Prime and paint to integrate the arch into your room's design. Taking time with each step will result in a stunning arched doorway that adds elegance to your space.
Taking your time with each step will reward you with a stunning arched doorway that adds elegance and character to any room. The attention to detail throughout the process ensures a flawless finish, making all your efforts worthwhile.
- Smith J, Johnson M. Advanced Techniques in Home Carpentry. Woodworker's Press; 2018.
- Brown A. The Art of Doorway Design. Architectural Digest. 2020;45(3):78-82.
- National Association of Home Builders. Residential Construction Performance Guidelines. 5th ed. NAHB; 2021.