Choosing the Right Bit
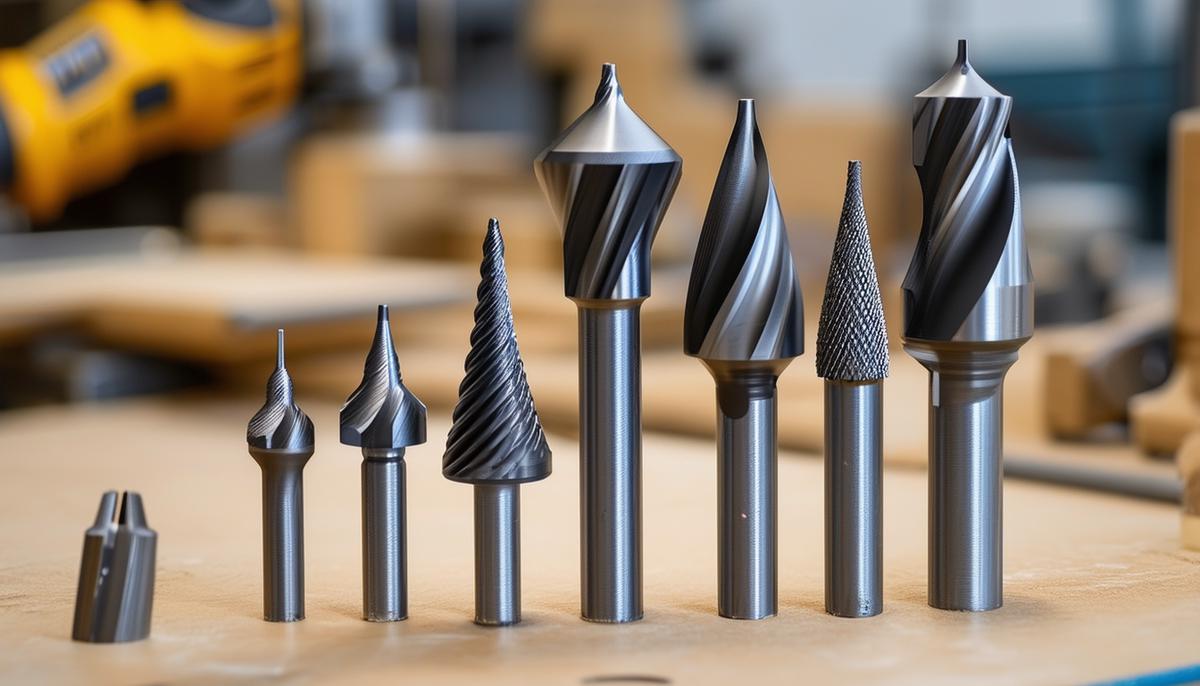
Selecting the appropriate bit for 3D carving with a router can significantly improve your results. For fine details, ball nose bits with smaller diameters excel. They're perfect for creating smooth contours and delicate lines in your design.
For material removal, larger bits are preferable. They're essential for quickly removing more material.
Your material choice also influences bit selection. For wood, plastics, and foam, a solid carbide bit with a special coating like the Spektra™ is highly effective. These bits cut smooth contours and last longer due to their high wear resistance and reduced friction.
For metal, a solid carbide spiral bit with ZrN coating is ideal. This coating maintains sharpness and reduces heat, crucial for cutting tougher materials.
Key Factors to Consider:
- Stepover: Closer bit paths result in a smoother surface but increase carving time. Conversely, a larger stepover is faster but may leave a rougher finish.
- Depth of cut and feed rate: Deeper cuts remove material faster but can strain the bit and machine. It's a balancing act; too deep might break the bit, too shallow wastes time.
- Spindle speed: Different materials work better at different speeds. Running the bit too fast or slow can either burn it out or produce poor results.
Setting Up Tool Paths
Creating tool paths is like mapping out your router's journey through the material. Done correctly, it ensures accuracy and efficiency, transforming your idea into a tangible creation.
Tool paths guide how the router bit moves through your material, typically following this progression:
- Roughing passes: Quickly remove the bulk of the material, approximating the final shape without focusing on precision.
- Finishing passes: Require finesse, as the bit traces the design's fine details, smoothing out imperfections left by the roughing pass. These paths need smaller bits and more precise movements.
- Contour cuts: Often the final step, especially when separating the piece from a larger stock. These follow the design's outer edge, ensuring clean, sharp lines.
Software like Fusion 360 and Vectric simplify tool path setup. These programs automate much of the process, saving time and reducing error chances. With a few clicks, you can generate accurate and efficient paths.
Efficiency is crucial. Incorrect tool paths might cause backtracking, missed details, or material damage. These programs offer path visualization features, previewing the carving process.
Accuracy is equally important. Fusion 360, for example, allows extensive customization, letting you adjust parameters to suit the material, bit size, and specific design needs. This fine-tuning ensures each pass is as precise as possible.
Addressing Common Issues
Dealing with problems like ridges in your carvings can be frustrating, but addressing these issues directly can significantly improve results. Like any machine, CNC routers need regular upkeep and adjustments to function well.
Common Causes of Ridges:
- Loose stepper motors
- Z-axis play
- Debris or dust affecting movement
- Loose couplings connecting stepper motors to lead screws
- Insufficient torque or incorrect current settings in stepper motors
- Worn anti-backlash nuts
- Warping workpiece material
- Uneven machine bed
- Linear guide wear
- Spindle mount deviations
Maintenance Tips:
- Check and tighten all couplings and components regularly.
- Clear debris and dust, especially from the Z-axis.
- Use a torque wrench to tighten components to manufacturer specifications.
- Consider upgrading to higher torque stepper motors or adjusting motor drivers.
- Upgrade to anti-backlash nuts or replace worn ones.
- Securely fasten and support your material throughout carving.
- Use a dial indicator or digital level to ensure a perfectly flat bed.
- Regularly lubricate moving parts and promptly replace worn components.
Finally, review your technique. Verify your toolpath settings, ensuring correct stepover, and take time to refine the finishing pass. Reducing stepover can sometimes fix ridging issues, as can using a finer bit for finishing.
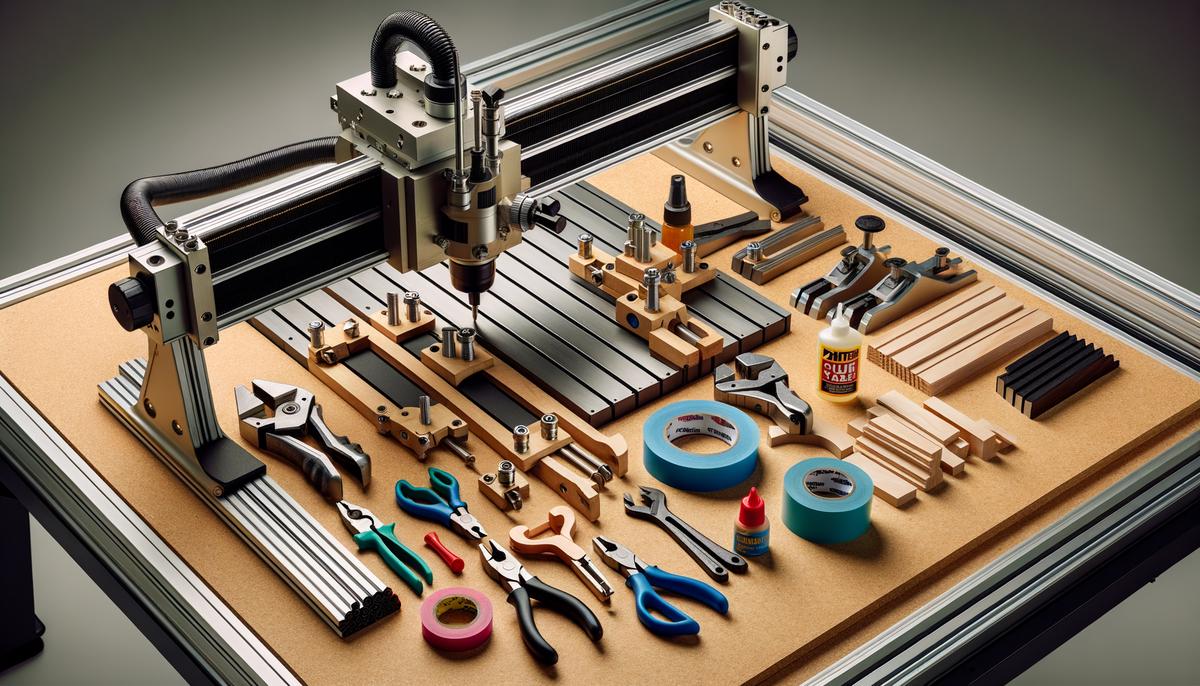
Material Preparation and Work Holding
Properly preparing your material and securing it to the CNC bed is crucial. It's the key element that holds your project together—both literally and figuratively.
Material Selection and Preparation:
- Carefully examine material for knots, splits, or warps.
- Consider surfacing larger wood pieces to ensure parallel top and bottom.
- For thin materials, use industrial-grade double-stick tape.
Work Holding Techniques:
- Clamps: Best for thicker or rigid materials. Use low-profile clamps or custom jigs.
- Vacuum tables: Ideal for larger, flat pieces. Provides even, strong hold across the entire surface.
- "Painters tape and super glue" method: Apply tape to both bed and material, then use super glue for a temporary bond.
- Dedicated fixtures: For repetitive work or mass production, ensuring consistency.
For softer materials like foam or softer woods: Use a combination of clamps and stops to prevent shifting under bit pressure. Avoid compressing or distorting foam, as this can cause inaccuracies.
"Regularly check and maintain your work holding solutions. Periodically verify clamp tightness or vacuum table seal. CNC operation vibrations can loosen components over time, and keeping everything secure ensures steady, uninterrupted carving."
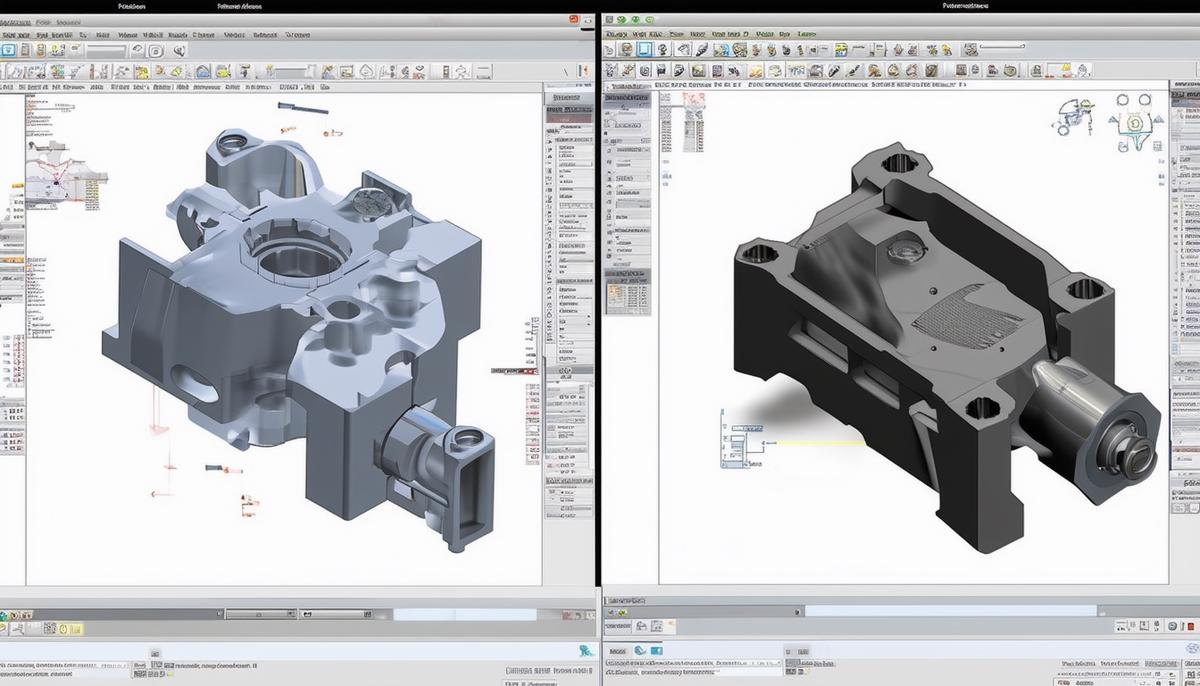
Software Choices and Settings
Selecting appropriate software is crucial for creating detailed CNC designs. Programs like Fusion 360 and Vectric are top choices for CAD (Computer-Aided Design) and CAM (Computer-Aided Manufacturing) capabilities.
Fusion 360
- Full suite of tools for design, simulation, and tool path generation
- 3D visualization for easier issue spotting
- All-in-one platform for adjusting dimensions, modifying designs, and setting tool paths
- Excels in handling complex geometries and multiple tool path strategies
- Steep learning curve for beginners
- Supportive community with numerous tutorials and forums
Vectric Software (VCarve and Aspire)
- Known for user-friendly interfaces
- Step-by-step guidance through design and tool path creation
- Less intimidating for beginners
- Extensive resources, including tutorials and project files
- Higher price point
When choosing software, consider what's most important for you—whether it's the comprehensive capabilities of Fusion 360 or the user-friendly approach of Vectric. Your choice should enable you to design with confidence, simulate for accuracy, and generate precise tool paths.
"The right software simplifies the CNC process, providing a smooth workflow from concept to completion."
Also, look for software that offers good post-processing support. This ensures that the G-code generated is optimized for your specific CNC machine, reducing the risk of errors during carving.1
In the end, selecting the right bit and setting up precise tool paths are fundamental to achieving high-quality 3D carvings. By paying attention to these details, you transform your projects from ordinary to exceptional.