
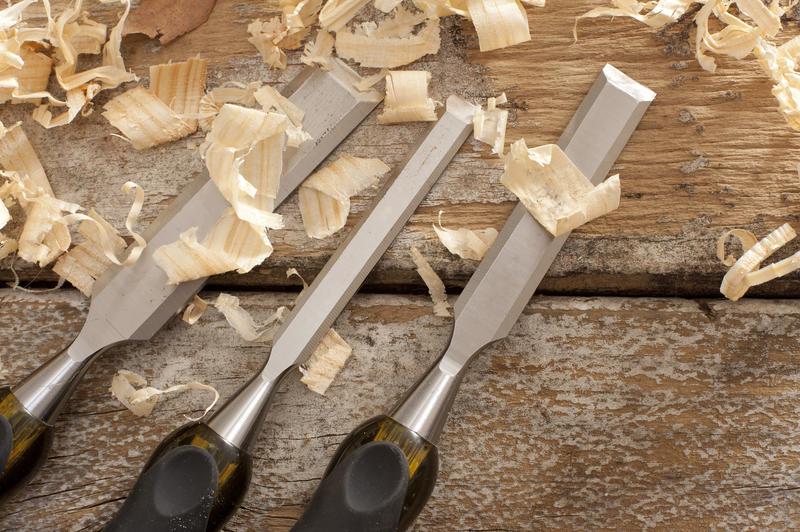
Tools and Materials
Tools and Materials for Building a Solid Wood Dining Table
Gather these tools and materials before starting your DIY project:
Tools
- Kreg Jig
- Miter Saw
- Drill
- Nail Gun
- Sander
- Planer (optional)
Materials
- 1×12, 1×6, and 1×3 Pine Boards
- 1×8 Boards
- Furring Strips
- Wood Glue
- Pocket Hole Screws
- Wood Screws (1 inch and 1.25 inch)
- Wood Filler
- Wood Conditioner
- Stain
- Polyurethane
Sanding and Finishing Supplies
- 220-grit Sandpaper
- 320-grit Sandpaper
- Foam Brush
- Cleaning Cloths
Constructing the Table Frame
To construct the table frame, follow these steps:
- Cut the long aprons, short aprons, corner braces, and stretchers to size using a miter saw.
- Sand the edges with 220-grit sandpaper to remove splinters and rough spots.
- Miter both ends of the corner braces to a 45-degree angle. Drill a 1/4-inch hole centered on each brace face.
- Drill pocket holes at both ends of the stretchers.
- Assemble the table base:
- Glue corner braces into each corner where aprons meet.
- Clamp and allow to dry.
- Reinforce joints with 2-inch pocket-hole screws.
- Drive a 1/4-inch lag screw through each brace into the table leg.
- Attach stretchers between long aprons using wood glue and screws.
- Sand the entire base with 220-grit sandpaper to smooth out any rough spots or glue residue.
Pro tip: Ensure all joints are square and tight for a sturdy table frame.

Building the Tabletop
Creating a beautiful tabletop requires patience and attention to detail. Follow these steps:
- Cut 2-inch-by-10-inch boards to rough length and width.
- Sand each board with 220-grit sandpaper, paying special attention to the edges.
- Arrange boards on a flat surface, varying grain patterns to reduce warping.
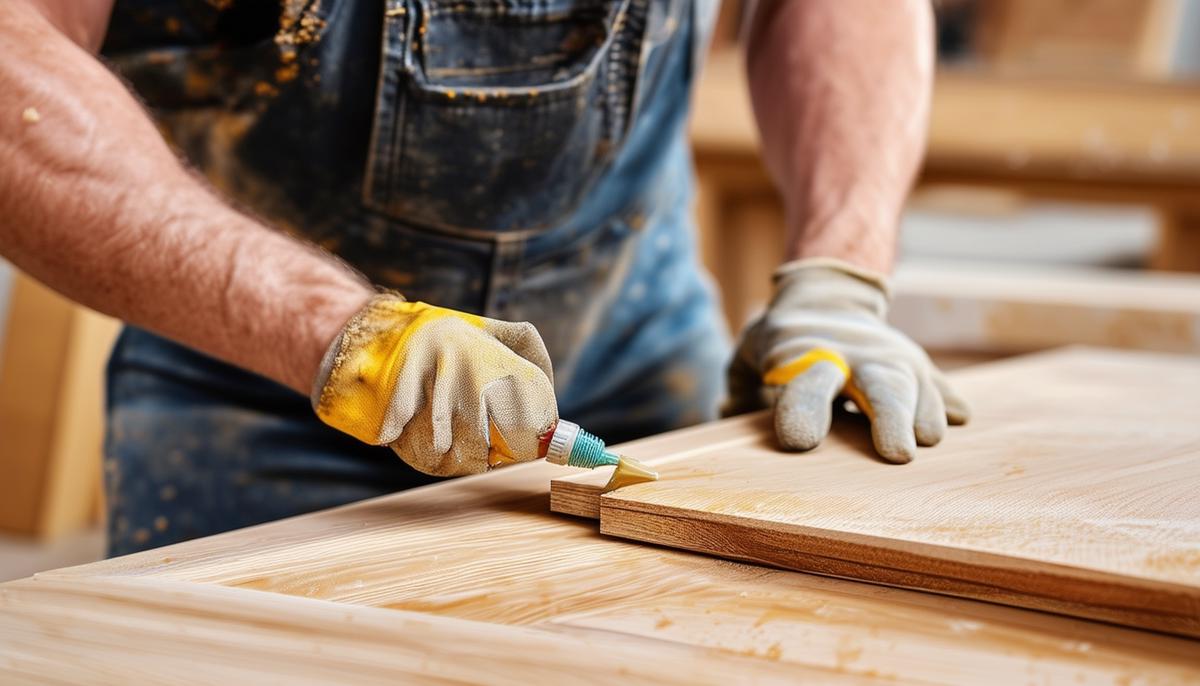
- Apply wood glue to board edges and press together.
- Use large clamps on edges to keep boards aligned and prevent bowing.
- Fill small gaps with a mixture of wood glue and fine sawdust.
- Allow to dry for 24 hours.
- Sand the entire surface:
- Start with 120-grit sandpaper
- Move to 220-grit for a smoother finish
- Finish with 320-grit for an ultra-smooth surface
- Sand edges to ease sharp corners and remove glue residue.
"The beauty of a handcrafted tabletop lies in the careful selection and arrangement of wood grains."
Finishing and Staining
The finishing process is crucial for protecting your table and enhancing its natural beauty. Follow these steps:
- Ease sharp edges with 220-grit sandpaper.
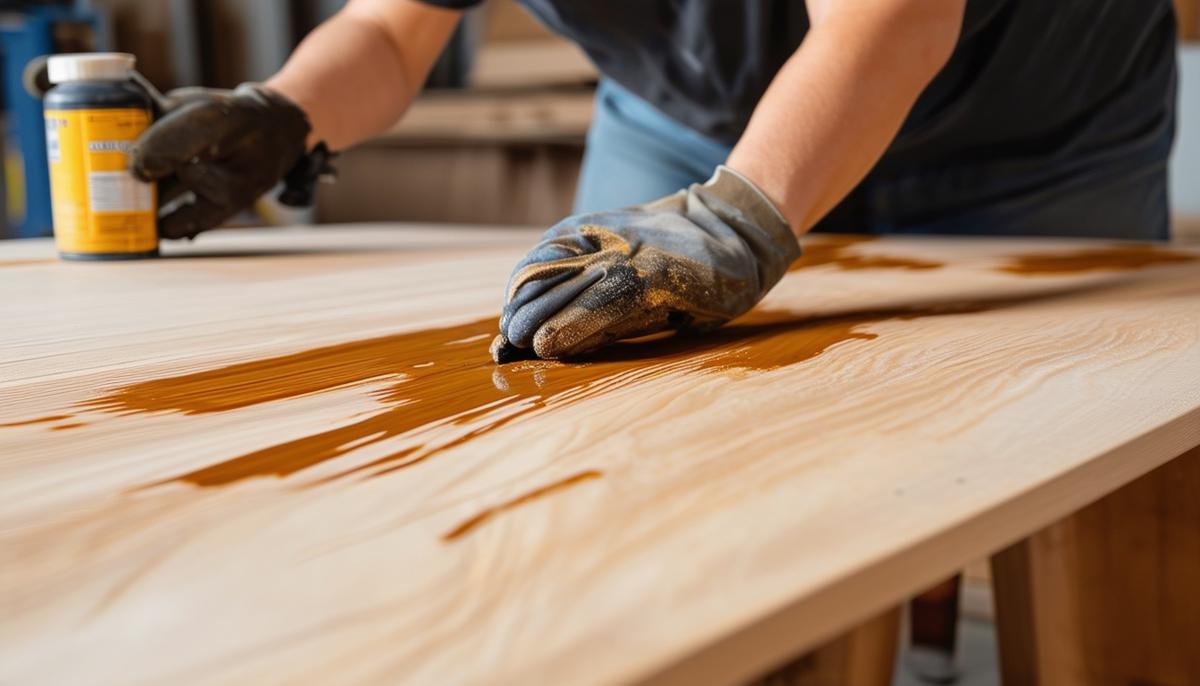
- Apply wood conditioner with a foam brush. Let sit for 15-30 minutes, then wipe off excess.
- Stir stain thoroughly and apply with foam brushes, moving with the wood grain.
- Let stain sit for 5-15 minutes, then wipe off excess with a clean cloth.
- Allow stain to dry overnight.
- Apply three thin coats of semi-gloss polyurethane:
- Use a foam brush, following the wood grain
- Let each coat dry for 4-6 hours
- Lightly sand with 320-grit sandpaper between coats
- Wipe surface with a damp cloth to remove sanding dust
- Allow final coat to cure for 24 hours before use.
Note: Proper ventilation is essential when applying stains and finishes. Work in a well-ventilated area or outdoors if possible.
Your custom, solid wood dining table is now ready to be the centerpiece of your home. With proper care, it will last for generations, becoming a cherished family heirloom.
- Hoadley RB. Understanding Wood: A Craftsman's Guide to Wood Technology. Taunton Press; 2000.
- Flexner B. Understanding Wood Finishing: How to Select and Apply the Right Finish. Fox Chapel Publishing; 2010.
- Noll T. The Joint Book: The Complete Guide to Wood Joinery. Popular Woodworking Books; 2009.