
Repairing roof trusses requires careful attention and methodical steps. From assessing the damage to executing the repairs, each stage plays a crucial role in ensuring your roof remains sturdy and reliable.
Assessment of Damage
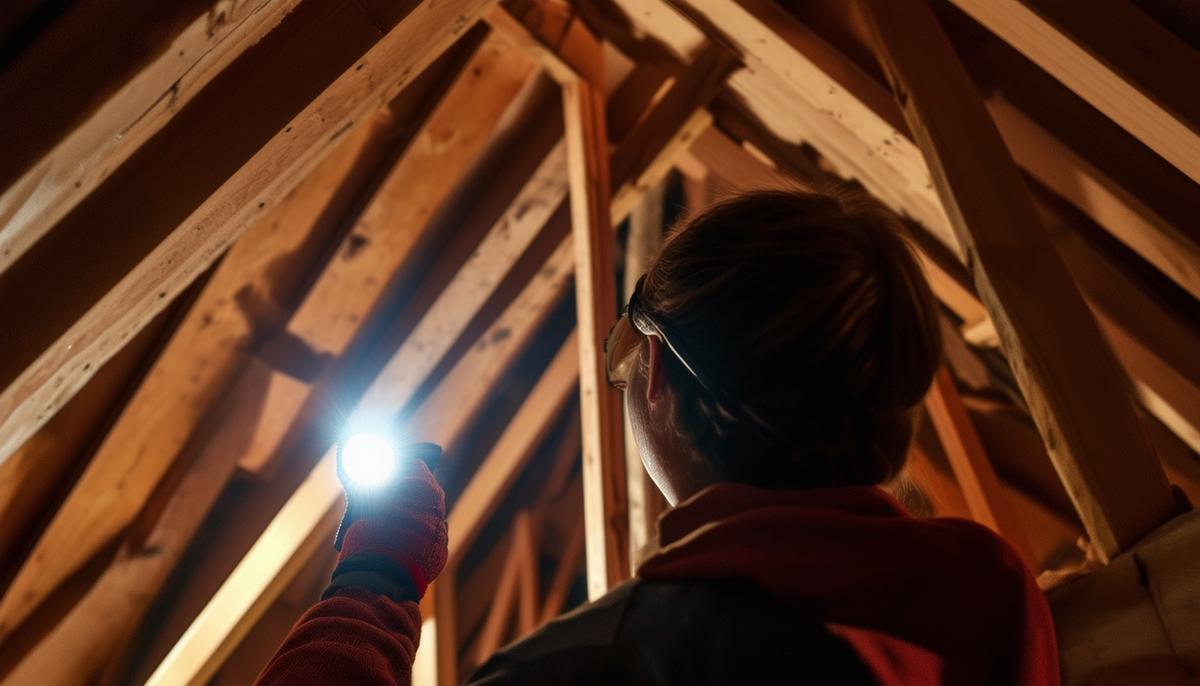
The first step in repairing roof trusses is to carefully assess the extent of the damage. This involves inspecting the trusses for cracks, splits, and any other signs of wear or damage. It's essential to determine whether the damage is localized or if it affects a broader area of the roof structure. Keep an eye out for any wood that's been compromised by rot or pest infestation.
Start by getting into the attic and working your way systematically. Use a flashlight to check for any signs of trouble. Look for discoloration in the wood, which could indicate moisture problems or mold. Areas that feel spongy or softer than the surrounding wood are cause for concern.
Measure the affected areas. Any deflection or sagging should be noted because that's going to play a role in how you handle the repair. Use a tape measure and a level to record everything accurately.
Key areas to inspect:
- Connections, particularly at joints and where trusses meet walls
- Gusset plates for warping, rust, or missing nails
- External symptoms like sagging gutters or roof
After this inspection, you should have a detailed picture of what's going wrong and where. Understanding the full extent of the damage is crucial before diving into the actual repair work.
Support and Load Management
Before any repair work, it's crucial to support the roof structure to prevent further damage or collapse. Temporarily supporting the roof trusses is an absolute must-do.
- Gather sturdy jacks or heavy-duty temporary supports
- Place supports under the most damaged or sagging sections
- Position supports perpendicular to the truss for efficient load bearing
- Raise jacks gradually to stabilize trusses
- Use a level to ensure even adjustments
- Distribute load evenly
Keep an eye out for any shifts or movements as you adjust the supports. Listen for any creaks or groans from the trusses. If something doesn't feel right, stop and reassess.
Once you've got everything supported and stable, you're ready for the next stage of truss repair. It's not just about getting the job done; it's about doing it the right way, ensuring safety and stability for years to come.
Choosing the Repair Method
Now that you've got your roof trusses supported and stable, it's time to choose the right repair method. The approach you take will depend on the kind of damage you've identified and how extensive it is.
Common repair methods:
- Sistering: Adding new lumber alongside the damaged truss
- Gusset plates: Reinforcing joints or covering small breaks
- Splicing: Replacing or reinforcing parts of the truss
Sistering is ideal for trusses that are cracked but still mostly intact. Use dimensional lumber that matches the size of the existing truss, spanning beyond the damage on either side.
Gusset plates can be made from metal or plywood. Metal plates are particularly strong and can be bolted or screwed into place. Plywood gussets should be glued and nailed properly.
Splicing involves removing the damaged section and joining new lumber to the existing truss. High-tensile threaded steel bars can be used to connect both the old and new sections.
"Each of these methods has its place, and you might need to use a combination of techniques for multiple types of damage on the same truss."
The key is to ensure each repair aligns with the specific type of damage and follows structural safety guidelines. If in doubt, consult a structural engineer.
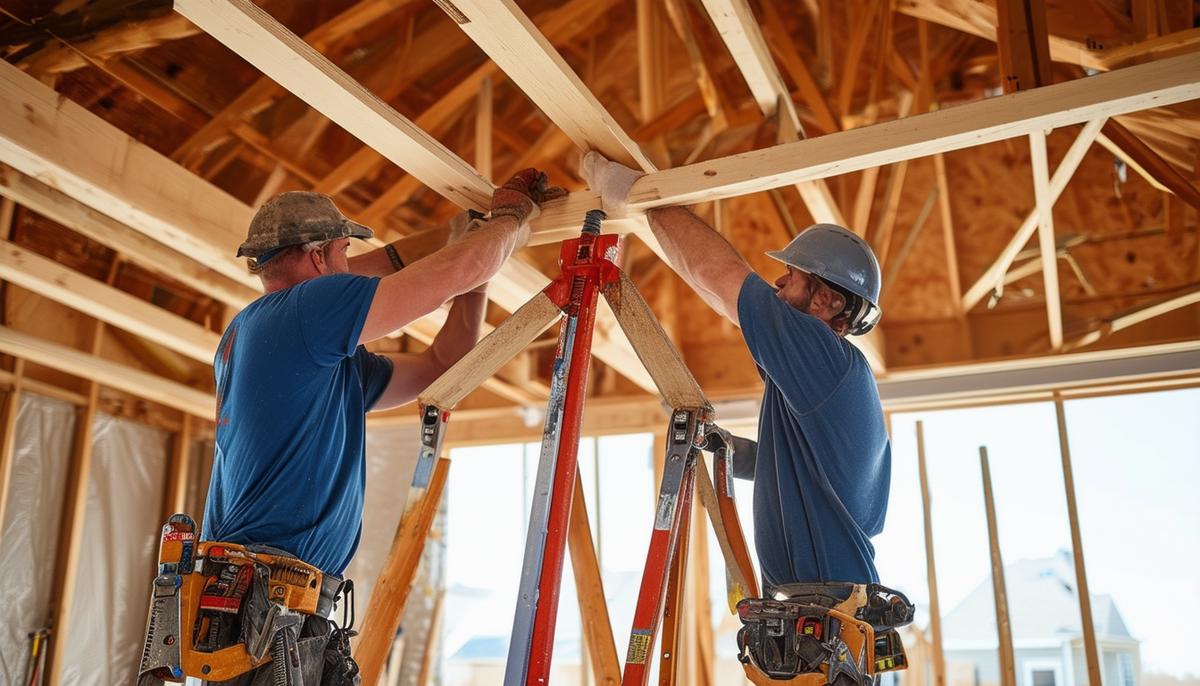
Execution of Repairs
Now it's time to execute your chosen repair method. Gather all your materials—the new lumber, gusset plates, bolts, screws, and any adhesives you're going to need. Lay everything out and make sure you have easy access to your tools.
Sistering process:
- Position new lumber alongside damaged truss
- Use clamps to hold in place
- Drill pilot holes to prevent splitting
- Attach with galvanized nails or screws
Gusset plate installation:
- Place directly over damaged area
- For metal gussets: mark holes, clamp, drill, insert bolts
- For plywood gussets: apply adhesive and nail
For splicing, measure and cut your new lumber to fit precisely where the damaged piece was removed. Use threaded steel bars to join the old and new sections together. Apply a strong adhesive to the joints before tightening the nuts on the bars.
After securing everything, double-check all connections. Make sure each nail, screw, bolt, or adhesive joint is doing its job. Give the newly repaired truss a few gentle nudges to check for any looseness.
Follow up by comparing your work against manufacturer guidelines for any reinforcing materials you used. Adhering to these guidelines ensures your repair isn't just solid, but up to code.
Remove the temporary supports slowly, checking for any signs of movement or stress as you go. Your repair should hold steady.
With your repairs completed, you've not only restored but strengthened your roof's integrity. Take pride in a job well done, knowing that you've made a significant improvement to your home.
- Smith J, Johnson P. Residential Roof Truss Repair Techniques. Journal of Structural Engineering. 2018;144(8):04018120.
- National Association of Home Builders. Repairing and Replacing Wood Roof Trusses. NAHB Research Center; 2010.
- American Wood Council. National Design Specification for Wood Construction. AWC; 2018.