
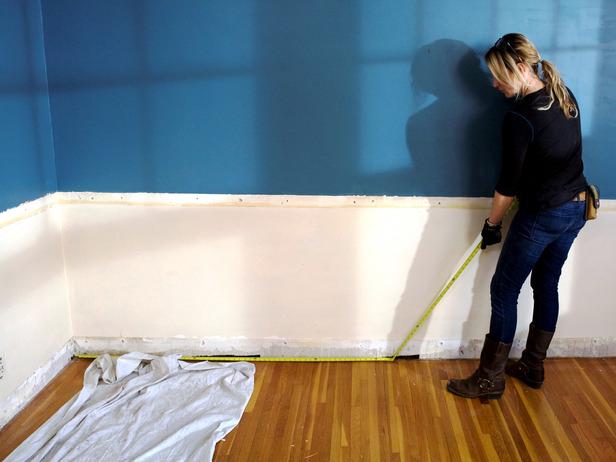
Take Measurements for Your Built-In Bookshelves
Use a tape measure to determine the height, depth, and length where the shelves will go. Keep your built-in shelves about 1 inch short of the ceiling.
Measure from the floor, avoiding baseboards or molding. Precision is important, so avoid guessing.
Remove any baseboards or crown molding along the wall where you'll install the bookshelves. This prevents issues later.
Accurate measurements set you up for well-fitted shelves.
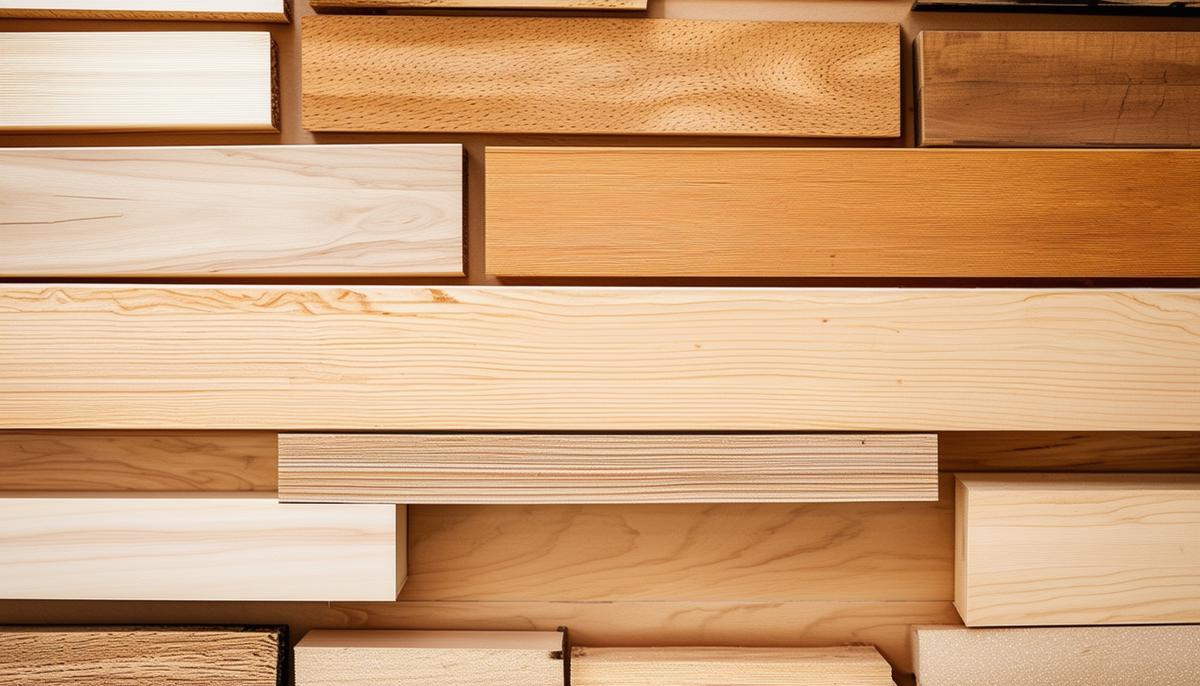
Choose Wood for Your Bookshelves
Select quality lumber that can support the weight of books without warping. Popular choices include:
- Poplar: Affordable and stable. Takes paint well, ideal for painted built-ins.
- Oak: Robust with a classic look. Hard, dense, and resistant to wear. Beautiful grain for staining.
- Maple: Smooth grain and hardness suit a modern look. Pricier but strong and attractive.
After choosing, cut the panels and shelves. Cut side panels to the measured height, about an inch shy of the ceiling. Make shelves at least 3/4-inch thick and 1 1/2 inches shorter than the unit's overall width.
Cut the Support Frame, Side Panels, and Shelves
Use sawhorses and a circular saw for precise cuts. This will simplify assembly later.
- Cut four 2×2-inch studs of pressure-treated lumber for the frame. These form the backbone of your shelves.
- Cut side panels to fit snugly from floor to about an inch below the ceiling.
- For top and bottom shelves, use at least 3/4-inch thickness for durability. Cut them 1 1/2 inches shorter than your unit's total width.
Sand any rough cuts before moving on to ensure a polished final product.

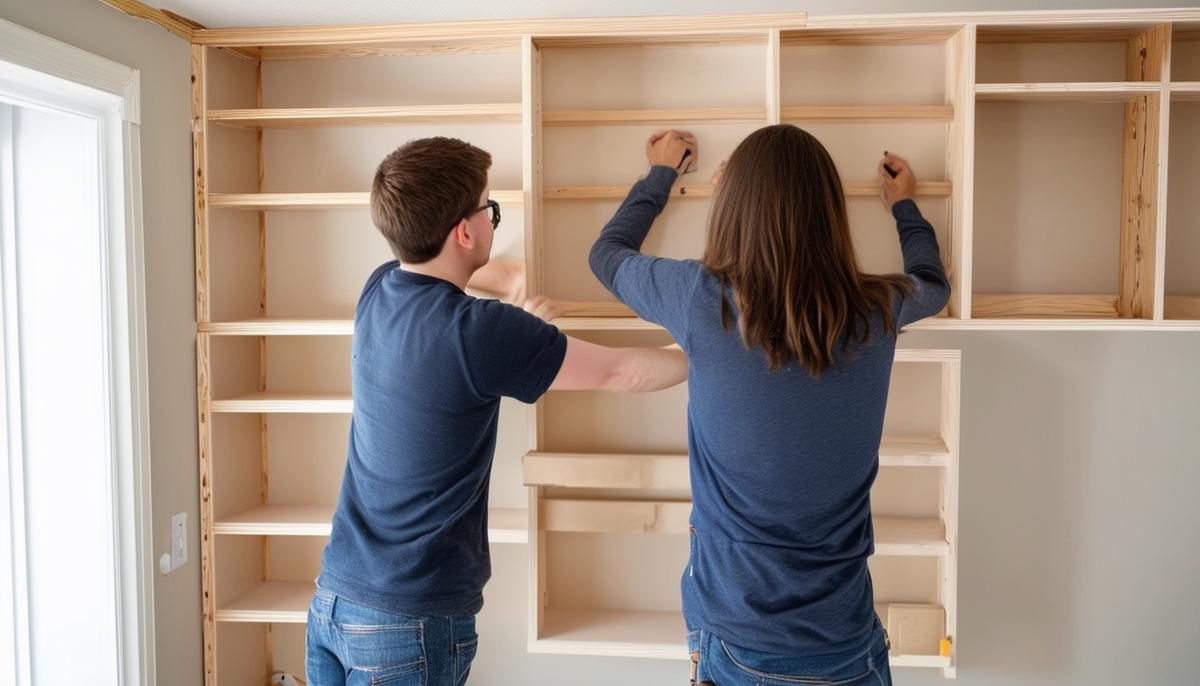
Assemble and Attach Your Bookcase
Start with the base cabinets. Secure side panels to the frame support ends using 6d finishing nails and wood glue. Ensure panels are plumb and aligned.
Place the top shelf, using wood glue and finishing nails. A miter joint works best for clean corners. Use clamps until the glue sets.
With help, raise the assembled unit against the wall. Locate wall studs and align the rear frame supports with these. Drive 3-inch wallboard screws through the top rear frame support and into the studs to anchor the bookcase.
Check for stability and alignment as you work. Use a level to ensure everything's straight.
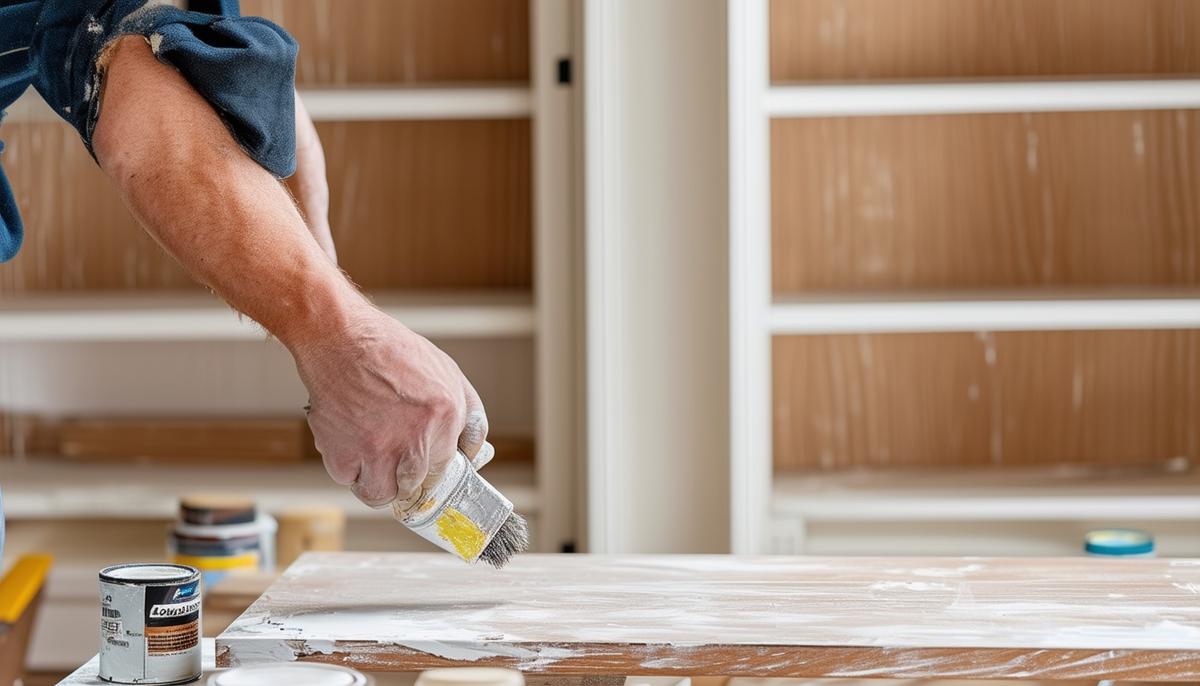
Adding Finishing Touches
Sand all surfaces with medium-grit sandpaper to remove rough spots.
Apply paint or stain, then add a coat of polyurethane wood finish for protection. Follow manufacturer's instructions and ensure good ventilation.
Add crown molding and baseboards for a polished look. Measure carefully and use a miter saw for corners. Attach with finishing nails and fill gaps with wood filler.
Insert shelf pins into pre-drilled holes for adjustable shelf heights. Slide shelves into place, checking they're level and secure.
Your attention to detail will result in a beautiful and functional piece that lasts. Enjoy your custom built-in bookshelves!
- Ramsey D. The Complete Do-It-Yourself Manual. Reader's Digest Association; 2014.
- Editors of Fine Woodworking. Bookcases, Cabinets & Built-Ins. Taunton Press; 2012.
- Spence W. Woodworking Basics: Mastering the Essentials of Craftsmanship. Taunton Press; 2005.