
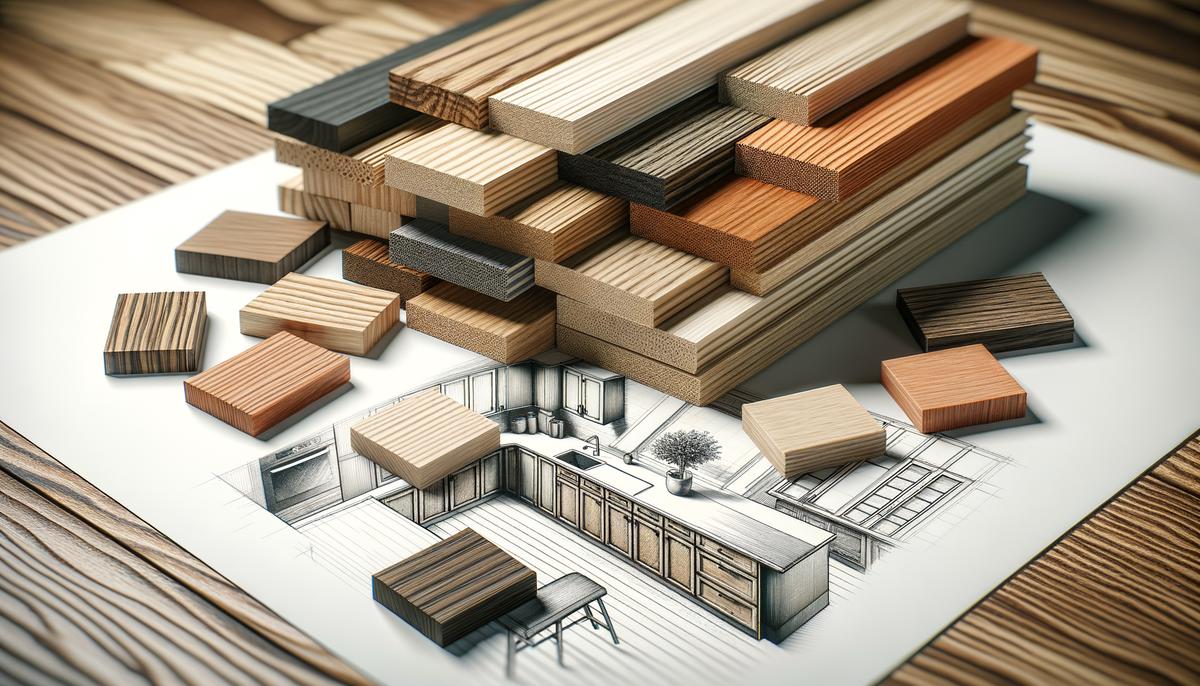
Choosing Your Materials
When building a custom kitchen island, consider your kitchen's design style and budget. Oak offers durability and timeless aesthetics but comes with a higher price tag. Pine is budget-friendly and suits rustic styles but is more prone to wear.
Materials and Tools Needed:
- Whitewood and Lumber for Structure
- Two 2x4x8-foot whitewood boards
- Two 2x4x10-foot lumber pieces
- Two 4x4x8-foot untreated fir posts
- Panels for Surface and Shelving
- Two 2×4-foot edged, glued panels or butcher block panels (3/4-inch to 1-1/2-inch thickness)
- Basic Tools
- Circular saw
- Table saw
- Pocket hole jig
- Hammer and chisel for dado joints
Cutting and Preparing the Lumber:
| Material | Cuts |
|---|---|
| 2×4 Whitewood |
|
| 2×4 Lumber |
|
| Fir Posts |
|
| Glued Panels/Butcher Block |
|
Finishing:
Consider wood conditioner, stain, and polyurethane for protection and aesthetics. Alternatively, top the island with tile, natural stone, or laminate for a polished finish.
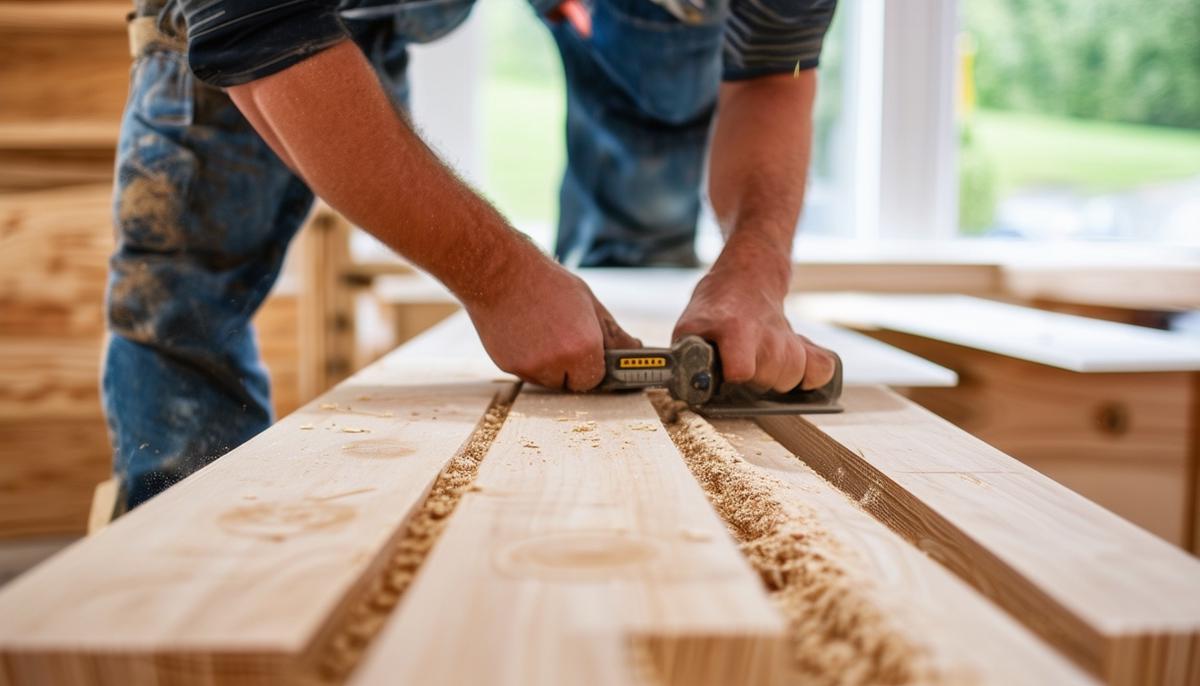
Measuring and Cutting Lumber
Use a circular saw and table saw to cut the lumber pieces to size. Measure each piece carefully, following the "measure twice, cut once" principle to prevent mistakes.
After making each cut, label every piece. For example, mark the 29-inch cuts as "Apron (29)" and the 27-inch ones as "Leg brace (27)." This organization will save time during assembly and help verify that all pieces are cut correctly.
Ensure each cut is clean and accurate for easier assembly later on. Proper measurement and cutting are crucial for the structural integrity of your kitchen island.
Creating Pocket Holes and Dado Joints
Using a pocket hole jig, drill holes at specific points:
- Side aprons: at 6 inches and 14 inches from each end
- Cross leg brace: at 3, 10, 16 1/2, 23, and 30 inches
For dado joints:
- Mark cutting points at 6 inches and 9 1/2 inches on each leg.
- Clamp legs together and draw lines across all four at marked points.
- Make several closely spaced cuts along the lines with a circular saw.
- Clean out cuts with a hammer and chisel, smoothing the channel.
- Test fit the leg braces into the dado joints.
- Apply wood glue to the channel and brace, fit together, and secure with 2 1/2-inch screws.
These techniques ensure a sturdy, professional-grade kitchen island built to withstand daily use. Proper joinery is essential for the longevity and stability of your custom kitchen island1.
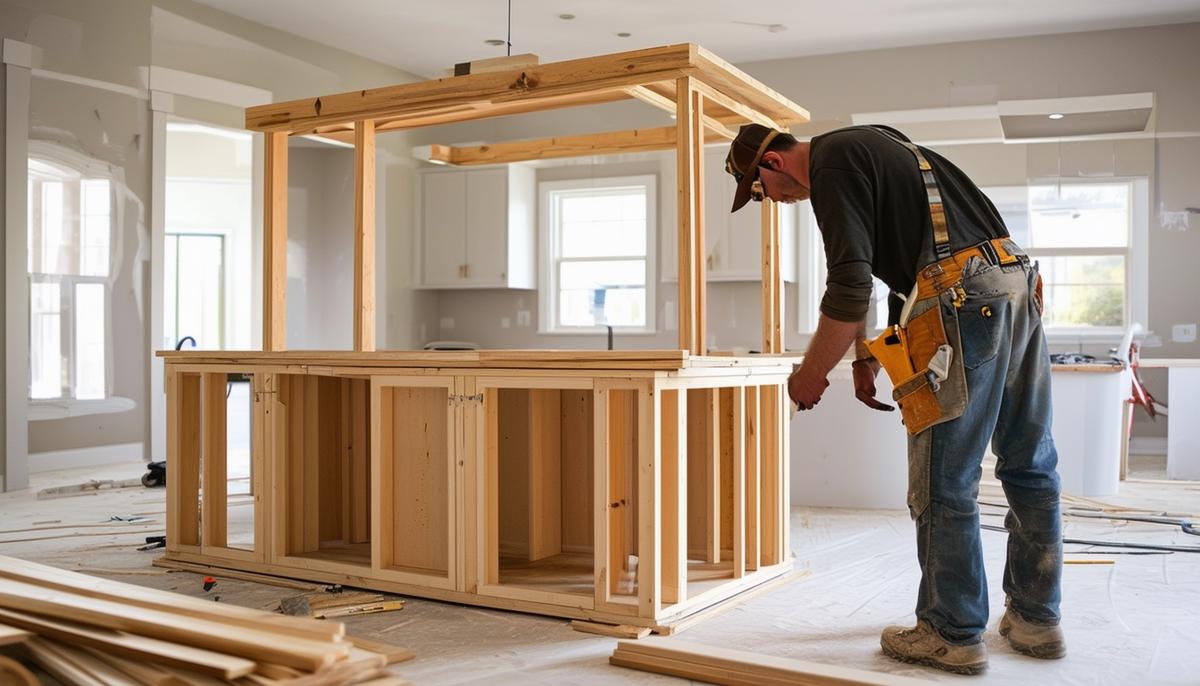
Initial Assembly and Leveling
Follow these steps for initial assembly:
- Lay out cut pieces in an organized manner.
- Attach 29-inch aprons to legs using pocket holes and wood glue.
- Connect 20-inch side aprons to legs.
- Position and secure 27-inch leg braces in dado joints.
- Use a carpenter's square to check alignment at every joint.
- Attach 38-inch top edges to upper ends of front and back legs.
- Add 23 1/4-inch top sides to complete the top frame.
Throughout assembly, continually check with a carpenter's square and level to ensure the frame is square and even. Allow glued joints to dry completely before proceeding. This careful process creates a solid foundation for your kitchen island, ready for the addition of panels and shelves.
"Precision in assembly is key to creating a kitchen island that's both functional and aesthetically pleasing. Take your time and double-check your work at each step."
Remember, a well-built kitchen island can increase your home's value by up to 30%2, making it a worthwhile investment in both functionality and property value.
Final Assembly and Finish
Fit the 32×23 1/4-inch top onto the frame, ensuring even overhang on all sides. Apply wood glue to the frame's top edges, clamp the top securely, and fasten with pocket screws from underneath.
Install the 36x23x1/4-inch shelf between the legs, leaving a 1/8-inch gap around them. Glue and secure with pocket screws from beneath.
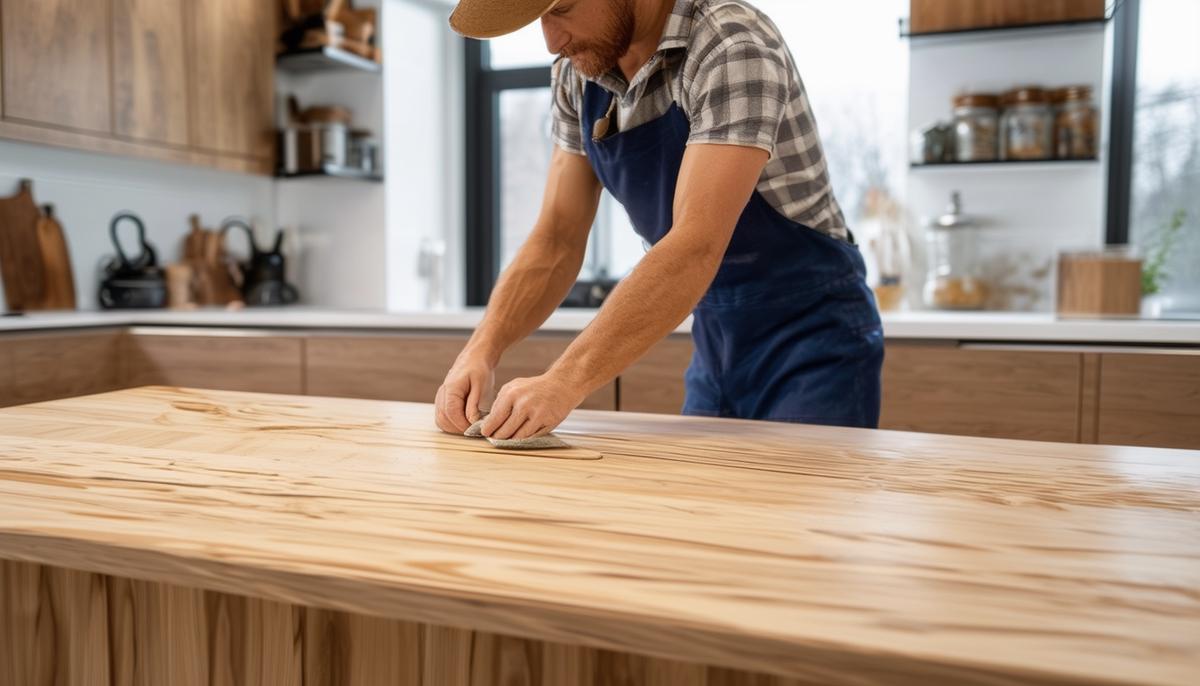
Sanding Process:
- Start with 80-grit sandpaper
- Progress to 120-grit
- Finish with 220-grit
- Pay extra attention to edges and corners
- Wipe down with a tack cloth to remove dust
Apply wood conditioner following manufacturer's instructions. Once dry, stain the wood in the direction of the grain, wiping off excess. Allow proper drying time between coats.
After the stain dries, apply 2-3 thin coats of polyurethane for protection. Sand lightly with 320-grit paper between coats for a smooth finish.
Countertop Options:
- Tile: Use adhesive and spacers, then grout.
- Laminate: Cut to size, apply contact adhesive, and trim excess.
Your DIY kitchen island is now ready to serve as a functional and attractive centerpiece in your kitchen.
Choose materials that balance cost and durability, ensuring they complement your kitchen's design. Following this detailed assembly process will result in a sturdy, custom kitchen island that showcases your craftsmanship.
"The kitchen is the heart of the home, and a well-crafted island can become its centerpiece."
Remember, the quality of your materials can significantly impact the longevity of your island. For instance, hardwoods like oak or maple are more durable than softwoods for high-use surfaces1. Additionally, consider incorporating features like built-in electrical outlets or a wine rack to enhance functionality2.