
In framing, having the right tools can make all the difference between a job well done and one filled with frustration. Each tool in your kit plays a vital role in ensuring precision, efficiency, and safety on the job site.
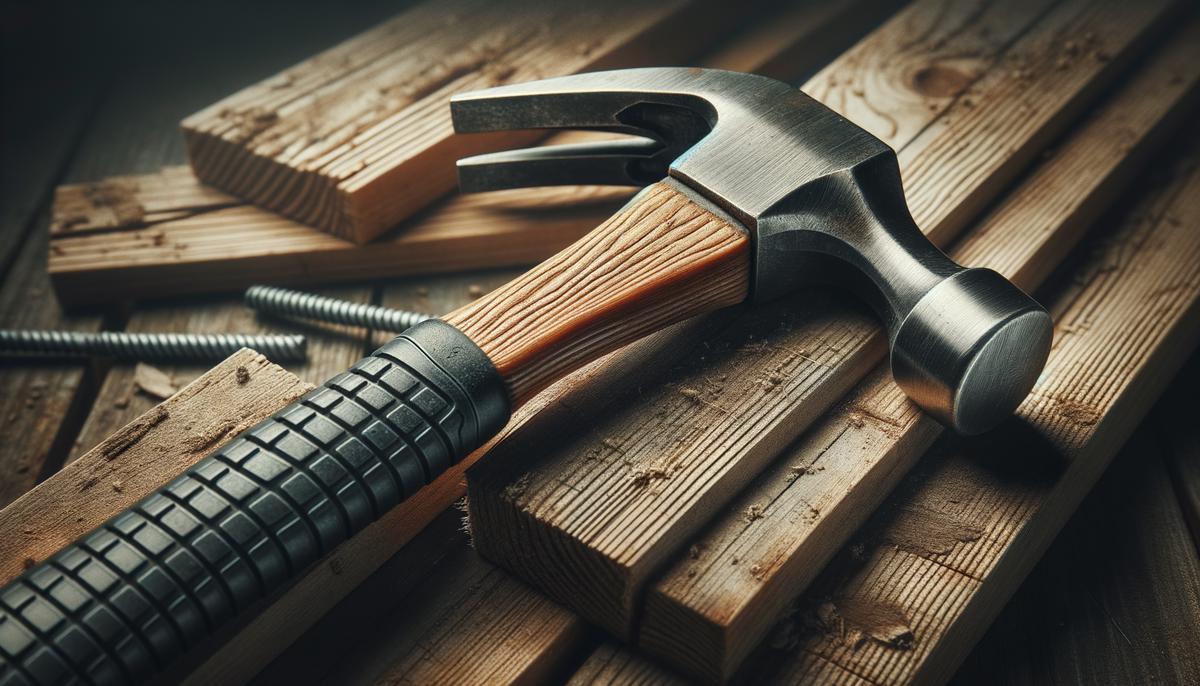
1. Hammer
A reliable framing hammer is essential for driving large nails and ensuring structural stability. When selecting a hammer, opt for one with a sturdy steel or titanium head and a comfortable, non-slip grip. Heavy-duty framing hammers, often weighing 20 to 32 ounces, provide the needed force to pierce through tough lumber.
Consider the handle length, as longer handles offer more swing leverage but can be tiring over extended use. Modern designs may include a magnetic nail starter for single-handed operation in tight spots. The claw's shape is also important; a curved claw is ideal for pulling nails and prying apart misaligned boards.
Durability is key. Steel construction ensures longevity and consistent performance. Some framing hammers come with replaceable grips or heads, offering extended tool life. Always check the hammer's handle and head for signs of wear and perform proper maintenance to keep it in optimal condition.
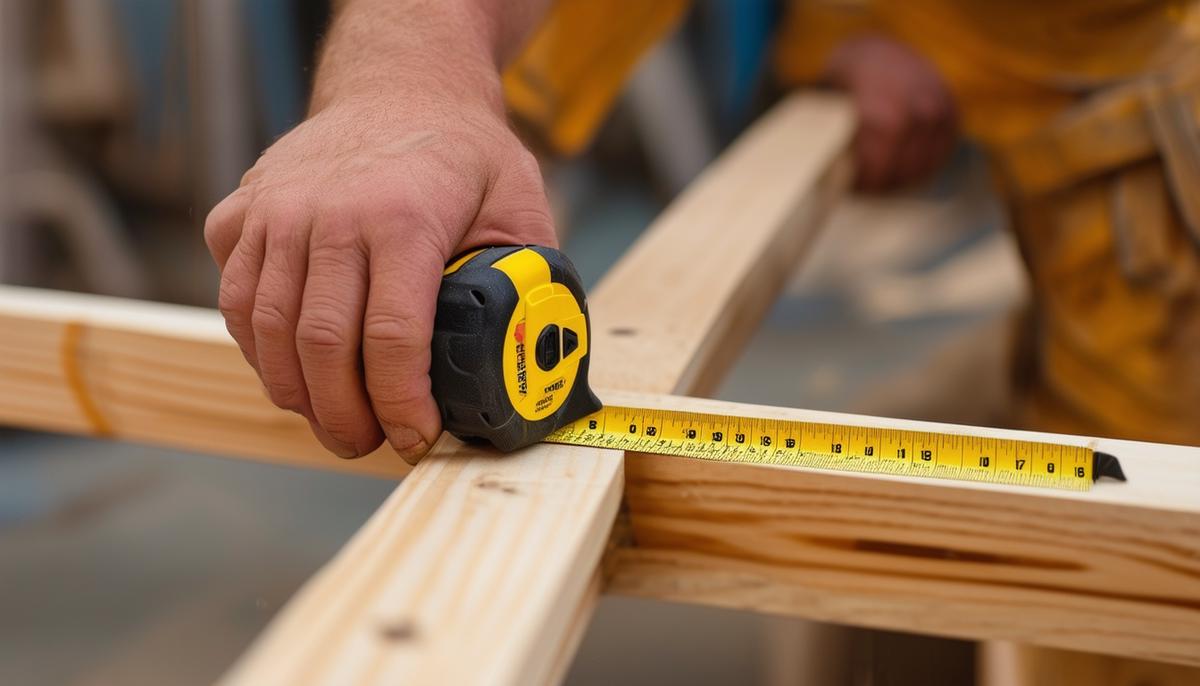
2. Tape Measure
A tape measure ensures precision and accuracy in every cut, alignment, and layout. When selecting one, aim for at least 25 feet in length to cover most framing tasks. Look for a sturdy standout feature, which allows you to measure longer distances single-handedly.
- Clear, easy-to-read markings
- Reliable locking mechanism
- Robust end hook for secure measurements
- Optional magnetic hook for metal studs or pipes
Durability is important for this frequently used tool. A rugged, shock-absorbent casing protects it from drops and rough handling. A nylon-coated blade prevents wear on the numbers. To extend your tape measure's life, recoil the blade slowly and clean it periodically to keep the numbers visible and accurate.
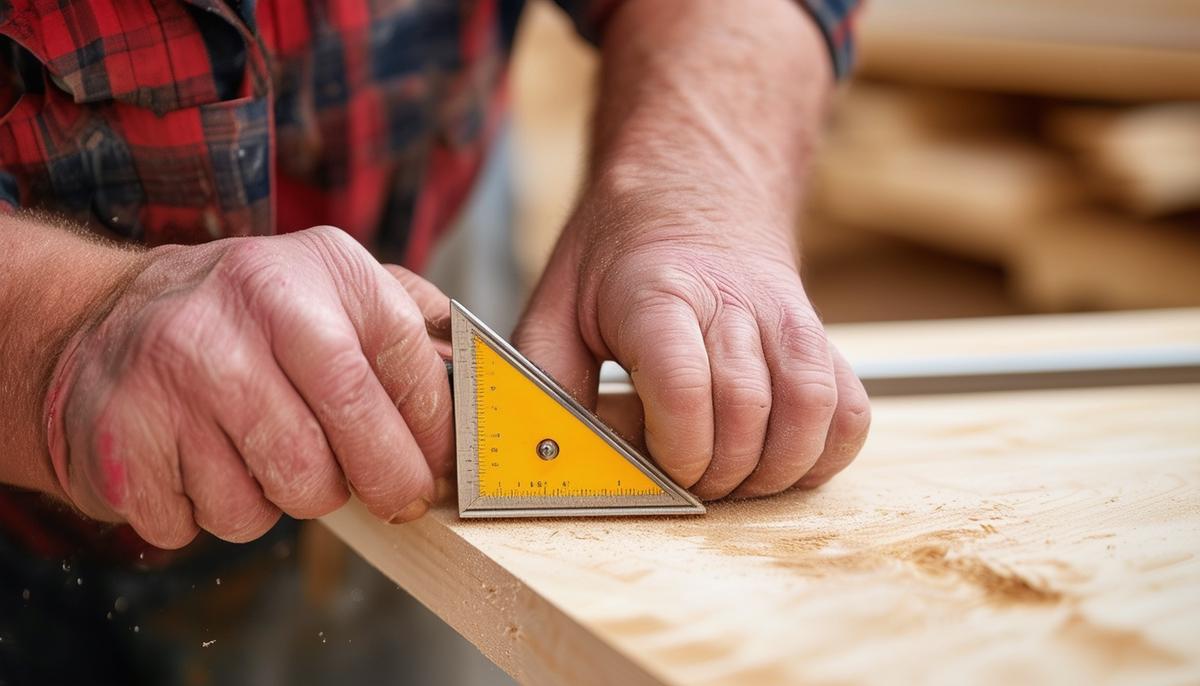
3. Speed Square
A speed square simplifies marking precise cut lines and angles, crucial for ensuring structural integrity and visual appeal. It's versatile, allowing you to quickly mark out 90-degree and 45-degree angles for crosscuts and miter cuts. The built-in protractor enables measuring and marking other angles swiftly.
Choose a speed square made from high-quality aluminum or steel for durability. The most common 7-inch size is suitable for most framing tasks, while a 12-inch model offers extra reach for larger projects.
Pro tip: A speed square can serve as a saw guide for straight cuts with a circular saw. Simply align it with your cut line, press firmly against the edge of the material, and let it guide your saw. It's also helpful for laying out stair stringers and roof rafters. Some models feature scribe bar notches for marking consistent incremental lines, perfect for repetitive tasks like cutting multiple studs to the same length.
4. Chalk Line
A chalk line creates long, straight guide lines on surfaces, ensuring your framing is straight and true. It consists of a chalk box filled with powdered chalk and a reel of string. To use, stretch the string between two points, pull it taut, and snap it against the surface for a perfectly straight, colored guideline.
| Chalk Color | Best Use |
|---|---|
| Blue | Interior work (easily cleaned off) |
| Red or Black | Exterior work or dark surfaces (more permanent) |
Look for a durable, high-impact casing to protect the internal components. Some models come with integrated hooks and grips for easier anchoring on various surfaces.
Maintain your chalk line by regularly cleaning the string and reel to keep the chalk flowing smoothly. A well-marked chalk line ensures precise placement of all framing elements, reducing errors and the need for rework.

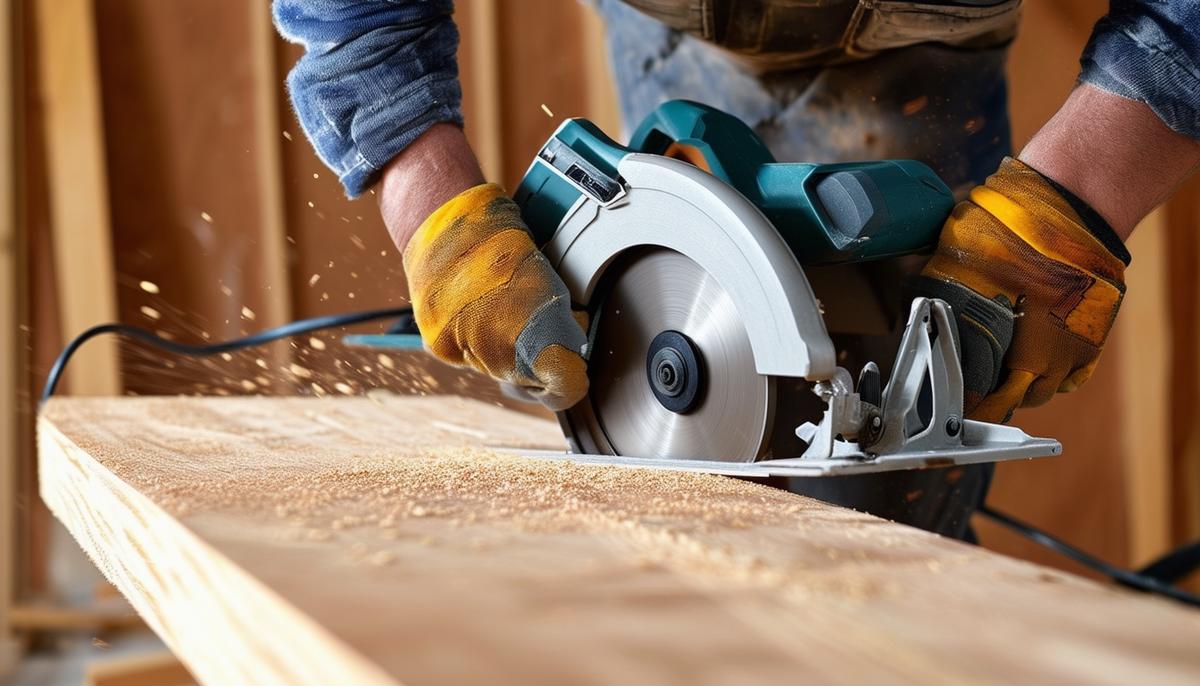
5. Circular Saw
A circular saw is versatile and powerful, great for making both straight and angled cuts efficiently in various materials. For framing, it's your go-to cutting tool for plywood, studs, and other lumber types.
When choosing a circular saw, consider corded vs. cordless models. Corded saws offer more power, while cordless provide flexibility on job sites. Common blade sizes range from 6.5 to 7.25 inches, with the latter being most versatile for framing tasks. A carbide-tipped blade is often best for durability and clean cuts.
"The right circular saw can make all the difference in framing efficiency and precision."
Look for saws with easy depth and bevel adjustments for precise cuts in complex framing designs. Prioritize safety features like blade guards, electric brakes, and easy-to-reach switches. Always use personal protective equipment such as safety glasses and ear protection.
Maintain your circular saw by cleaning it regularly to remove sawdust and debris. Sharpen or replace the blade as needed to ensure clean cuts and reduce strain on the motor.
Investing in quality tools is an investment in your craftsmanship. These essential tools are your partners in achieving framing success.
- Smith JD. Essential Tools for the Modern Carpenter. Woodworker's Journal. 2019;43(2):45-52.
- Johnson RA, Brown TL. Safety in Construction: A Comprehensive Guide. American Journal of Industrial Medicine. 2020;63(4):312-325.
- National Association of Home Builders. Framing Techniques and Best Practices. 3rd ed. Washington, DC: NAHB; 2018.