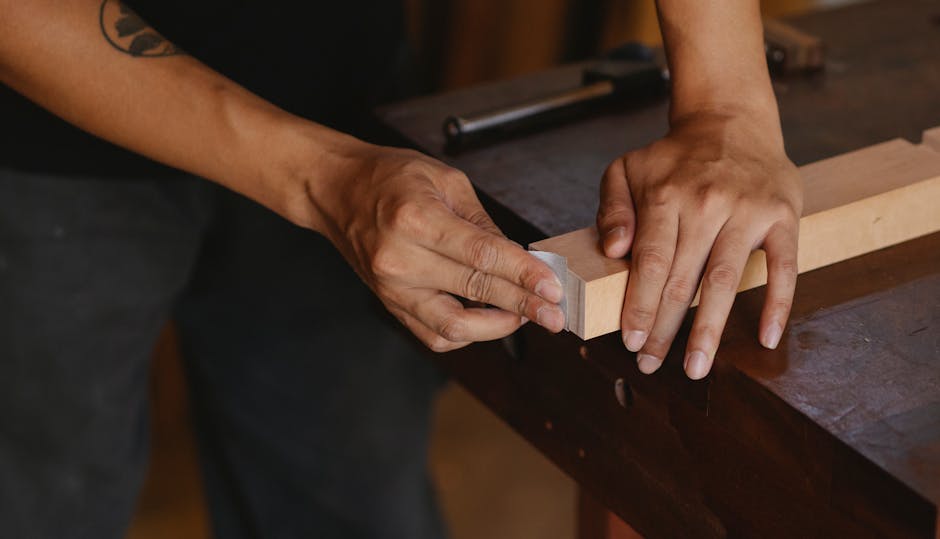
Surface Preparation
Start by removing dust, dirt, and grease with a tack cloth or slightly damp rag. Sand the surface starting with 120-grit sandpaper, then progress to 220-grit until smooth. Wipe away sanding dust.
For oily wood or old finish residue, use a rag dampened with mineral spirits. Consider using grain filler on open-grain woods like oak.
Apply a thin coat of sanding sealer or shellac as a base. Let dry fully and lightly sand with 320-grit paper. Remove dust with a clean cloth.
Choosing Between Varnish and Lacquer
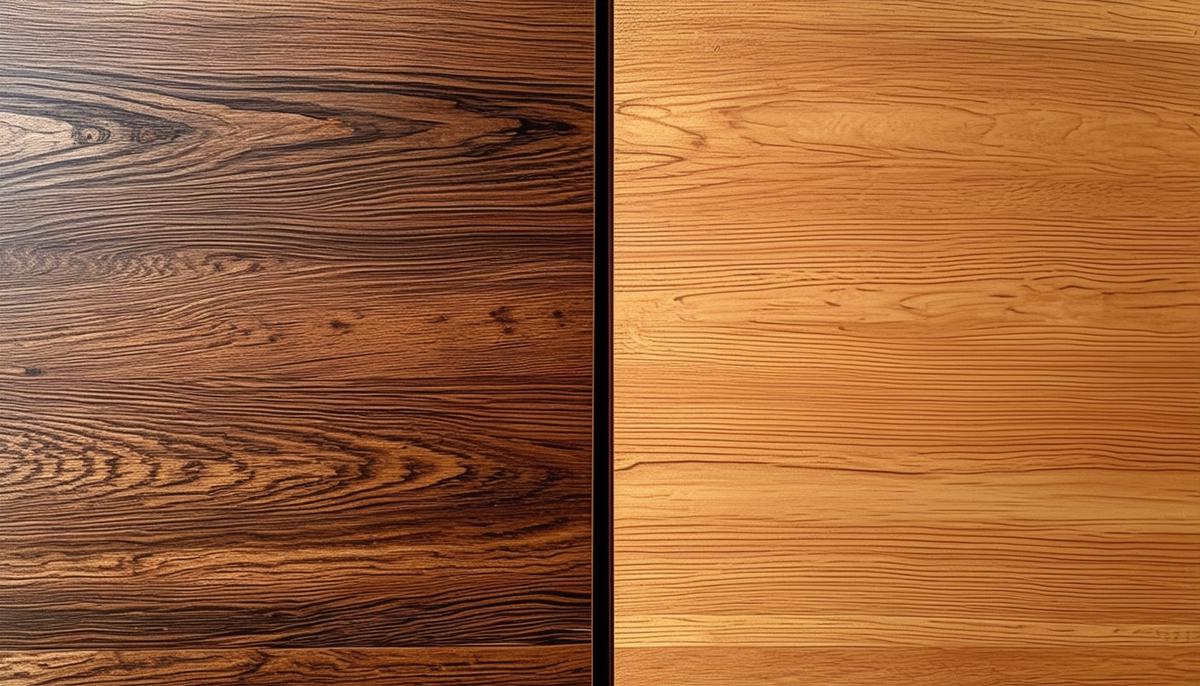
Varnish offers a durable, heat-resistant finish ideal for outdoor furniture and surfaces exposed to high temperatures. It creates a protective film that shields wood from scratches, dents, and heat.
Lacquer dries faster and provides a smooth, high-gloss finish perfect for indoor furniture. It's versatile, offering finishes from high-gloss to matte, and is easy to recoat and repair.
Choose based on:
Durability and Location:
- Outdoors: Use varnish for its weather resistance.
- Indoors: Opt for lacquer for quick drying and smooth finish.
Application Method:
- Varnish: Apply with a brush in long, even strokes. Allow 24 hours between coats.
- Lacquer: Best applied with a spray gun in thin, even coats. Dries in 30 minutes to 2 hours.
Finish Look:
- Varnish: High sheen that may yellow slightly over time.
- Lacquer: Clear, non-yellowing finish available in various gloss levels.
Ease of Repair:
- Varnish: Requires sanding and reapplication.
- Lacquer: Easily repaired by applying a new coat over damaged areas.
Always work in a well-ventilated area and use proper safety equipment.
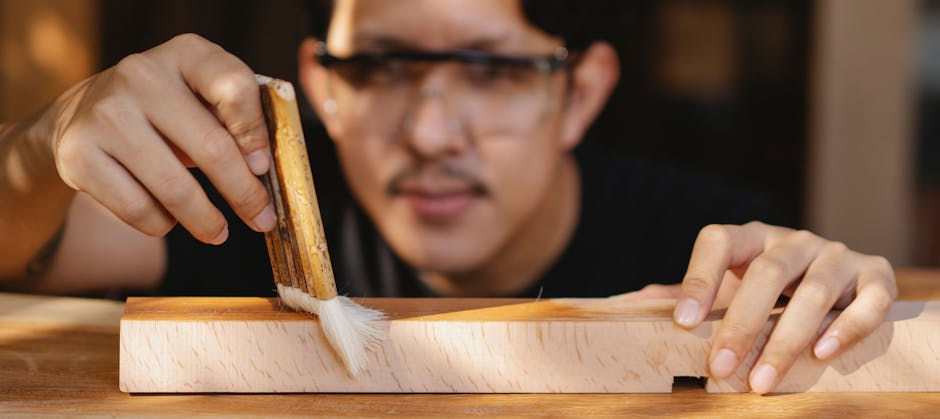
Applying Varnish
- Stir varnish gently to avoid bubbles.
- Apply with a high-quality brush or foam brush in smooth, even strokes.
- Allow each coat to dry for about 24 hours.
- Sand lightly with 220-320 grit sandpaper between coats.
- Wipe down with a tack cloth to remove dust.
- Repeat process for 2-3 coats, depending on desired protection and smoothness.
Applying Lacquer
- Use a spray gun for best results, holding it 6-8 inches from the surface.
- Apply thin, even coats in smooth sweeps.
- Allow 30 minutes to 2 hours drying time between coats.
- Sand lightly with 320-grit sandpaper between coats.
- Wipe down with a tack cloth before applying the next coat.
- Repeat for 3-4 coats, or more for a high-gloss finish.
- Allow the final coat to cure fully for 1-2 weeks.
For a mirror-like finish, gently rub down with 0000 steel wool or fine automotive rubbing compound.

Safety Precautions
- Work in a well-ventilated area, preferably outdoors.
- Wear nitrile gloves to protect hands.
- Use safety glasses or goggles to protect eyes.
- Wear a respirator mask with organic vapor cartridges.
- Wear long sleeves and pants to protect skin.
- Follow manufacturer's instructions for application and disposal.
- Allow varnish or lacquer-soaked rags to dry flat before disposal.
- Keep a fire extinguisher nearby.
Taking these precautions ensures a safe finishing process.

Final Touches
- Allow the finish to cure fully (several days for varnish, a few days for lacquer).
- Keep the piece in a dust-free, low-traffic area during curing.
- Inspect the surface for imperfections using good lighting.
- For minor flaws, lightly sand with 400-600 grit sandpaper or 0000 steel wool.
- For larger imperfections, use wet sanding with water as lubricant.
- Wipe the surface with a tack cloth to remove sanding dust.
- Apply touch-up coats if necessary, blending with existing finish.
- For high-gloss finish, use automotive rubbing compound followed by polishing compound.
- Apply wax if desired, buffing to perfection.

Proper preparation and careful application are key to achieving a beautiful, lasting finish on your woodworking projects. Remember, the quality of your finish can significantly impact the overall appearance and durability of your work.1 With patience and attention to detail, you can create a professional-grade finish that enhances the natural beauty of the wood.
- Flexner B. Understanding Wood Finishing: How to Select and Apply the Right Finish. Fox Chapel Publishing; 2010.