
Putting up a fence can seem like a big task, but with the right planning and preparation, it becomes manageable. Whether you're looking to add privacy, keep pets in check, or enhance your yard's appearance, understanding the steps involved will make the process smoother.
Planning and Preparation
Start by determining the purpose of your fence. This will guide your design and material choices. A tall fence might be ideal for privacy, while a shorter one could suffice for marking property lines.
Measure the area where you want the fence. Use a tape measure to find the perimeter of your yard. Consider any hills or uneven ground, as they'll affect some of your decisions later.
Important: Check local regulations. Review your town's zoning laws to learn about height restrictions, placement rules, and permit requirements. Some areas limit fences to six feet, while others have rules about proximity to sidewalks.
Confirm your property lines. You don't want to build a fence only to discover it's on your neighbor's land.
Sketch your plan, including gate locations. Mark these spots with spray paint on the ground.
Essential Items Checklist:
- Fence posts
- Rails
- Screws
- Post hole digger
- Quick-setting concrete
- Spirit level
- Auger (optional, for multiple holes)
Create a shopping list based on your plan. Budget carefully—know what tools you need and consider renting or borrowing if you don't have them.

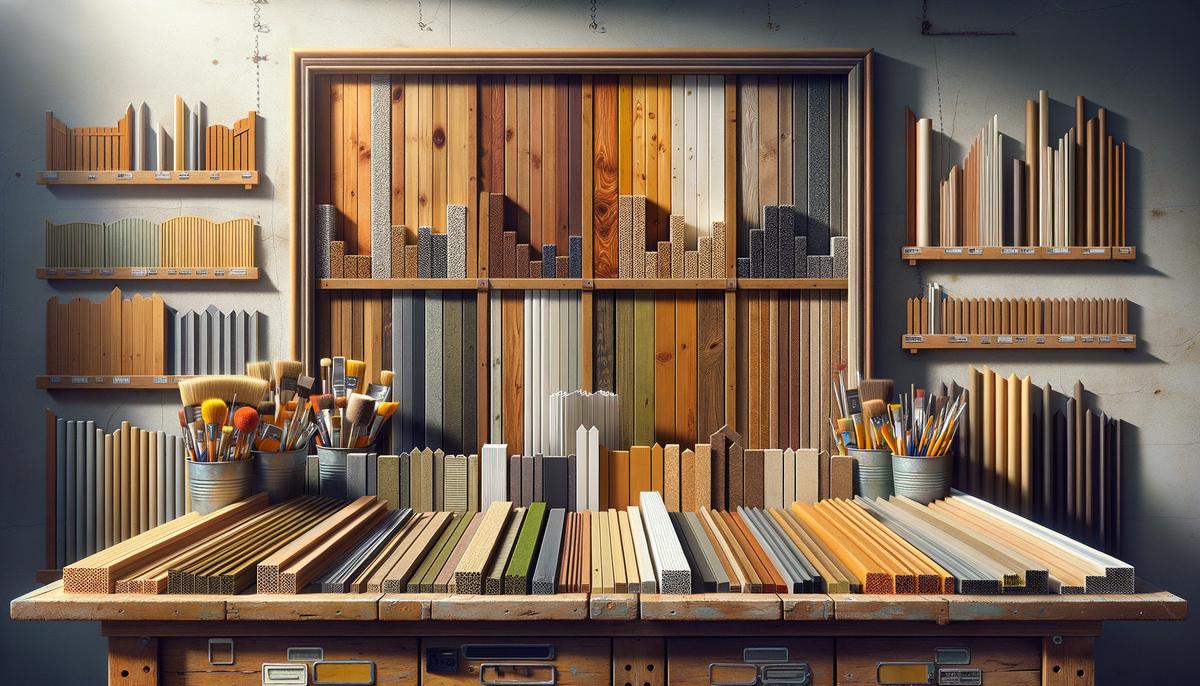
Materials Selection
Consider materials based on style, practicality, and durability—especially given your local climate and soil conditions.
Wood
Wood offers a natural, warm aesthetic. Cedar is popular due to its resistance to rot and insects. Pine is generally cheaper but less durable unless pressure-treated. Wood requires regular maintenance—staining or sealing every few years.
Vinyl
Vinyl is low-maintenance, needing only occasional cleaning. It withstands various elements and won't rot, warp, or split. The trade-off is higher upfront costs, but long-term maintenance savings might balance this out.
Metal
Metal fences offer versatility. Chain link is cost-effective and durable but less private. Wrought iron adds elegance but can rust, especially in wet climates. Aluminum is a rust-resistant, lighter alternative to wrought iron, albeit more expensive.
Composite
Composite fencing combines wood's appearance with minimal upkeep. It's durable, weather-resistant, and needs little maintenance beyond occasional cleaning. However, composite fences are pricier and have fewer color options.
Local Conditions
Consider your environment when selecting materials. Soil type affects not only post types but also installation methods. In sandy soil, you might need deeper holes for stability, while in wet soil, ensure posts are adequately protected against moisture.
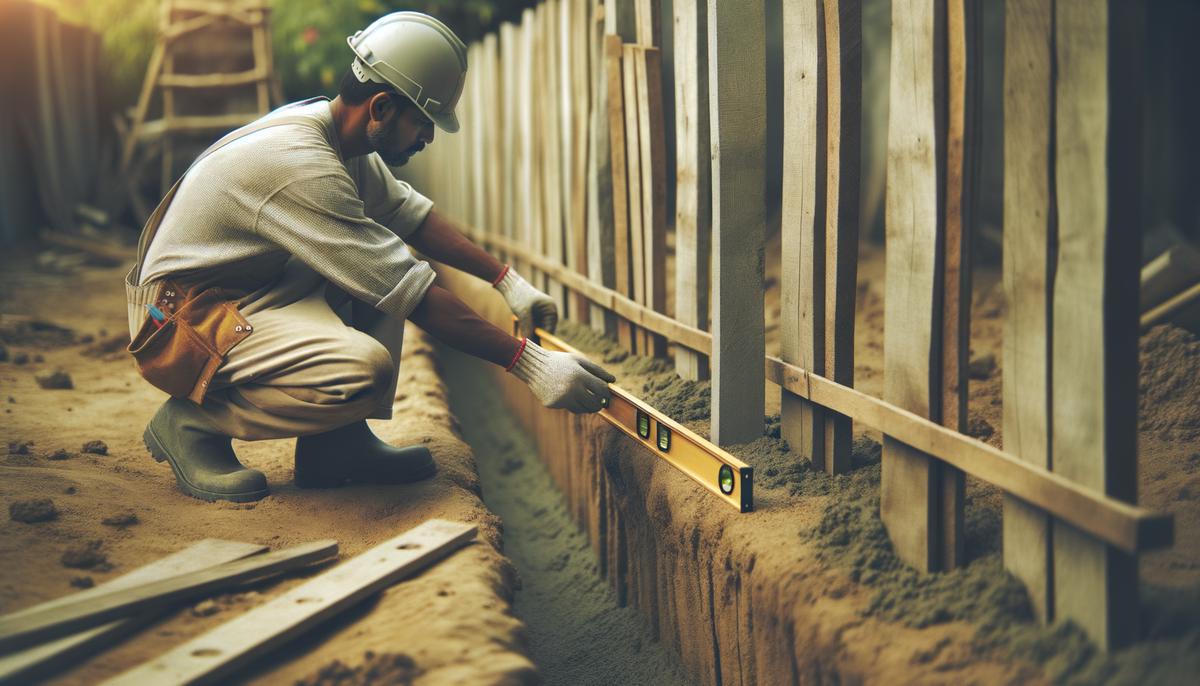
Setting Posts
- Mark post locations first. Ideal spacing is typically six to eight feet, depending on your fence design and materials. Use string lines or spray paint for marking.
- Dig post holes about one-third the height of your intended fence, plus a few extra inches for gravel. Use a post hole digger or rent a power auger for efficiency.
- Safety first: Don't forget to call 811 to avoid hitting underground utilities.
- Add about four inches of gravel at the bottom of each hole for drainage.
- Set your posts, using a spirit level to ensure they're vertical. A friend can help hold posts steady while you backfill.
- Mix concrete according to manufacturer instructions and pour it around the post, filling to about six inches from the top. Tamp down the concrete periodically to remove air pockets.
- Recheck post alignment after filling. Allow the concrete to set for at least 24 hours. Use 2x4s to brace posts if needed during curing.
- After curing, backfill the remaining gap with soil. Tamp it down firmly around the post base for additional stability and protection from weather elements.
Installing Rails and Panels
Begin by marking rail positions on each post. For a typical six-foot fence, you'll need three rails—top, middle, and bottom. Use a tape measure and pencil to mark consistent distances from the post tops.
Attach brackets to the posts at your marked points using galvanized screws. Once brackets are secure, place rails into them.
Install fence panels or pickets. For full panels, align them with the top rail and secure using outdoor-specific screws or nails. For individual pickets, measure and mark attachment points on the rails.
"Start at one corner and work along the fence line, using a spacer block for even gaps between pickets. This looks professional and allows proper airflow, extending the wood's lifespan."
Constantly check for level as you attach panels or pickets. A long level or string line helps maintain alignment.
If obstacles like trees or rocks interfere, you may need to cut panels. Measure carefully and use a circular saw with a guide for straight cuts.
Once everything is aligned and attached, walk along the fence, gently shaking it in places to test stability. Adjust any loose sections as needed.
Smooth any splinters or rough edges, especially with wood fences. Sand them down to prevent injuries and improve appearance.

Finishing Touches
With the main structure in place, it's time to focus on the final details. These include treating the wood, installing gates and hardware, and ensuring overall stability.
For wooden fences, apply a protective treatment to guard against weather and pests. Follow these steps:
- Sand down any rough spots or splinters
- Clean the surface with soapy water and a stiff brush
- Allow it to dry thoroughly
- Choose between stain, sealer, or wood preservative
- Apply the treatment with a high-quality brush or roller, working from top to bottom
- Follow manufacturer's instructions for multiple coats if needed
Next, install gates and hardware:
- Use sturdy gate posts with extra reinforcement
- Choose heavy-duty, galvanized steel hardware for durability
- Attach hinges to the gate, ensuring even spacing and alignment
- Mount the gate to the posts, making sure it's level
- Install the latch at a convenient height
- Test the gate's operation
Finally, inspect the entire fence for stability. Check each post for wobbling and ensure all fasteners are tight. Address any issues now to prevent future problems.
With these steps complete, your fence should be in excellent condition. Clean up your workspace and enjoy the satisfaction of a job well done.
Maintenance
Regular maintenance is key to your fence's longevity. Perform inspections every couple of months, checking for damage or wear. Look for loose screws, rust spots, rotting wood, or unstable areas. Pay extra attention after severe weather.
Address issues promptly. Tighten or replace loose hardware, and replace severely worn sections. For wooden fences, watch for rot and insect damage.
Cleaning Your Fence
Clean your fence once or twice a year with a soft brush and soapy water. For stubborn stains, try a water and vinegar mixture. Rinse thoroughly and allow to dry.
Protective Coatings
Reapply protective coatings as needed. This could be a sealer, stain, or paint, depending on your previous choices. Stains typically need reapplication every 2-3 years, while sealers can last up to 5 years1.
When reapplying coatings:
- Lightly sand the surface
- Clean it thoroughly
- Follow the manufacturer's instructions for drying times between coats
Keep spare materials and basic tools on hand for minor repairs. This allows for quick fixes as issues arise.
"Regular inspections, prompt repairs, thorough cleaning, and reapplying protective coatings will keep your fence standing strong for years to come."

By maintaining your fence consistently, you'll ensure it remains sturdy and attractive for years. Take pride in your work and enjoy the benefits of a well-maintained fence.