
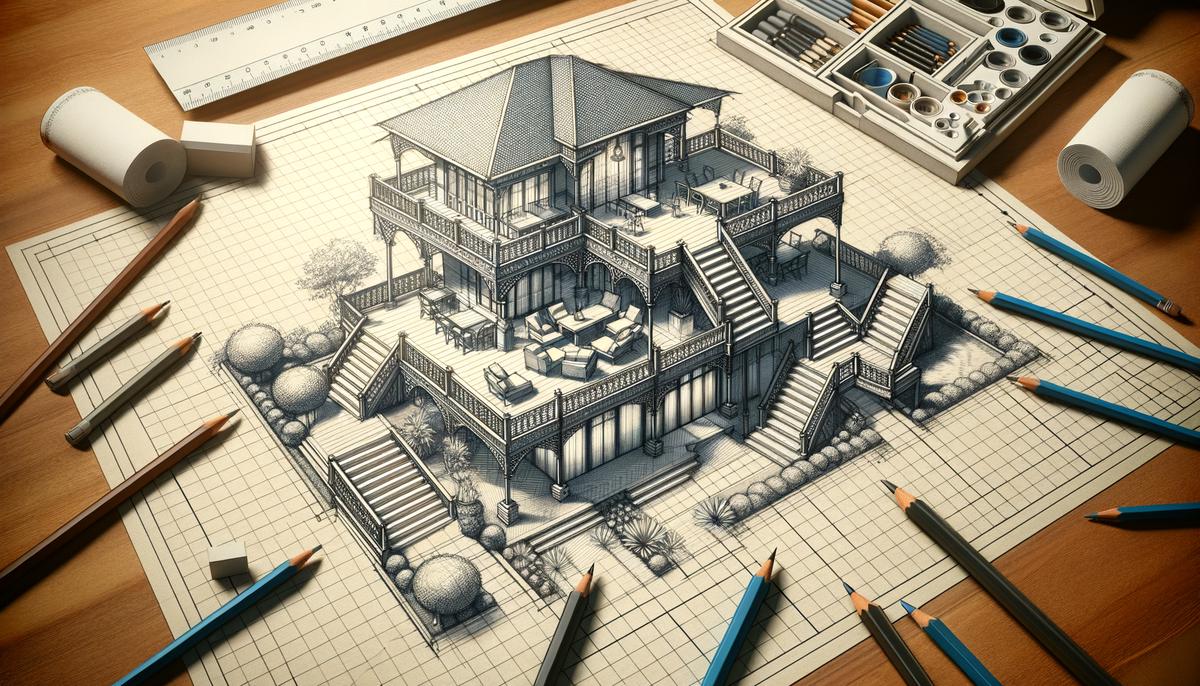
Planning and Design
Size, shape, and location come first. Measure the footprint and consider sunlight for other yard features. Check the terrain for slopes, drainage, and soil type. Footings in loose soil can be unstable.
Building codes and permits are crucial. Every town has different rules, so don't skip this step. Permits cost around $500 but save headaches later.
Accessibility is important. Consider who will use the deck and plan for easy traffic flow. Think about features like ramps if needed.
How will you use the deck? Plan space for furniture, cooking, or other activities. Keep it practical while accommodating your needs.
For design, start with a sketch and consider using computer programs like CadPro or SketchUp. Professional help can ensure your design meets codes and building specs.
Explore different shapes beyond the classic rectangle. Multi-level decks can manage slopes, while curved edges create cozy spaces. Don't forget to plan for extras like planters or pergolas.
Incorporate these considerations into your drawings. Use your plan to create a materials list and cost estimates, saving trouble during construction.
Material Selection
Main decking options include natural wood, composite materials, and PVC. Each has pros and cons in terms of aesthetics, maintenance, budget, and lifespan.
Decking Material Comparison:
| Material | Pros | Cons |
|---|---|---|
| Natural Wood | Warmth, versatility, cost-effective | Regular maintenance required |
| Composite | Low-maintenance, fade and stain resistant | Higher upfront cost |
| PVC | Highly durable, minimal maintenance | Expensive, less natural appearance |
Hardware should be galvanized or stainless steel for outdoor use. Deck screws are preferred over nails for better holding power.
- Joist hangers secure joists to ledger boards and beams. Use the right size and appropriate fasteners for these essential brackets.
- Post anchors affix vertical posts to concrete footings. Adjustable anchors allow for fine-tuning during installation.
- Railings should complement the decking material and meet local building codes. Consider comfort and safety along with aesthetics when choosing railing designs.
Choosing materials and hardware wisely sets the foundation for a successful project. Take time to make informed decisions for a deck that will serve you well for years to come.

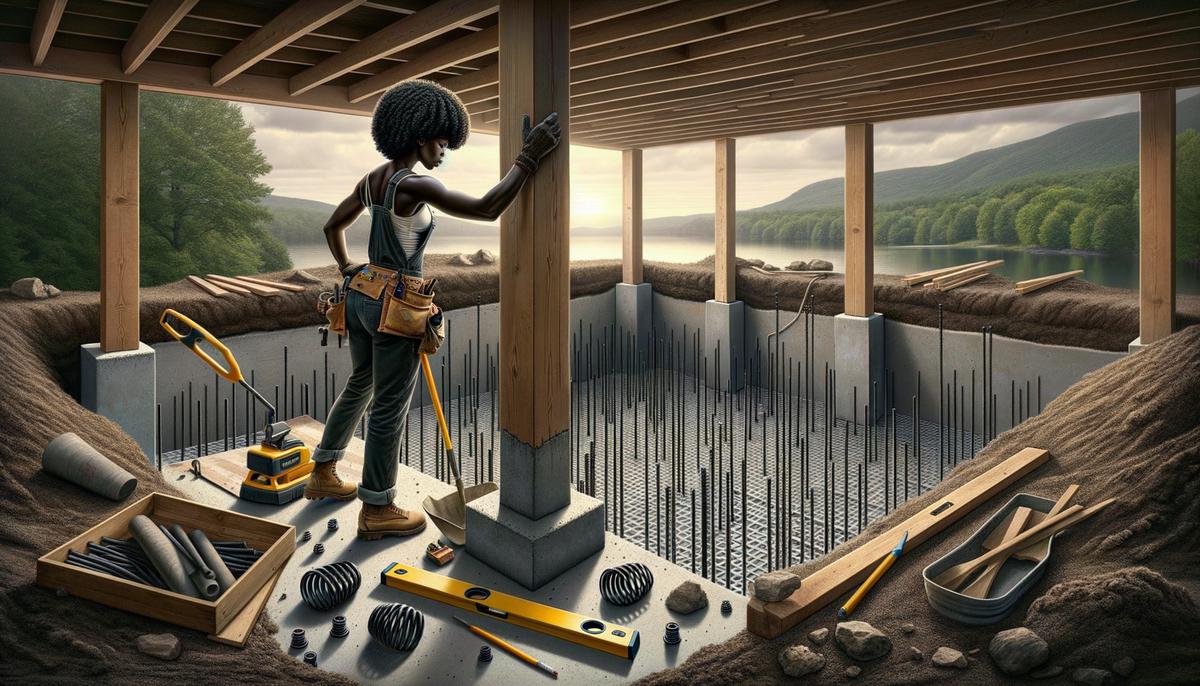
Foundation and Footings
- Start by marking the deck's layout with stakes and string. Use the 3-4-5 triangle method to ensure square corners.
- Excavate for footings using a posthole digger or power auger. Dig below the frost line, typically 24 to 48 inches deep, to prevent frost heave1.
- Place concrete forms in the holes, extending a couple inches above ground level. Ensure they're plumb and backfill around them for stability.
- Mix concrete according to manufacturer instructions. Pour into forms, eliminating air pockets by tapping and poking the mix.
- Before concrete sets, place post anchors centered in the forms. Check for level and ensure proper concrete coverage.
- Allow concrete to cure for 24 to 48 hours. Attach post bases to the anchors, aligning them correctly before tightening.
This foundation setup keeps posts off the ground, preventing rot and extending your deck's lifespan. A solid foundation ensures a stable, long-lasting structure that will hold up against time and weather.
"The strength of your deck is only as good as its foundation. Take the time to get it right, and you'll enjoy your outdoor space for years to come." – John Smith, Master Carpenter
Frame Construction
Installing a ledger board is the first step in frame construction. This anchors your deck securely to your house. Mark the ledger board's location, measuring from the door threshold to where the top of the board will sit. Leave space for deck boards, keeping the top of the decking below the door. A 3-inch step down from the door helps avoid water intrusion.
Apply a high-quality self-adhesive flashing between your house and the ledger board to prevent moisture buildup. Pre-drill holes in the ledger board about every 16 inches, ensuring you hit the house's rim joist or framing. Use lag screws or bolts to secure it, and make sure it's level.
Next, set the support posts in the post bases you installed in your concrete footings. Use a level to ensure each post is plumb, and secure them with structural screws or hardware nails.
Install beams on top of the posts, securing them with post caps. Use carriage bolts and metal connectors for a solid connection. Check that the beams are level.
Joist Installation:
- Determine joist spacing (usually 16 inches on center)
- Mark placement on ledger board and beams
- Install each joist, ensuring it's level and properly aligned
- Use joist hangers where joists meet the ledger board
Install blocking between joists for additional stability, especially on wider decks. Cut short pieces of joist material to fit snugly between each joist, securing them with nails or screws.
For decks with multiple levels or cantilevered sections, plan transitions carefully and use angle brackets and additional hardware where needed.
Take your time with framing, as it sets the foundation for everything else. Double-check your measurements to ensure a sturdy, level structure that will last for years to come.

Decking Installation
With the frame complete, it's time to install the decking boards. Start by aligning the first board parallel to the house. Maintain a gap of about 1/8 to 3/16 inches between boards for expansion and drainage. Use a chalk line for a straight guide.
Secure the first board snugly against the house, ensuring it's straight. Fasten it with two stainless steel or coated deck screws per joist, about 3/4 to 1 inch from the board's edge.
Key Steps in Decking Installation:
- Continue laying boards, using spacers to maintain consistent gaps
- Check periodically to ensure your lines remain straight
- Stagger the seams between adjacent rows by at least two joists
- Watch for warped or twisted boards, correcting issues before securing
- Measure carefully before cutting the final board to size
As you work, double-check for straightness, even gaps, and snug fasteners. These small details add up to a deck that looks great and holds up well under use and weather conditions.
Enjoy the satisfaction of seeing your hard work come together, creating a space for relaxation and entertainment.

A well-built deck starts with careful planning and attention to detail. From the foundation to the final board, each step contributes to creating a space where you can enjoy countless summer evenings.