
Materials and Tools
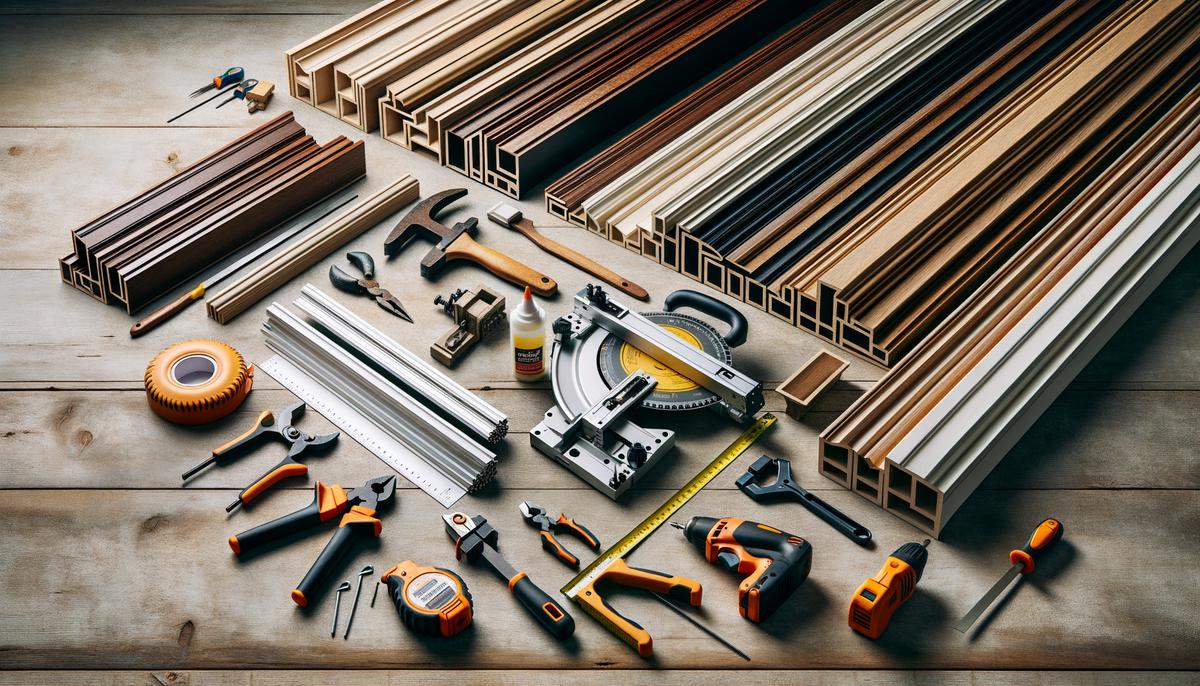
To create custom picture frames, gather these materials:
- Frame moulding
- Mat board (optional)
- Glass or acrylic (non-glare and UV-protected options available)
- Backing board
- Hanging hardware
Tools you'll need:
- Measuring tape
- Miter saw
- Clamps
- Wood glue
- Staple gun
Here's a step-by-step breakdown:
- Measure and Cut the Frame Moulding: Determine frame size based on artwork dimensions. Cut moulding at 45-degree angles using the miter saw.
- Assemble the Frame: Apply wood glue to mitered edges. Align pieces and clamp until dry. Staple or nail corners for extra strength.
- Prepare the Mat and Backing Board: If using mat board, cut an opening slightly smaller than your artwork. Cut backing board to match frame size.
- Piece Everything Together: Layer glass or acrylic, mat board, artwork, and backing board. Secure with staple gun or flex points.
- Attach the Hanging Hardware: Fix hardware to the frame back.
Tip: Choose mat board colors that complement without overshadowing the artwork. White or off-white are classic options.
Measuring and Cutting
Start by measuring your artwork's height, width, and depth to determine frame dimensions. With exact measurements, cut the frame moulding using a miter saw at 45-degree angles. Cut two pieces for length and two for width.
Precision is crucial. Even small errors can result in corner gaps, affecting the overall look. Use a carpenter's square to verify angles before proceeding.
Remember: Measure twice, cut once!
Secure your miter saw to the workbench to prevent movement during cutting. Prioritize safety by wearing goggles and following proper tool use practices.
Arrange cut pieces to form a rectangle, checking that all corners fit perfectly. This dry fit helps catch any issues early.
Taking time to measure precisely and cut accurately sets the foundation for a beautiful custom frame that fits your artwork perfectly and enhances its visual appeal.

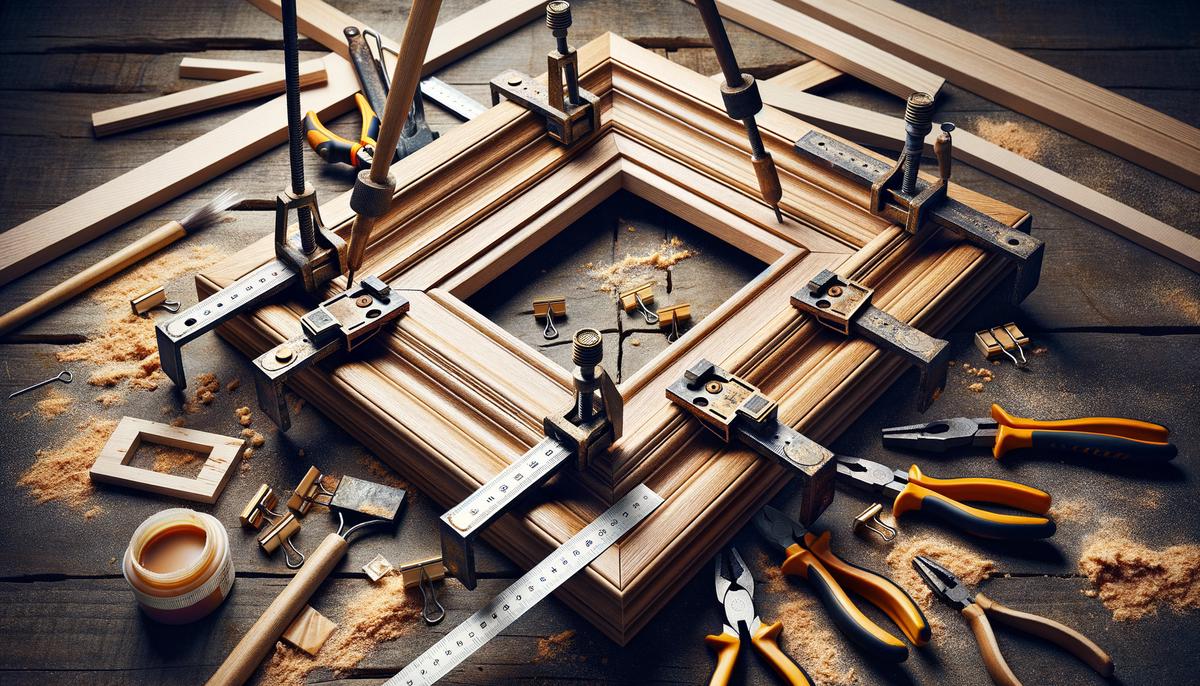
Assembling the Frame
Apply wood glue to the mitered edges of your cut frame pieces. Use enough to cover the entire edge without excess spillage, ensuring a strong bond without mess.
After gluing all mitered edges, join the corners. Use clamps to hold pieces tightly together. Check that corners align perfectly – a carpenter's square is useful here.
Clean any squeezed-out glue immediately with a damp cloth. Allow the glue to set for at least an hour, preferably overnight for maximum strength.
For additional reinforcement, use a staple gun on the corners. Insert staples at a slight angle to avoid splitting the wood. This step strengthens the glue bond, ensuring your frame remains stable during handling and display.
Before moving on, recheck that the frame is square and corners are flush. Proper alignment prevents issues with fitting glass, artwork, and backing board later.
Inserting Artwork and Final Touches
Insert the glass or acrylic into the frame, ensuring a snug fit. If using mat board, place it over the glass. Align it properly to center your artwork.
Place your artwork inside the frame, centering it within the mat board. Add the backing board for support and stability. Use flex points or a staple gun to secure everything. Flex points allow easy removal if you need to change the artwork later.
Attach hanging hardware as the final step. Install D-rings, sawtooth hangers, or wire hangers on the frame back, depending on your display preference. Measure and mark the center of the top and sides for correct and balanced placement. Securely attach hangers with screws.
Consider adding decorative elements to personalize your frame. Gilding the edges or applying paint can enhance its appearance. If you didn't use UV-protected glass initially, consider applying a UV-protective spray to prevent artwork fading over time.1

Your custom picture frame now enhances and protects your cherished artwork or photos. Take pride in knowing you crafted it yourself, perfectly suited to your home and style.
- Whitmore PM, Bailie C, Connors SA. Micro-fading tests to predict the result of exhibition: progress and prospects. Stud Conserv. 2000;45(3):200-205.